How to clean your computer from dust at home?

Your computer began to work slightly worse than on the day of purchase, despite the fact that you carefully follow all the rules for using it, namely: carefully delete the browser history so that it does not clog the RAM and does not visit a variety of malicious sites. In this case, be maybe the reason lies in the system unit itself, if dirt and dust have accumulated in it. In order to prevent damage and improve the performance of your computer, you must know how to clean your computer from dust at home. We will help you to solve this problem in this article.
to contents ↑Dust preparation
The whole preparation process will be divided into 2 stages - assembling the necessary equipment and procedures that will ensure your safety and the possibility of further work of the equipment.
Instruments:
- Phillips or curly screwdriver.
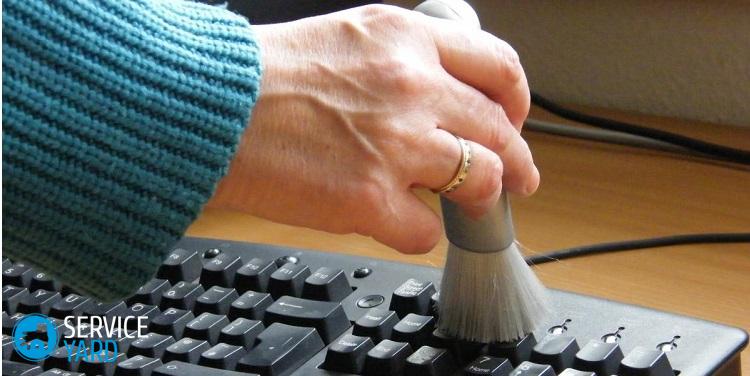
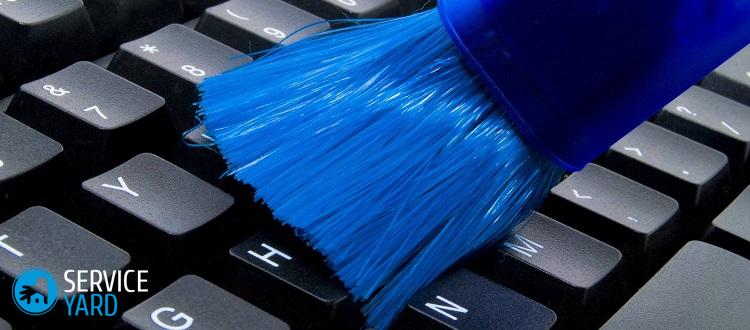
- A brush of low rigidity with a long pile of at least 40 mm - you can take a brush that is designed to apply powder.
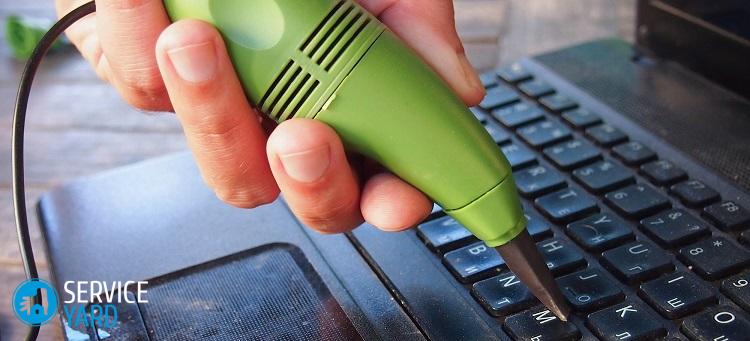
- A vacuum cleaner for special cases of contamination or a cylinder with compressed air, for example, a pneumatic cleaner.
- A film or a newspaper, which must be placed under the system unit.
So, have you prepared everything? Well, let's start by the steps.
Turn off and then turn off all equipment
First, turn off everything with the buttons. All peripherals, for example: a monitor, speakers, scanner, printer and the like. In conclusion, pull the plug from the network.
Grounding
Yes Yes! Maybe someone laughs, but based on the lessons of physics, we can recall that the human body is an excellent vehicle. And even a turned off computer always saves standby voltage on the motherboard.
In short, to clean your computer from dust at home, hold on to something metallic, such as a battery, during shutdown and disassembly. Thus, you will remove the statistical stress from the body, which can burn any sensitive details in your computer.
Important! Subsequently, each time you first touch parts from your system unit with one hand, hold onto something metallic, such as a computer case.
You can also exclude all synthetics from your clothes when cleaning your computer to ensure greater security.
Disconnect absolutely all wires and cables
Do not immediately pull out all the plugs. Initially, put a newspaper or film on the floor, and only after that start to disconnect absolutely all wires and cables from the back wall of your system unit.
Of course, you don’t have to disconnect, but only this economy will interfere.
Important! If you are not so good at it, take a picture of the connection order first. Otherwise, you can sit down for a long time, poking wires in different connectors after how to clean your computer from dust and you will try to collect everything as it was.
We unscrew all the rear bolts and carefully remove the side cover.
Take a screwdriver and unscrew absolutely all the bolts from the back cover. There are options for the structure of the system case, which include latches, in which case, unfasten them.
After that, detach the side wall by pushing inward and then pulling it towards you. Only one will be enough, which is located on the left, if you look at the front, but if you have a desire you can detach the other cover.
We evaluate the whole front of work
If you turned it off correctly, you will see approximately this kind of view. Unscrewing the cover, you will see in front of you, the most ordinary systematic, in which there is no longer a video card, as well as a sound card. If everything looks a little different for you - bring it into a similar form: unscrew and disconnect the sound and video cards from the connectors so that they do not interfere.
to contents ↑Important! Carefully inspect the contents - where the most dust has accumulated, whether there are bulk chunks of dirt.
Power Supply Cleaning
Even a small number of experienced users neglect this stage of cleaning, and in vain do it. At a time when dust gradually accumulates inside the power supply, it covers absolutely all microcircuits and parts like a blanket.
This by itself worsens their heat transfer, as a result of which the device starts to work all the time at high loads. And this, in turn, may lead to a breakdown of your power supply in the near future.
In order to clean the dust of the power supply at home, after disconnecting, allow time to cool, and then do the following:
- Remove the bolts and remove the side cover of your system unit.
- Disconnect the power cable from your motherboard.
- Also disconnect on your hard drive, a device that is designed to read optical discs.
Important! Do not forget to mark the disconnected plugs so as not to get confused which cable to plug into.
- On the back panel of the system unit, find the screws that secure it, and holding the unit, unscrew them.
- Using a soft brush, sweep dust off the surface of the power supply board.
Important! It is impossible to press and apply force so as not to break anything.
Now that you’ve learned how to clean your computer’s power supply at home from dust, you can continue to the next step.
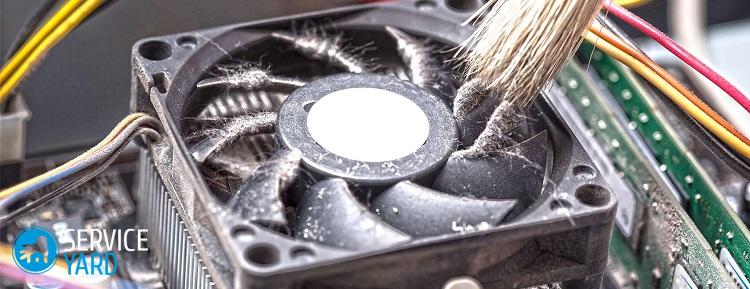
Lubricating and cleaning coolers
Now clean the active and passive cooling system, namely fans and radiators. As a rule, at least 3 coolers are present in the system unit, namely:
- in the power unit;
- in the blowing part, which is located in the body of the system unit;
- on the processor heat sink.
Important! Also, on some computers, the mini-cooler is installed on a video card, which is not recommended for beginners to disassemble and lubricate.
So, in order to clean the cooling system, you must do the following:
- Remove the screws and remove the coolers from your power supply, as well as the system unit.
- Use a brush of dry cotton swabs to clean the dust from the fan and its body.
- In the event that the dirt is stuck, carefully remove it with a toothpick.
- Carefully peel off the round label. Remove the round rubber plug from the recess. In the recess is a certain shaft, which is pressed into the bearing. Put a small amount of machine oil in the recess - it is best to take a thicker product.
- Stick the label back. In the event that it became unusable, replace it with a piece of a small size of good adhesive tape.
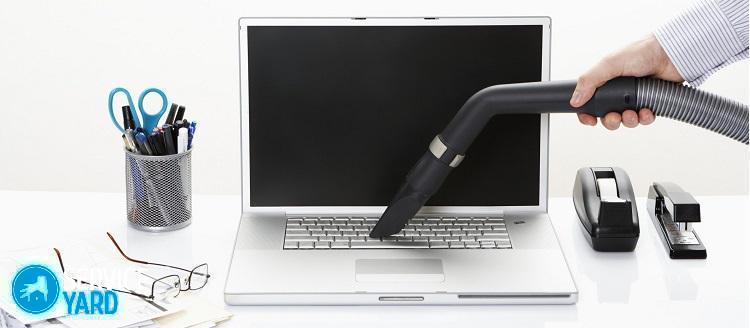
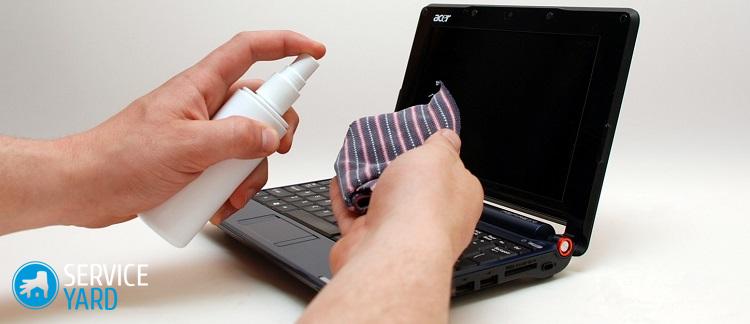
Important! It should be noted that laptop owners can also independently clean equipment from dust. For these users, we have prepared special reviews that contain useful tips for the proper care of laptops:
Once you have finished cleaning your computer from dust, and also lubricated the cooler, go directly to the processor cooling radiator.
How to clean the CPU heatsink?
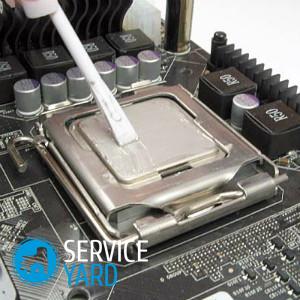
Many experienced users remove the radiator and then clean it, replacing the thermal paste. We do not recommend this for beginners, because you can kill your processor. How, then, to clean the computer from accumulated dust at home?
Here, too, there is nothing complicated, to be extremely careful and act in this way:
- Using a wooden toothpick, carefully remove dirt from the slots in your processor cooling heatsink.
- Put the cooling cooler back on the screws.
Important! Power surges in the electrical network and unexpected shutdowns adversely affect the computer. Protect your equipment from this negative impact by setting UPS for computer.
How to clean the motherboard and all its components?
The last work remained - general cleaning of the motherboard, as well as all the insides of the case from a large amount of accumulated dirt.
We pass to the final stage of computer cleaning:
- Using a brush, sweep away dirt deposits from the surface of the video card, clean the radiator with a toothpick, without removing the mini-cooler. If it is not available, the task is simplified.
- Also, with a brush, sweep away absolutely all the dust from the surface of the motherboard and all its components.
- Sweep away all dirt from the very body of your system unit.
to contents ↑Important! The clutter of the system also affects the stability of the computer. Our separate publication will tell you what is the best utility to clean your computer.
Stock footage
Here the computer is completely cleaned from all the accumulated dust. Install the power supply back, connect absolutely all the cables to the motherboard, as well as the connectors to the device for reading optical disks and a hard disk. We hope that after assembly the system worked much better than before you decided to clean your computer from dust at home. So - you did everything right and you can repeat this process again. Do this at least 1 time per month and your electronic assistant will never let you down.
 (No ratings yet)