

How to remove a button from a laptop keyboard?

Noticed that under the buttons of the keyboard literally balls of dust accumulated, not to mention crumbs and other garbage? Are you going to clean all this mess? It sounds pretty simple if, of course, you took it apart before that. Do not disassemble? Then here you may encounter some difficulties if you do not have an idea of the process. How to remove a button from a laptop keyboard? Find the answer to this question together.
to contents ↑What is to be done?
First you need to cook a small set of tools: a stationery knife, a nail file or something similar to it.
Important! For a comfortable process, the keyboard should be removed from the laptop case.
Before we get down to business, let's talk about some features of the structure of the keys. The buttons have fastenings, on which they are fixed, and the fastener itself consists of two parts. These parts are connected by a small "mustache" that extends from the back of the mount and is inserted into the groove. Such a connection allows the buttons to move freely, otherwise pressing would be problematic.
The best solution is to first remove the vertical mounts, but before that you need to determine the location of the side of the button on which these mounts are located. For this:
- Just bend the key slightly on one side and try to look under it.
- If it’s not really considered, it’s just that we start bending the key from each of its sides until it loosens and comes unfastened.
Often, the grooves are located at the top of the button, so we will consider this option:
- Take the clerical knife and enter it under the button (on the right side).
- Next, we make rotational movements clockwise.
- These actions should help you to unfasten the key, it remains just to pull the component a little to the side, and it seems to be removed.
to contents ↑Important! Do not overdo it with efforts, otherwise - you risk incapacitating the fastening element.
Mounts
We figured out how to remove the keys from the keyboard, but how to remove the mounts themselves? We continue to consider the option in which the mounts are located at the top of the key.
You have to do the following:
- We take the same knife and insert it between the two components of the fastening element. It’s better to place the blade just below or above the whisker.
- We bend the inside of the component inward and slightly down so that the “mustache” comes out of the groove and is lower than the part of the mount that is external.
- The mounts are disconnected, which means they can be pulled out.
If everything is clear with how to remove the keys from the laptop keyboard, then how to return them to their place?
to contents ↑We return fastenings to the keyboard
If you followed the method described above, then the assembly occurs in the reverse order. It may, of course, happen that parts of the fasteners are messed up with each other, it is best to assemble the “constructor” in your hands, and only after that (not without the help of the good old clerical knife) mount the finished “swings” in the metal fasteners that are located on keyboard surface.
If both parts completely enter each other in a closed state, then you are on the right track.
We return the keys to the place
We hope that during the parsing of the device, no fasteners were damaged, since we will need them in the same state:
- We take a key and put it on its seat. Align the path and push the component slightly until a click is heard.
Important! Most often, there should be four clicks if the part is mounted on four grooves. Carefully inspect the button on all sides.
- If the button does not lend itself or refuses to snap, then there is a chance that you have assembled the mounting parts incorrectly. Recheck your work.
Something broke? Do not rush to give the device to the workshop, because you can try to fix the problem with your own efforts.
to contents ↑Keyboard repair at home
To carry out restoration work, you will need the following tools:
- Needle from a syringe for insulin.
- Soldering iron, preferably thin.
- Simple nippers.
- Small-sized vice.
- Knife for installation.
You can also do with a more modest set of accessories:
- Pile from a brush comb.
- Needle for sewing.
- Lighter.
- Pliers or strong tweezers.
- Technical superglue.
Getting Started Repair:
- Take a fastener with a broken metal leg and install it in the workplace.
- We take a needle in one hand, and a thin soldering iron in the other.
- The needle must be attached to the site of damage. It is desirable that she went somewhere by 2 millimeters on that part of the part that was not damaged.
- We heat the needle with a soldering iron and carefully melt it into the plastic surface.
- Nippers get rid of excess plastic. The most important thing is not to overdo it.
Alternative way
If you don’t have the tools that are used in the previous method, then you can safely use the alternative repair instructions:
- We take the needle and heat it with a lighter.
- Next, you need to make a groove into which the villi from the comb will be freely inserted (you can use something like that).
- We pass the villus and fix it with a small amount of superglue.
- We wait from forty minutes to an hour and check the part for performance.
Repair is over!
to contents ↑Stock footage
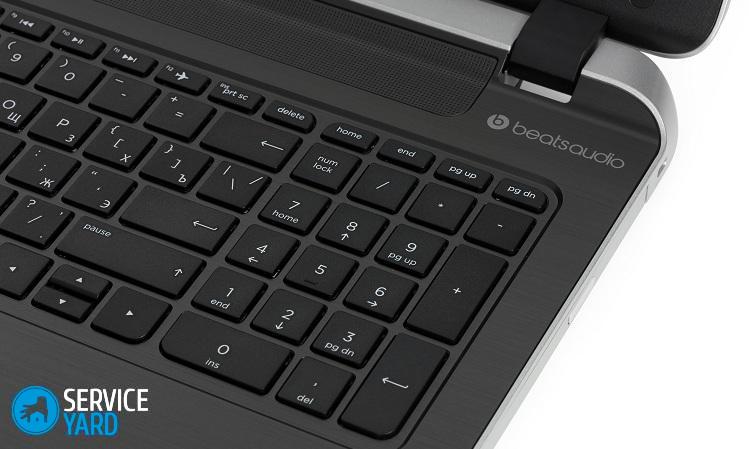
Well, now you not only know how to remove the buttons from the hp laptop keyboard (and from other models), but also know how to repair damaged mounts. Improve your skills and do not lose vigilance during any manipulations with the technique!
- How to choose a vacuum cleaner taking into account the characteristics of the house and coatings?
- What to look for when choosing a water delivery
- How to quickly create comfort at home - tips for housewives
- How to choose the perfect TV - useful tips
- What to look for when choosing blinds
- What should be running shoes?
- What useful things can you buy in a hardware store
- Iphone 11 pro max review
- Than iPhone is better than Android smartphones
 (No ratings yet)