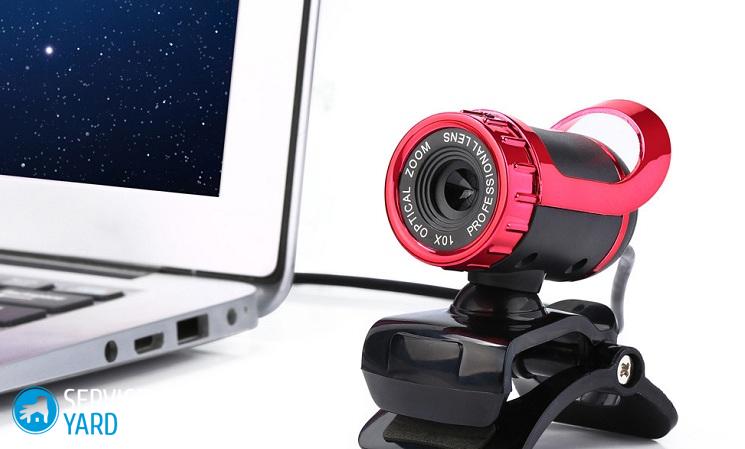
How to install a webcam on a laptop?
Almost every current laptop model is sold with a built-in webcam. Considering that video communication is becoming more and more popular every day, this can be considered very convenient. But it may well be that the camcorder was not originally configured. As a result, having made a test call, the user may well turn his attention to the picture - too light, dark white, dark, and this option is also likely - the video camera may simply not turn on. Be that as it may, the task appears: how to install a webcam on a laptop?
to contents ↑Important! A huge number of webcams are provided on the goods market, which in their characteristics will satisfy the needs of each customer. To make it easier for you to make a choice, we recommend that you pay your attention to a separate review on this topic."Which are the best webcams?".
Camera setup
Quite often, problematic issues with the integrated video camera have simple solutions. If any simple steps do not help, then it is likely that the problem lies in the hardware component - in this case, you better send your laptop to a service center for repairs.
First step
So, the first thing you need to accomplish is to carry out an ordinary check of the drivers on the camcorder that are installed on the laptop:
- To get started, click on “Start” - “Control Panel”.
- Then open the “Device Manager”.
- In the proposed list, open “Image Processing Devices”, expand the line by clicking on the small arrow. Here, all available devices that are connected to you will be played. What makes the camcorder work will have a name like Cam, Video, Web.
Important! Keep in mind that the pictogram next to the name does not contain an exclamation mark of a yellowish color or a reddish cross. This may indicate an erroneous arrangement of drivers or that they are completely absent.
- After you right-click on the desired device, go to the context menu bar with the name “Properties”.
- On the tab with the name “General” in the field “Device Status” it should be written “The device is working normally”. This means that the camcorder is in full working order. In case another inscription is indicated there, go to the “Driver” tab. Here you can see which particular driver and at what time it was installed, as well as update or remove the drivers that currently exist.

If the problems of the camcorder began after the repair work was carried out on the laptop, then click “Update”, and then “Automatically search for updated drivers”. As a result, the drivers available on the laptop, as well as on the global web, will be found. When you find the drivers that are located on the laptop, you can install them, and this will close your problematic question.
Important! You can install the drivers yourself. But for this, a special disk must be attached to the laptop or camcorder in order to install the driver. After placing the disk in the device’s drive, go through all the necessary steps and follow the instructions provided by the installation wizard.In the end, it will turn out to install all the necessary drivers that are needed for the connected devices, including the camcorder.
If you can’t find a disk in any way, or you purchased a video camera separately from your laptop, and your computer device simply doesn’t have a disk drive, then that's okay. Download drivers from the official website of the manufacturer of the laptop, and on a completely free basis. Next, you can install the driver on your laptop yourself.
Important! Special programs can help you find and install a driver. For example: you can use a completely free program called Driver Pack Solution. Once the drivers have been installed, be sure to restart your laptop.
Second phase
The second thing you need to do to install and configure the webcam on your laptop is to check the connection of the camcorder in the device manager. To accomplish this:
- Go to the device manager and open the tab called “Image Processing Devices”.
Important! When considering the icon that is responsible for the camcorder, keep in mind that there should not be any arrows next to it.
- If the arrow is still present, then right-click on it and click on the line “Engage”.
- The opened device manager will begin to flash, in other words, it will update, after which the arrow disappears and the camcorder starts working.
Third stage
The third item will be the installation of a special program that allows you to work directly with a webcam:
- You can download it from the global network, especially SplitCam, LiveCam, WebCam Max.
- After starting the program that you have chosen, you can see a special window with the picture that falls into the camera’s lens. Near the camcorder itself, a special green indicator will shine - it means that the camera is fully operational and in good condition.
to contents ↑Important! After installing the webcam, you must verify that it is functioning properly. So that you do not have any problems in the future, how to do this is described here,how to check webcam.
No programs
Those who are interested in how to install the camera on a laptop without the long process of downloading some programs can use another way. It is perfect for those who have Skype on their laptop:
- Go to “Tools” - “Settings”.
- After that, on the “Basic” tab, click on “Video Settings”. Here in the main window an image will appear that is transmitted directly from the camcorder. In order to change the settings, you can click on “Webcam Settings”.
- In the subsequent window, you can select all the settings for the picture you need from the camcorder.
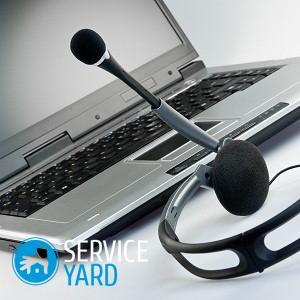
to contents ↑Important! Installing a webcam without connecting a microphone makes no sense. We have additionally prepared articles for you that are useful to you:
Stock footage
That's the way you can solve the issue that concerns how to install the camera on a laptop. The image from it will be transmitted during video calls with the required brightness and adjusted contrast.
 (No ratings yet)