Microphone for karaoke on a computer
For decades, the entertainment industry has changed beyond recognition. What used to be inaccessible can now be right at our fingertips. Earlier it was possible to listen to songs only at “live” concerts, then a radio appeared, and later TVs appeared. Now each of us can independently try ourselves in the role of a singer, and for this it’s not even necessary to visit karaoke bars or other institutions with microphones. It is enough to purchase the necessary equipment and install it by connecting to a home desktop computer or laptop. But not all users are friends with the technology well, so many have different questions about installing recording and audio output devices. How to install a karaoke microphone on a computer and configure it? Everything is pretty simple. You can find answers to this and other questions in this article.
to contents ↑We install a microphone from karaoke on a personal computer
Connecting a microphone is very easy. The most important thing is to ensure that all components are correctly connected: the microphone to the cord, and the cord to the computer. The connection method has the same principle on any device, whether it is the last laptop or personal computer.
Any recorders can be classified by their type:
- Dynamic. Such devices are far less susceptible to the conditions of the spaces in which they are located. They also do a great job of overloading. Using such a microphone eliminates the need for phantom power.
- Capacitor. These devices are famous at times for a cleaner sound output, which seems very realistic. Phantom power is required here, and its values should be approximately 48 Volts. No professional recording studio can do without recorders of this type.
How to set up a microphone for karaoke on a computer? Let's look at a few cases that depend on the version of the operating system.
to contents ↑Computers running Windows XP
If the device is correctly connected, then you need to carry out the following steps to check and configure it:
- Start your computer, wait until the OS is fully loaded. When you see the desktop space in front of you, move your mouse cursor to the lower right corner, call the context menu by pressing the right mouse button.
- Now you need to go into the parameters, find the item “Properties”. In the following list you need to select a microphone and confirm your choice by clicking “OK”.
- In the new column, which is referred to as the “Microphone”, you need to remove the check mark opposite the value “Off” (in the case if it is installed there).
Setting up on this operating system does not look so complicated. Let's see how the process is conducted on other operating systems.
Important! Depending on how you will enjoy the opportunity to sing at home, use our other instructions for quick system setup:
Computers running Windows 7 or 8
The process of parameterizing the device on these operating systems is not much different, and looks like this:
- Turn on your PC and wait for the desktop to appear. In the lower right corner you will need to find the volume control icon (it looks like a speaker with waves), then right-click on it.
- You will see a list with a list of functions in which you need to select “Recording devices”.
- We see a context menu with devices in which we need to choose our own microphone.
- Double-clicking on the name of the gadget will open another window. In this window, select the item “Use by default”, it will be under the inscription “Use the device”.
- If everything is set correctly, then boldly click “OK” and enjoy the work.
to contents ↑Important! Even if your device has a large price tag, good quality can still not be achieved without using third-party software. Programs for simulating karaoke are in huge numbers on the global network.
Additional tips
Setting up a karaoke microphone on a computer is not so difficult. But what else do you need to know for its proper operation? Sound recording devices can be classified according to two more criteria.
External devices
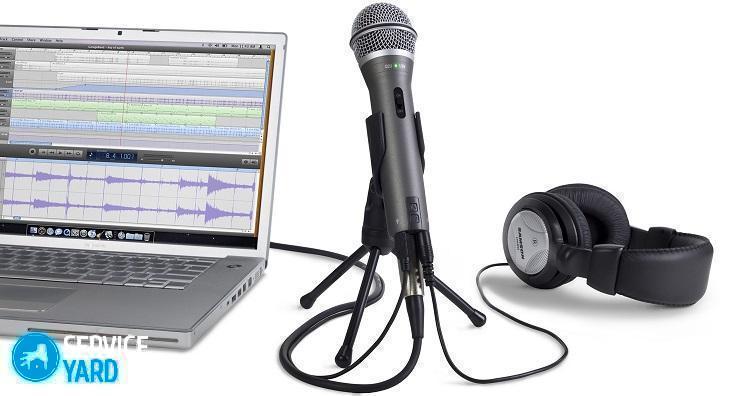
Everything is classic here. Such devices are connected in a familiar way: using a USB cable or the good old “3.5” jack. It is unlikely that you can find a computer that does not have such outputs. Getting confused with the connection is pretty difficult.
If there are no connectors for some mystical reason, then it's time to buy an adapter in any electronics store.
Indoor appliances
Such electronic devices are connected to the computer by connecting to the motherboard. To do this, you need a special PCI-slot. To be honest, such microphones unconditionally win in recording quality, but without professional software it will be very difficult to see differences in operation.
Have you chosen a karaoke microphone on your computer? Now you need to check it out!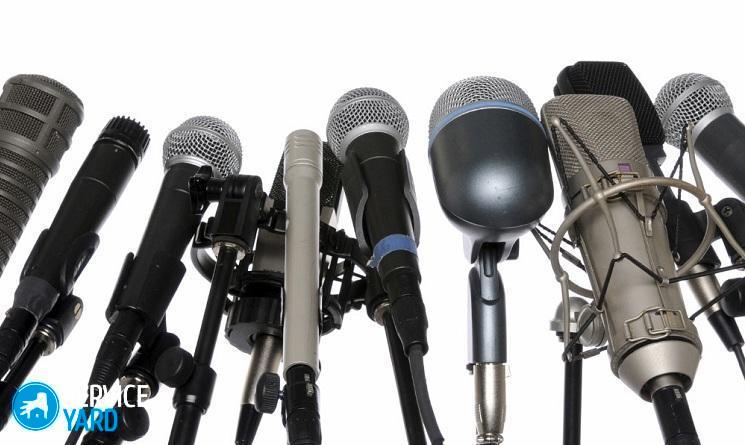
We check the device for performance.
With the types of devices and the principle of their work, we figured out. But how to make sure that the device is working? If your computer runs on the Windows operating system, you can verify this as follows:
- Try using Skype. The latest versions of this program are equipped with a communication diagnostic function, which can be carried out even during a conversation. Click on the corresponding icon in the interface and look at the reaction of the program to your voice.
- Too lazy to download something? You can simply click RMB on the “speaker”, go to the “Recorders” and just try to talk into the microphone. The indicator will let you know if your device is working.
Important! If there are strange noise during operation of the paired device, click on the link and follow the instructions, how to remove the microphone echo.
How to install karaoke on a computer? It's still simpler here.
to contents ↑Programs
If everything is simple and clear, it remains only to download third-party software for impromptu karaoke right at home. Users recommend installing the following software: Galakar or KaraFun. Even a child will cope with the installation process, and no settings will even be needed after installation.
to contents ↑Stock footage
That's all you had to know about connecting karaoke to a computer. We hope that during the study of the information in this article, you simultaneously performed all the connections and settings, and now you will test the system. Have a nice experience!
 (No ratings yet)