

Tuning the satellite antenna tuner yourself
Satellite TV is an excellent solution for those cases when you cannot route the cable to the room for any reason. And if you buy a plate once in your home, then most worries will immediately evaporate. But how to save once again the money that the master will have to pay for the setup? Today we will get to know how the satellite antenna tuner is tuned on its own, highlight the most important nuances in this matter.
to contents ↑The basics
Satellite TV is becoming increasingly popular in the television services market. Such an antenna has become a familiar attribute in millions of homes. Do you think that installing such equipment requires professional skills? We hasten to dispel this myth and demonstrate the simplicity of the process. Before looking for an answer to the question of how to configure channels on a satellite dish yourself, let's try to get acquainted with the necessary equipment.
The very form of television got its name because it uses a satellite as a signal transmitter. These space devices receive a signal from TV stations, and then the same signal is broadcast to a vast area underneath. The antenna on your roof collects the signal and sends it to the converter, which redirects the whole thing to your receiver (tuner). There it is decrypted and gets on your screen in the form of image and sound.
From here it is immediately clear that one plate in no way can be enough, for stable operation a small system of different equipment is required.
Satellites can be classified into two types:
- With open channels.
- With encoded channels.
to contents ↑Important! Most often, special packages are used to access all channels at once, without any encryption. To receive a signal from the desired source, you need to set the correct direction and set the desired frequency. Since image quality may depend on this, it will also not be superfluous to study in more detail,what to choose coaxial cable for TV.
We buy a satellite system
We will independently consider the configuration of satellite antenna channels after a step-by-step instruction on the acquisition of devices:
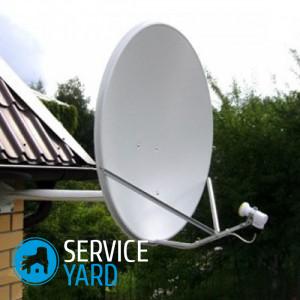
- The antenna itself. The plate collects the signal and reflects directly to the converter. Devices with a diameter> 90 centimeters are recommended for purchase.
- Head or converter. As we have already said, this equipment intercepts the signal, converts it into an “understandable” form and feeds it to the receiver. The choice must be based on the polarization of the satellite itself. You can find this parameter in the product description.
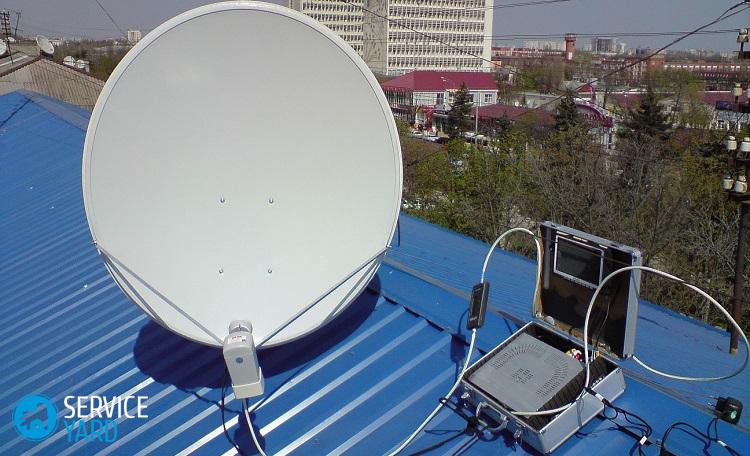
- TV tuner. It takes a signal, converts it into a signal that will be "understood" by the television and transmits it. Setting up such equipment does not take much time.
- Structural elements (bracket and fasteners). Provide reliable fixation of equipment to the surface.
- Wiring (coaxial cable). Serves to conduct a signal between components.
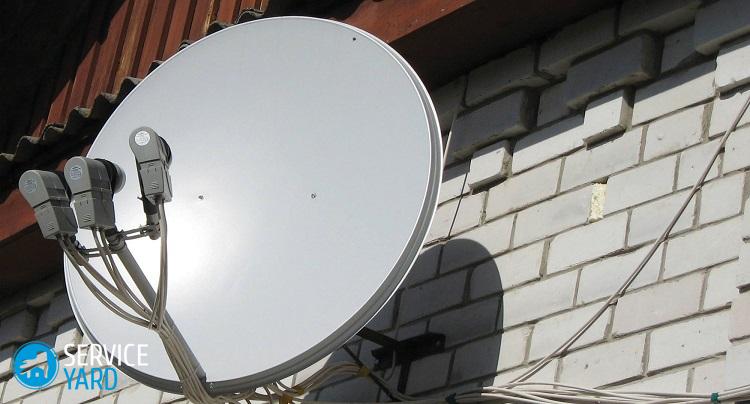
- "Disek." This part is necessary for receiving signals from several sources at once.
- F-ki. Components for connecting chain links via cable. You will find it useful 8 pieces.
- Well, the final stage is the cable for connecting to the TV: tulips, scart or HDMI.
Important! Most often, all of the above components are immediately bundled with the main device.But some lovers collect such kits on their own, because such methods provide confidence in the quality and reliability of each element. However, for the sake of good reproduction, it is important to be able to correctly choose a satellite dish for the TV, as well as choose the appropriate tuner for connecting satellite television.
Mounting
- First you need to choose a direction that in the future will “do” its job and provide access to watching TV channels. There are many services on the Internet that will help you deal with this, for example, “Agsat.com.ua”.
- Choose your location and the desired satellite, and then read the information that the service will carefully provide you.
- After these steps, you need to make sure that the signal is present at all. Hold the antenna in your hands and achieve a level of 60-70 percent. If the tests were successful, then you can take up the installation of the bracket.
- Carefully inspect the installation site and make sure it is reliable. Take a hammer drill in your hands and make holes in which the anchors later fall.
Important! Dimensions are selected depending on the surface materials and the weight of the selected design.
- Is the bracket fixed? Proceed to installing the antenna. The whole process is described in detail in the instructions for the equipment supplied.
Important! If you doubt the chosen direction, do not rush to tighten the nuts.
Connection
How to set up a plate? The last step remained to clarify the correct answer. Prepare the cable by screwing the F-ku onto it and transfer it from the receiving head (converter) to the tuner (receiver).
In this case, you need to follow this algorithm:
- Cut the insulation of the cable about 1.5 centimeters from its edge.
- Bend the bundle of aluminum wires out.
- Now we proceed to release the core of the cable from the foil. You need to do this somewhere at 8-9 millimeters from the screen itself.
- We clean the copper core from the remnants of foreign material and attach F-ku.
Important! Make sure that the core sticks out from the F-ki somewhere by 2 mm. If there are surpluses, then get rid of them with the help of nippers.
- We perform similar manipulations with the second end.
- We connect our “work” with the converter and the tuner.
Setting parameters
The tuner setup for the satellite dish will look like this:
- Go to the tuner settings and select the signal source. To do this, you need to specify the desired frequency, which can be found in the description, and also select the polarization of the satellite.
- After completing the previous steps, two bars should appear on the screen: the first indicates the presence of a signal, and the second characterizes its power.
Important! When properly installed, this level should not be less than forty percent.
- We increase the quality, if necessary, and go to our plate.
Important! Do not tune alone. In any case, you will need an “observer”.
- Proceed to rotate the plate to the right and up. From this position, begin to slowly rotate the plate in the left direction, not forgetting to be interested in the signal level.
- If you didn’t succeed in catching the signal, you will have to lower the plate a few millimeters and repeat the rotational manipulations.
Important! First, it is desirable to catch at least 20% of the signal quality, and then it is already possible to fix the plate stronger. Then, without much effort, we correct the direction and achieve a value of 60-70 percent.
- Continue adjusting clockwise or counterclockwise until the maximum value is set.
- If the base receives the data very well, then adjust the position of the converter. We indicate for him the “native” satellite and catch the desired frequency.
- If there is A, B, C marking on the inputs of “Disek”, then in the same sequence it will be necessary to make changes to the TV tuner.
to contents ↑Important! After the mechanical installation, it is worth putting in place a “cosmetic order”.For this, more detailed information is already ready for you in the article."How to hide the wires from the TV?".
Stock footage
Run “Automatic Channel Search” on your TV screen or insert a special card from your service provider. On this, the tuning of the satellite dish tuner can be considered complete!
- How to choose a vacuum cleaner taking into account the characteristics of the house and coatings?
- What to look for when choosing a water delivery
- How to quickly create comfort at home - tips for housewives
- How to choose the perfect TV - useful tips
- What to look for when choosing blinds
- What should be running shoes?
- What useful things can you buy in a hardware store
- Iphone 11 pro max review
- Than iPhone is better than Android smartphones
 (No ratings yet)