Flush laptop keyboard

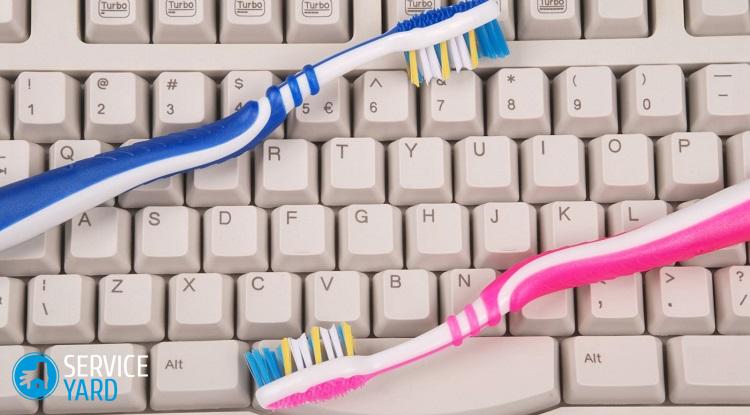
Cleaning your laptop keyboard is a must-have process that must be done at least once a year. But there are such incidents when an incompatible liquid is spilled on your favorite equipment. In such cases, it is important to know how to flush the laptop keyboard so that it does not stop working forever.
to contents ↑First steps
So, you spilled tea, coffee or other substance on your equipment that should not be inside the equipment. Your first reaction in such a situation should be the following:
- Disconnect the device, remove the battery.
- Next, you must remove the keyboard so that the liquid does not flow even further.
How to remove the keyboard?
To remove the module with buttons to flush the keyboard of the laptop, in most cases there is no difficulty. It will be harder to disassemble after, but more on that later.
Important! In order to make sure your actions are correct, find the disassembly guide for your device on the Internet and follow the instructions.
Keyboard locking methods
Typical for most types of laptops, there are 2 types of keyboards:
- On latches - disconnects without removing the case.
- The second one is attached under the upper panel of the case.
Consider in more detail the rules for removing each type.
The keyboard of the first type is much easier to remove than the second. This is done as follows:
- Take a flat screwdriver, look in the instructions for the latches that secure the print part to the housing.
- Remove it from the latches. Be extremely careful - do not damage the cable that connects the laptop board to the keyboard.
- Unfasten the cable from the latch - there are 2 types of them. For the first, you need to slightly raise the fastener itself, the second must be moved aside.
- Remove the keyboard completely from the device and set it aside - we will not need it anymore.
Modules of the second type are removed according to the following algorithm:
- Take a thin flathead screwdriver, knife, or an unnecessary credit card.
- Pry one edge of the panel and unfasten the latch on this edge (usually the panel is attached in the same way as a keyboard of the 1st type).
- Further along the perimeter, unfasten all other locks - latches, they should already be easier to unfasten.
- Remove the top panel.
- Now you need a Phillips screwdriver to unscrew the retaining screws. They should be a pair on the back of the device.
- After - gently disconnect the keyboard cable from the lock on the motherboard.
Now that the keyboard is removed, you can proceed to the second stage - cleaning it from unnecessary components.
to contents ↑Preparation for cleaning
The next item in our hard work to restore the keyboard will be a breakdown.
Important! You need to understand the following: if the liquid was spilled on the device not only that, but days earlier or worse - for weeks, it will not be possible to simply wash the laptop keyboard. Most likely, you will have to restore the paths affected by corrosion.
Remove the keys
First you need to remove the keys from the most problematic area. The key consists mainly of 2 parts - an elevator and a platform. Sometimes a spring element also comes in. Do not forget to check the instructions. The removal takes place in several stages:
- Take a thin screwdriver, the one used to open the latches will do.
- From the bottom of the key we insert our tool and remove the pad directly.
- Continue to point 2 until all is removed.
- Next, remove all the elevators - the removal technology is the same as with the platforms.
Important! Before you remove all the buttons, take a picture or somehow fix their placement, otherwise there is a risk of collecting everything incorrectly.
Last preparations
Now that the keys are removed from the aluminum substrate, you need to remove the plastic board with tracks. That it needs to be washed in order to restore the PC.
In the most common version of the board of polyethylene parts, three to two of them have contact tracks on them, while the third serves as a separator (substrate) between them.
Important! In the new keyboards, these three parts cannot be disconnected among themselves just like that. They are glued and tracks from the board can come off with glue. The glue is usually blue.
In order to completely disassemble the last obstacle, you need a hairdryer and a scalpel. Gently warm and disconnect the boards. Paths damaged by a hairdryer will need to be repaired later, but this is still better than if you peeled them with glue.
And the final final step in preparing for cleaning will be the decision to rinse the laptop keyboard. Alcohol and a lint-free cloth or sponge are good for this.
Direct flushing
Rinsing a laptop keyboard is no easy task. Here, clearly adhere to this procedure in order not to aggravate the situation:
- Remove any visible spills with prepared materials.
- Let the board dry for at least 2 hours.
Important! Drying keyboard elements on any heating devices is strictly prohibited.
- Usually damaged tracks can be seen with the naked eye, but it is best to test them with a special device.
- Repair damaged areas with conductive paint.
- Allow the “newborn” contacts to dry (1-1.5 hours).
- Reassemble the keyboard in reverse order. The buttons on the elevators will need to be pressed until they click.
Important! Buttons such as “space” or “enter”, in addition to the usual plastic latches, may have metal fasteners. Make sure to place them correctly.
- After attaching the loop, check the operability of your device. This can be done in a simple notebook or with the help of special programs that can be easily found on the Internet. If everything is in order, assemble the laptop completely.
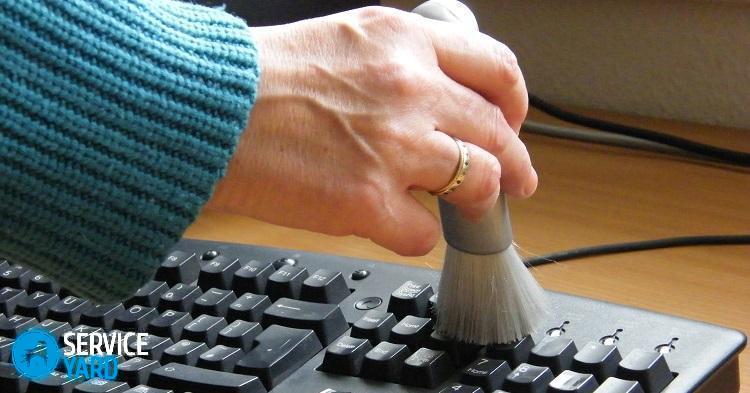
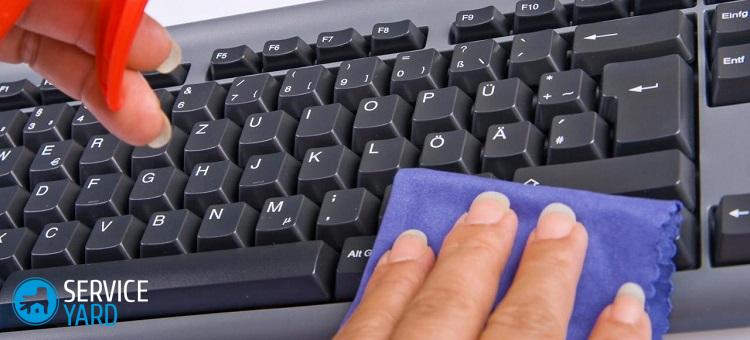
Important! Remember to periodically clean your laptop from dust. About how often you need to do this and the entire algorithm for carrying out these works, we described in detail on our portal in the publication"How to clean a laptop from dust".
Useful Tips:
- To the question of how to rinse a laptop keyboard, there are many different answers. Most of them are incorrect and can lead to even more damage to the device. Be careful and careful in choosing a remedy.
- If you encounter a situation when you fill the keyboard with liquid, but it continues to work normally, only the keys stick a little, it doesn’t matter. The way out in this situation is quite simple - just clean the key lifts.
to contents ↑Important! Fans of using a laptop while lying on a bed or sofa will find the information we collected in our publication useful “A good laptop stand”.
Stock footage
To summarize, rinsing a laptop keyboard at home is a rather difficult and lengthy task that requires attention and caution. Follow our tips, do not forget to look at the instructions and be extremely vigilant. Then an expensive repair is not needed - your equipment will work like new!
 (No ratings yet)