

DIY laptop battery repair
Many computer technology users are asking one question: how to repair a laptop battery with their own hands? The question is quite justified, since the breakdown of such a component makes the computer device itself useless. Without a battery, it is impossible to turn on a laptop without using a cable, which negatively affects the laptop’s main task - mobility. In the service center, such work will cost a lot of money, and buying a new item will come out even more expensive. Today we will review the most popular instructions and deal with the existing causes of breakdowns and incorrect operation.
to contents ↑Home Repair
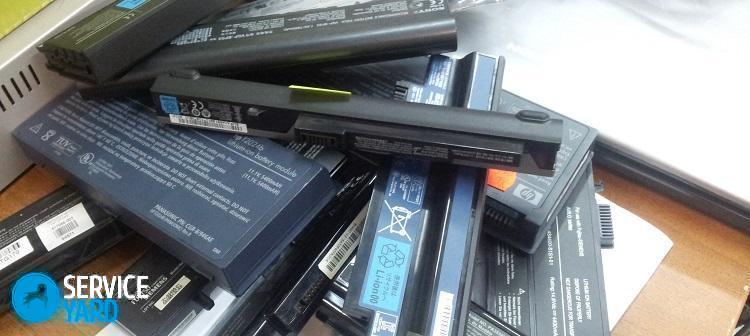
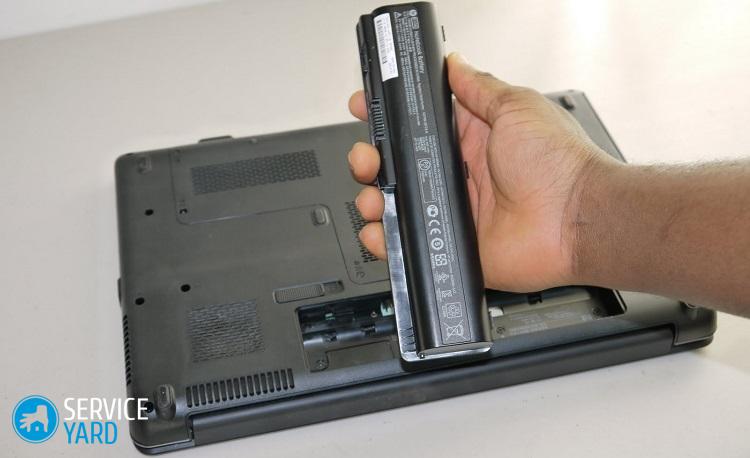
During operation, the device’s battery loses its original energy capacity, which directly affects the duration of the device’s battery life. If your laptop only works for an hour after a full charge or completely stops turning on without using a cable, then you should not run to the first store you come across and buy a new component, as some cases allow you to repair the part yourself at home.
How to repair a laptop battery and where to start? Let's pay a little attention to diagnostics.
to contents ↑Using third-party software
If the battery starts to run out very quickly, you should first calibrate this component. The most convenient and reliable way is to use third-party software from one of the manufacturers:
- If you are the proud owner of a laptop from the manufacturer Lenovo, then for you there is a utility Energy Management.
- For owners of Acer - Care Center.
Important! Detailed information about the program can be found on the Internet, indicating the model of your device.
The bottom line is that you just need to run the utility through the functional mode in which your battery is completely discharged and recharged.
Important! Remember that during calibration it is not recommended to turn off the power supply and turn off the power supply, as well as use a laptop for your own purposes.
The process itself takes about three to four hours. Some problems can be resolved by such a calibration, and the former battery performance will immediately return. If these procedures did not bring you the desired result, we recommend that you familiarize yourself with other methods.
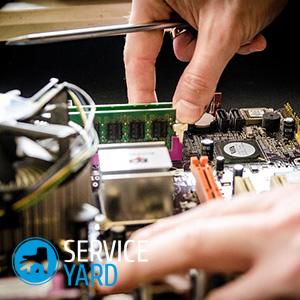
We climb inside
How to fix a laptop battery? You can try to intervene in the design of the device, if the calibration could not give you the desired result. First, you need to prepare a little and get the following tools:
- Special breadboard knife.
- Measuring device. Perfectly for such tasks the usual “TESHKA” or any other multimeter is suitable.
- A soldering iron with power parameters of not more than forty watts.
- Several light bulbs for a car with power settings of 21 watts.
- Special technical cyanoacrylate adhesive.
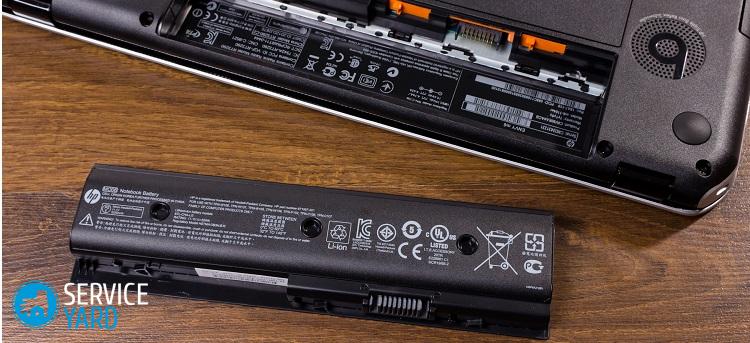
As you may have noticed, batteries for all laptop models are not designed to be taken apart, so you will need to resort to using a breadboard knife or other sharp object in order to pry and open the case. Next, you need to follow the following algorithm:
- Locate the seam on the surface of the battery and carefully cut it. Use these precautions to prevent damage to internal components.
- Next, determine what type of battery your battery belongs to, since this information will greatly affect the course of work:
- In newer models, lithium-ion batteries (Li-ion) are most often installed.
- If your device is older than three years, then a nickel-metal hydride battery (NiMH) can also be inside.
The following steps depend on the type of battery installed.
Nimh
How to fix a Ni-MH-type laptop battery? The following detailed instructions will help you:
- Determine the exact number of power components inside the device.
- Multiply this number by a factor of 1.2 to select the nominal battery voltage.
- Use a soldering iron to solder car bulbs to the extreme terminals of the batteries, which are connected in series.
- Use a multimeter with a measurement limit of twenty volts. Check the voltage values on the lamps. If the parameter values correspond to the nominal, then you can proceed to the next paragraph of the instruction. If the values are less than the nominal values, it is best to set a limit of 2 Volts on the measuring device and check the voltage values on all individual elements.
Important! It is best to make marks with a marker on those elements whose voltage is less than 1.1 Volts. If you find such items, you will need to replace them in the future.
- Take a few more bulbs and attach them to each element. Solder the wires and leave the entire structure for 12 hours to fully discharge the battery.
- Now use the laptop power supply and one lamp, which is connected in series to the battery. Set the voltages for each component to 1.1 Volts, then fully charge the battery.
- Discharge and charge the part two more times.
- Now glue the case and check the correctness of the work done by connecting the power supply to your laptop.
Important! If you are unable to achieve the desired result, you will have to resort to replacing all the elements at once.
Li-ion
Can I fix the battery from a different type of laptop? Let's take a closer look at the answer to this question.
Important! Working with such batteries is dangerous, so be extremely careful when handling these parts. Make sure that the battery has been completely discharged before starting work.
To restore, you will need to do the following:
- Determine the exact number of batteries and multiply the resulting number by a factor of 3.7. The resulting value is nominal.
- Connect the bulbs to the extreme terminals of the elements, which are connected in series. To connect, you will need to use a soldering iron.
- Lock the voltage level. If this value corresponds to the nominal, then you can immediately proceed to the fifth paragraph of the instruction.
- If the value is less than the nominal value, then unsolder the controller and all contacting elements, using a measuring device, check the values of each separately. If the measured number is less than the nominal, then leave a mark with a marker for subsequent replacement.
- Discharge all elements with car bulbs to a value of 3.2 Volts.
- Assemble the battery and charge it fully.
If all the actions were performed correctly, then the laptop should work without a cable.
to contents ↑Important! We will not lose sight of another problem when the power elements have not been used for a very long time. If you have not used the battery for a long time, then the threshold voltage level at which the protective controller is activated will decrease on it. In this case, the component will not be charged, and the output voltage at its terminals corresponds to a zero value.
Stock footage
Now you know how to fix a laptop battery yourself without contacting a service center. Improve your knowledge and gain new useful experience in working with electronic devices!
- How to choose a vacuum cleaner taking into account the characteristics of the house and coatings?
- What to look for when choosing a water delivery
- How to quickly create comfort at home - tips for housewives
- How to choose the perfect TV - useful tips
- What to look for when choosing blinds
- What should be running shoes?
- What useful things can you buy in a hardware store
- Iphone 11 pro max review
- Than iPhone is better than Android smartphones
 (No ratings yet)