

DIY Electric Shaver Repair
Even though thick, well-groomed beards are in fashion now, a smooth-shaven man has always attracted women. But what helps to be so clean-shaven? - Electric shaver. They are beautiful in everything, except that they break, and it is quite possible to repair the Brown electric shaver with your own hands, it would only be a desire. And it should arise, because it’s not at all a fact that instead of a device ideally suited for all parameters, you will get a new one, but not so convenient. We will tell you how to fix an electric razor in this article.
to contents ↑Cleaning the shaver head
As you know, all modern electric shavers are divided into 2 main classes:
- Mesh;
- Rotary.
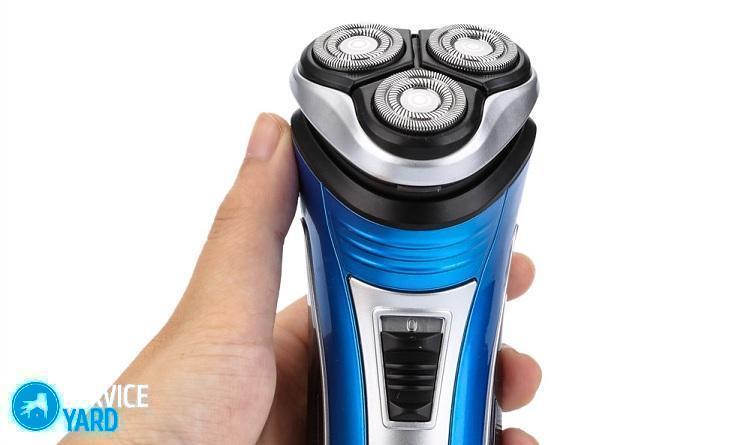
Rotary are named so because the knives rotate like a rotor. Before considering the independent repair of an electric razor, we describe the cleaning process. Perhaps you don’t have to repair anything, you just needed timely care for the parts of the device.
In most cases, when the device stops fighting with a beard, this means that the head is clogged. A brush, as well as a special aerosol, often come with the electric shaver itself. It's time to find out what these items are for.
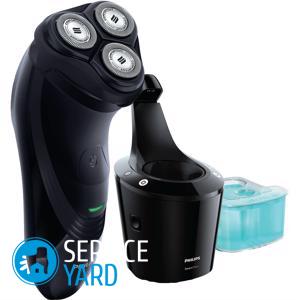
Cleaning the rotary electric razor
Roughly speaking, the head of an electric razor serves no more than one year. After this period it is considered that it is time to change it. And by itself, every 3 weeks it is recommended to eliminate the dirt from this block. If we are talking about a rotary electric shaver, start with external grids:
- Carefully but gently brush in a circle around each of the nets, sweeping them all trimmed hair.
- After that, unfasten the knife block from the body of your electric shaver. Usually, this module is disassembled into its component parts.
- Remove the holder with knives and nets from the plastic frame.
Pairs of cutting surfaces are also divided into two parts. After disassembling on the table you should have:
- plastic frame;
- knife;
- holder;
- rotary knife.
Each knife has the shape of a flange sleeve. This is a segment of a thick-walled pipe, at the end of which there is a washer three times the diameter. On the appeared platform with a hole in a circle in the middle are beveled protrusions along with cutting surfaces.
Important! Be extremely careful, even in a dull condition, the blades of an electric razor can cause harm to human health. By the way, the same applies to grid models. That is why it is extremely careful to handle knives.
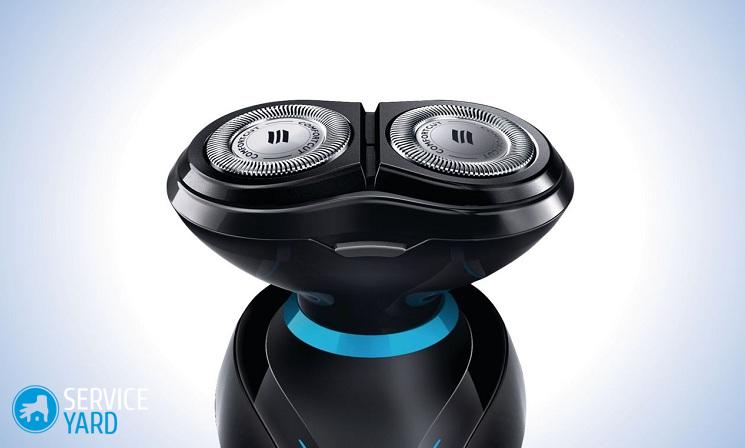
Everyone saw the grid. They are round parts with small holes in a circle, sliding during shaving:
- Using a brush, sweep every part of the electric shaver head. If an aerosol comes with the shaver, spray the nets and knives with an aerosol and clean again.
- Now collect all the elements together and set back.
- A small click means the electric shaver is completely ready for shaving.
- Be sure to check the mechanism after assembly. It may well happen that the parts are not assembled correctly, or the block of knives crookedly stood up.
- In this case, disassemble the electric shaver following the above recommendations.
If this does not help, then it’s time for you to get a new head.
Cleaning the electric razor
Do not rush to take up the brush, as in the previous case. This cannot be done. Even soft touches can damage the original shape of the grid.In this case, not only the electric razor will work worse, it is quite possible and the knives will be blocked.
Instead of trying to clean the razor:
- Find a disinfectant spray and treat the blades with it before washing. Of course, this tool must be intended for these purposes.
- Also try to hold the knives under ultraviolet rays (a lamp) in order to block the growth of bacteria.
Rotary Shavers
To find out which part of the electric shaver needs repair, we proceed step by step.
Engine
The internal mechanism of the rotary electric shaver is quite simple:
- Inside is an engine that transmits torque to two or three knives using an output shaft and an eccentric gear. Outside, everything is protected by a plastic case.
- In order to filter the instability of the supply voltage, several chokes as well as capacitors are located inside.
- Shavers that are designed for use with a variety of voltage must have a special switch. To realize the technical capabilities of working from various networks, the stator coil has four windings. As a rule, their wires have their own fixed color.
Knives
Before you disassemble the electric shaver with your own hands, try to turn it on without knives. In the event that there is no automatic blocking during the absence of the head, the drive must rotate. If this happened, then the matter is in the head. Remove it, disassemble and inspect.
Important! In this case, such an option is possible when the electric shaver buzzes in the assembly, but the knives themselves do not rotate.
Food
The next step is to check the voltage in the mains. If everything is in order with the network, disconnect the wire together with the block from the case and measure the voltage on it by connecting it to the outlet.
Important! Be extremely careful to avoid electric shock.
You can check the cord by calling it with a multimeter. If the signal is rather uncertain, you are probably dealing with a floating cliff. In this case, try to apply power to the electric razor through another wire. If everything is in order, then the problem itself was directly in the wire.
Stators
If up to this point no problem has been identified, go to the stator windings. It will be enough to ring each of them if it is known which conclusions are located and where. The resistance of the windings must necessarily be Ohm units.
To repair a razor in which the stator is faulty is not possible with your own hand.
to contents ↑Stock footage
Most often, in case of malfunctions, it turns out that you just had to clean the device so that it would continue to work flawlessly. Other problems described in this article may also appear as the system wears. We hope that the work done nevertheless yielded positive results, and you did not have to go in search of a new electric shaver.
- How to choose a vacuum cleaner taking into account the characteristics of the house and coatings?
- What to look for when choosing a water delivery
- How to quickly create comfort at home - tips for housewives
- How to choose the perfect TV - useful tips
- What to look for when choosing blinds
- What should be running shoes?
- What useful things can you buy in a hardware store
- Iphone 11 pro max review
- Than iPhone is better than Android smartphones
 (No ratings yet)