

How to make jewelry with your own hands?
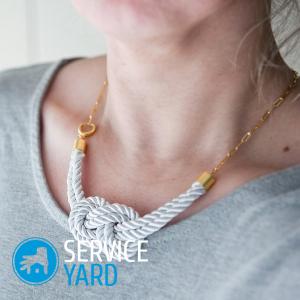
Women's jewelry is not just jewelry that can complement and emphasize any outfit, but also a way to express oneself. Unfortunately, modern products are quite expensive, and not every fashionista can afford to have several pendants, necklaces or bracelets at once. But there is always a way out. You can engage in the independent production of these accessories. In addition to the fact that today hand-made is at the peak of popularity, such products will cost you much cheaper than purchasing ready-made ones. In order for you to have your own set of accessories for each outfit, we will tell you how to make jewelry with your own hands.
to contents ↑What do you need for this?
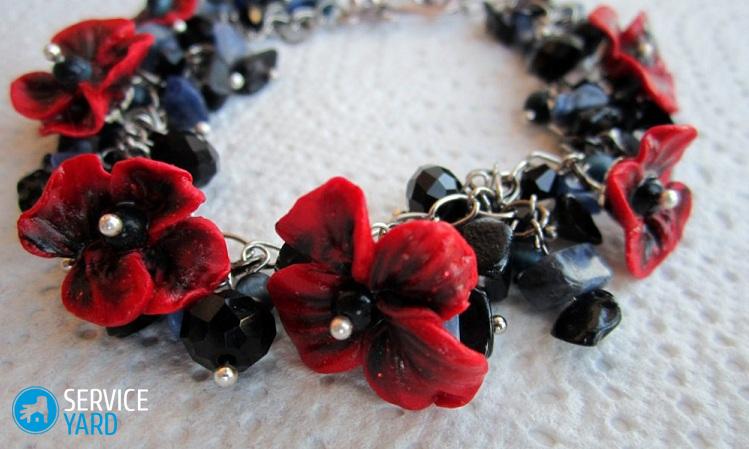
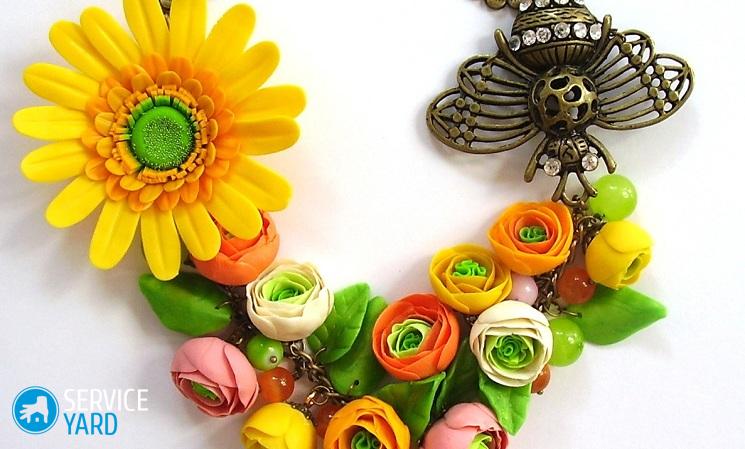
Making jewelry with your own hands is not only the creation of fashion accessories, but also a great way to escape from everyday problems. If you decide to engage in this craft, then for starters you should stock up on the necessary materials and accessories.
Important! Sometimes to create a stylish and unique decoration it is not necessary to purchase expensive accessories. Pay attention to old beads, hairpins or pebbles removed from already unnecessary clothes.
Depending on the model of the future product and the method of its manufacture, you may need:
- beads;
- bugles;
- polymer clay;
- satin ribbons;
- Chains
- beads;
- various fasteners and hooks.
For lovers of high-quality and more expensive jewelry, crystals, natural stones, silver-plated metal will be an excellent option.
Important! Blanks for making jewelry can not only be purchased, but also found. For example, various shells, bright feathers and pieces of wood. The main thing is to have a creative approach.
To make jewelry, you need to learn how to properly fix decorative elements and know the basic patterns of weaving. Therefore, to begin with, you should purchase not only accessories, but also the necessary books or magazines with educational material. If you master the basics, then you can make not only classic jewelry options, but also various non-standard and avant-garde models of any complexity.
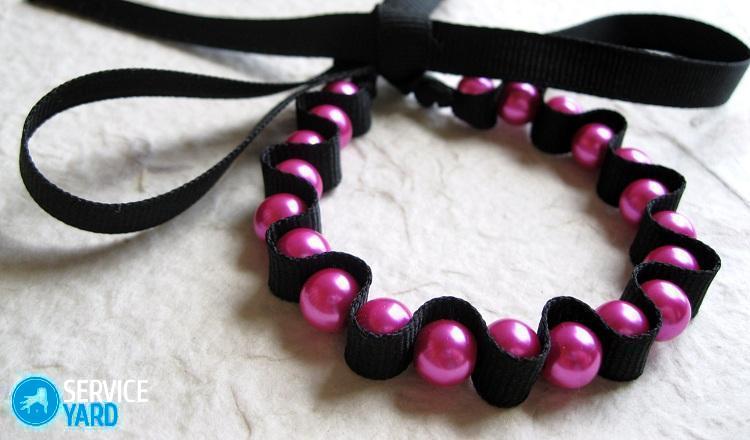
to contents ↑How to make jewelry from beads?
Such accessories from beads, like plaits, bracelets, earrings and flowers, not only complement the image as a whole, but also add some ethnic touch to it.
Important! Beginning needlewomen should take into account the fact that working with beads is quite painstaking and difficult. Therefore, proceeding to beadwork, one should be patient.
Before you start work, you need to know some facts about beads:
- Basically, this type of hardware is made of glass.
- The cheapest beads are made in China. Unfortunately, beads most often have an uneven shape and can fade after some time.
- Good quality beads are made in the Czech Republic and Japan. Its color is durable, and the product will last you more than one year.
In addition to the fact that the beads look very beautiful, it is also a fairly versatile material. From it you can make the most diverse and unique jewelry - rings, necklaces, bracelets, hair clips and earrings. The most important thing is to learn the basic techniques of beadwork and connect your imagination.
Important! Today, the Internet offers a lot of free PC programs to create patterns for the manufacture of unique jewelry.
Bead earring workshop
You will need:
- 2 types of beads;
- Nylon thread;
- Scissors;
- Needle;
- Schwenzy.
Operating procedure:
- To get started, prepare a nylon thread 30 centimeters long. Fasten the knot at its end.
- String each bead one by one. To do this, go through the hole of each bead with a needle twice. You should get 10 beads of each kind. Fasten everything with a knot, twist into a ring, and cut off the excess thread.
- To weave the second row, you need to remove the needle with the thread from one of the beads already fixed in the ringlet, string another 7 pieces on it and return the needle to the next bead. Next - do the same operation along the perimeter of the workpiece, only string 5 beads. Therefore, one should weave to the end.
- You need to fix the last arc with 3 beads, which are removed from the first beads of the first arc. You should get something similar to weaving a basket.
Important! You can weave everything with the same beads, or you can alternate. It all depends entirely on your taste preferences.
- In the second row you need to make 5 arcs. To do this, the first arches of the second row must be connected with 5 beads, the next 2 - skip and sew through the bottom with a needle. Therefore, it is necessary to make the whole series.
- The third row according to the same pattern should be made of arcs of 3 beads. In the end, everything needs to be well fixed.
- On one of the vertices of the arcs, make a loop and hook on the earring.
to contents ↑Important! Such earrings can be supplemented with a stone inside.
Knitted jewelry - stylish and unique.
Knitted jewelry is one of the most common types of handmade jewelry. You can purchase or find at home a huge number of accessories and accessories, putting together which together create very interesting compositions:
- If this is your first time encountering knitted jewelry, then it is best for you to start with simple models of beads and earrings. To do this, you need to take wooden beads and tie them with base columns without a crochet.
Important! In order to make the finished product more original, you can alternate different colors or textures of the threads.
- As for the more experienced craftswomen, they can create whole sets decorated with additional knitted elements.
Important! Knitted jewelry can be used by young mothers, as they are absolutely safe for the baby's health.
- If you decide to make knitted jewelry, you should also purchase a special stand that will securely fix the workpiece during operation.
to contents ↑Important! Instead of a stand, in the initial stages you can use a regular table fork.
Wire jewelry
Despite the general opinion that wire is a rather crude material, very feminine and sophisticated products come out of it. Taking into account modern technologies, the wire is sold in needlework stores of different diameters, and due to its flexibility, you can make absolutely amazing and unique weaves.
Important! Not only women's jewelry can be made from wire, but also various interior decor items.
Types of wire for jewelry
Before you begin to work, you should clearly know which material is right for you. To make hand-made jewelry, you need to use the following types of wire:
- Brass. It is a fairly resilient and corrosion resistant material. It bends well, so it does not create difficulties during operation.
- Aluminum. By its characteristics, this metal is similar to brass. The difference lies solely in color, as aluminum has a bluish-gray hue.
- Thin steel cable. This material consists of several thin strips of galvanized metal that are woven together. Products from it are quite rough.
- Wire mesh. This material is ideal for making jewelry. The most important thing is to choose the right wire diameter and turn on your fantasy.
- Copper. Its advantage is that it shimmers with different colors, respectively - you will not be limited in the choice of additional decorative elements.
Important! Due to the fact that copper does not shine, you can make massive jewelry from it, while not looking foolish and stupid.
Copper wire ring workshop
You will need:
- Hammer;
- Wire;
- Nippers;
- Pliers;
- An object that is identical in diameter to the size of your finger.
The order of work to make jewelry with your own hands:
- On a base that will replace your finger, wind several turns of wire.
Important! The number of turns depends solely on the width of the future product.
- Tighten each end of the wire in the opposite direction. This way you get a little knot.
- Twist the edges so that they look like a flower. Once it is the right size, the excess wire must be cut, but not all. You should leave an unscrewed edge 1-2 cm long on both sides of the product.
- Next - the untwisted edges need to be screwed onto the rim of the ring itself in the opposite direction from the flower.
to contents ↑Important! According to the same scheme, you can make a whole bunch of flowers on the ring.
DIY jewelry
Even these types of accessories can be made at home. You won’t make twisted necklaces without special equipment, but you can do simple rings and chains. To begin with, you should study the educational literature and acquire the necessary material.
Important! When training, you can do without valuable metals, and use non-ferrous, such as: tin, lead or copper.
Materials for work
For the manufacture of jewelry you will need the following tools and materials:
- Steady table;
- Set of hammers;
- Vise
- Files;
- Forceps;
- Tweezers;
- Alcohol or hydrogen burner;
- Muffle or induction furnace.
Important! Such furnaces can be made independently, and drawings can be found in old periodicals.
Once you have mastered the basic skills, you can go directly to working with precious metals.
Master class in making silver pendant:
- First you need to decide on the design. In this case, the suspension will have a simple, but, nevertheless, curly frame. A stone can be absolutely any. It all depends entirely on your taste preferences.
Important! If you are making this accessory for yourself or a loved one, it is very important to choose a stone that suits him.
- Using a torch, the metal should be melted to a liquid state.
Important! This process is the most unsafe, since the heating temperature reaches 960-1000 degrees.
- Take a crucible with molten metal using forceps, while not ceasing to heat it, transfer the silver alloy to the mold.
- Transfer the mold with the alloy to a container with cold water.
- Shake the finished silver bars onto the surface of the table.
- Next, rolling should be carried out using a special rolling machine. Thanks to this stage, your whetstone will acquire the desired shape, smoothness and shine.
Important! In order to make the metal billet more pliable, it should be fired periodically during rolling.
- After the workpiece has acquired the desired shape, it must be wrapped around your stone. The metal base must completely fill its form. If this is difficult to obtain, then additional firing should be used.
Important! While shaping the future pendant, you can help yourself with pliers.
- Next - the excess edges of the metal tape must be cut off, and the cast form must be soldered. You need to dip the finished cast into the flux, then connect the edges tightly and heat the burner to redness.At the same time, the solder should also be heated, after which it should be applied to a void between the edges with a thin spoke. He must fill it out. Put the finished workpiece in water with citric acid for bleaching.
- In order for the stone not to fall out, you need to make one more half of the base. It must be made in the same way: we melt, roll, give shape.
- Insert the second circuit into the main one, using a lamp, solder them so that possible voids disappear.
- Next, insert the stone into the mold.
Important! Most often this stage goes with difficulties, so you can help yourself with a wooden hammer.
- In the end, you should make an ear for the suspension. You need to take a silver wire and, using a pair of pliers, bend it. Solder it to the caste.
- Next, finished workpieces should be decorated. To do this, the silver frame needs to be sanded with sandpaper, along the perimeter to make notches to hold the stone.
- Fasten the stone to the frame, bend the notches and polish.
That's all, your suspension is ready!
to contents ↑Stock footage
Making jewelry at home is a rather complicated process. In order for you to get a unique thing, you should spend a lot of time and effort. The most important thing is to be patient and go to your goal. Only then will you succeed.
- How to choose a vacuum cleaner taking into account the characteristics of the house and coatings?
- What to look for when choosing a water delivery
- How to quickly create comfort at home - tips for housewives
- How to choose the perfect TV - useful tips
- What to look for when choosing blinds
- What should be running shoes?
- What useful things can you buy in a hardware store
- Iphone 11 pro max review
- Than iPhone is better than Android smartphones
 (No ratings yet)