

How to sew leather on a sewing machine?
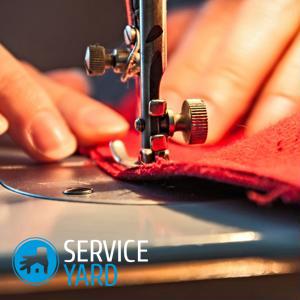
Leather products have always been very expensive. This material is widely used in sewing clothes, making a variety of accessories and even jewelry. Unfortunately, the skin is rather whimsical, you should work with it with special care. Therefore, if you decide to make any crafts, we will tell you how to sew the skin on a sewing machine correctly so that the finished product lasts you a single year.
to contents ↑Varieties and types of leather
The general appearance and thickness of the skin depends entirely on the raw material from which it was made, as well as on the technology of excrement. Accordingly - the material is divided into grades, from which further finished products are made. For example:
- soft leather is used for sewing vests;
- for bags it is best to take a hard grade;
- as for the manufacture of jewelry, in this case it is most appropriate to use like soft skin.
Tools required for work
Before stitching the skin at home, you need to consider the fact that it has many of its “secrets” and nuances. They should be known and applied while working with this material:
- When cutting out details, it should be remembered that the skin in its structure in the transverse direction stretches much more than in the longitudinal one. Accordingly - if the details of the pattern are paired, they should be cut in the same direction.
Important! Pins cannot be skinned, as traces remain that will be visible on the finished product.
- Depending on the type of material with which you work, you should select the necessary tools. For example, you can stitch soft skin on a sewing machine using needles No. 80 and No. 90. As for the coarse variety, in this case it is best to work manually using a special needle, in which the point is made in the form of a trihedral tip.
Important! When sewing leather on a sewing machine, the stitch length should not be too small. This is due to the fact that due to frequent punctures, the material at the junction will simply burst.
- The skin incision also needs to be done with a special tool. For these purposes, a boot (furrier) knife is best suited.
Important! Such material should be cut on a plastic surface or plexiglass, since if the process is carried out on a wooden basis, the knife will simply crash into it.
In addition to the above tools, you will also need:
- Thimble;
- Rubber glue;
- Strong synthetic threads;
- Glue reinforcement for joints;
- Hammer;
- Awl.
How to sew skin at home?
Depending on the grade of the material of the future product you have chosen, the presence of any skills and knowledge, the skin at home can be sewn in three ways:
- A needle;
- Crochet;
- On a sewing machine.
Further, in more detail, we will tell you about each of them.
Sew the skin with a needle
To flash this material with a needle, you need to adhere to the following sequence of actions:
- Apply a line to the material by extrusion, which will serve as a guide for your subsequent work.
- Using a hammer and punch, make the number of holes you need along the line.
Important! When making holes, put a piece of thick rubber under the material.
- Cut the finished holes.
- Place the material in the clip. Now you can proceed to stitching.You can sew with a saddle seam, “forward needle” or connect parts with a seam over the edge.
Important! If you wish, you can simultaneously work with two needles, and to facilitate the work, pre-rub them with wax.
How to crochet leather?
If you do not have a special needle, do not despair. You can do fine with crochet or awl. This should be done very carefully, because, unfortunately, stitching leather details in this way, they can be easily damaged.
The procedure is as follows:
- Clamp the awl or hook in one hand, and the prepared stitch in the other.
- Make a hole on the outside of the workpiece and insert a hook into it.
- Make a loop of thread on the wrong side, and hook it onto the front of the workpiece.
- Disconnect the hook and pull on one end of the thread. As a result, you will have one end of the thread on the front side, and the other with the wrong side.
- Make another puncture on the material.
- Insert the hook into the hole and hook the thread from the wrong side. Pull it up so that its tip rises above the front side at a height of about 10 millimeters.
- Release the hook, and into the resulting loop, stretch a piece of the previously obtained thread.
- Tighten the stitch, then pull the thread from the inside.
- At the end of all work, as soon as the first and last stitches come in contact, take a few steps in the opposite direction. The thread should be pulled into the old holes.
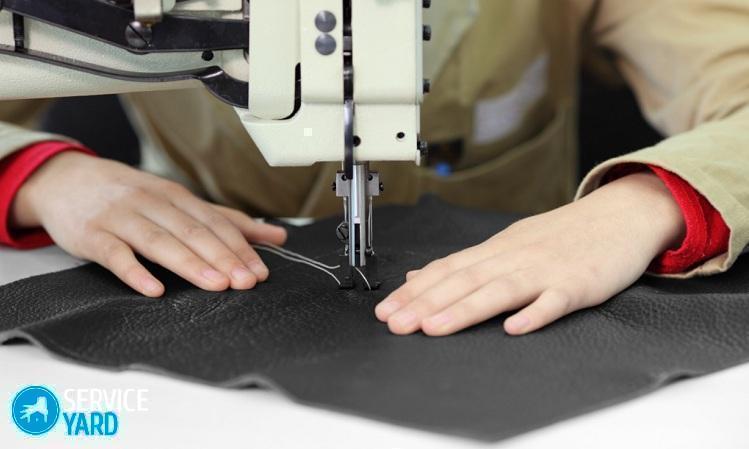
How to sew leather on a household machine?
I would like to start right away with the fact that you can stitch the skin on a regular sewing machine, but not thick. A sewing machine can well cope with a material thickness of about 1-1.5 millimeters, but with a denser one, you have to tinker manually. The sewing process itself is similar, the only difference is that you first have to create special “conditions” for your working tool:
- The needle for sewing leather should be special, with a round cross-section. The end of such a needle has sharp edges, but due to the non-standard shape, it easily punctures the material, while carefully pushing the fibers out without cutting them.
- If the needle cannot cut a hole during operation, you can install the needle more tightly or replace the material with a thinner one.
- If there are difficulties with the threads and they do not tighten, try replacing them with linen or nylon.
- In order for the conveyor to easily cope with the progress of the material, purchase a special roller, fluoroplastic or teflon foot.
to contents ↑Important! Very often, so as not to spend money on the purchase of an extra foot, experienced tanners lubricate the pattern with oil, sprinkle it with talcum powder or simply help your hands advance during work.
Tips & Tricks
And finally, we want to offer you some practical tips that will be useful to you during the manufacture of various leather products:
- Try to choose patterns that do not require planting. As for complex shapes, they are best done with complex seams rather than tucks.
- When sewing clothes, avoid kimono sleeves. It is best to work with a shirt cut, as it has a deep armhole.
- When working with skin, you should use already proven patterns. If this is not possible, sew a test item from another material.
- Before cutting from the wrong side of the material, mark holes and various irregularities that you can get around when cutting parts. Do it better with a ballpoint pen or pencil.
- During cutting, the skin is stretched in different directions. Therefore, it is very important to observe the correct direction of the paired parts.
Important! When cutting suede should be guided by the direction of the pile. It should be located from bottom to top.
- During operation, the skin must be constantly ironed. This should be done from the wrong side through a dry cloth with a non-hot iron.
Stock footage
As you can see, if you know all the subtleties and nuances, the manufacture of leather products is a fairly simple process. We hope that our article will help you master the basic skills of this craft and freely apply them in practice.
- How to choose a vacuum cleaner taking into account the characteristics of the house and coatings?
- What to look for when choosing a water delivery
- How to quickly create comfort at home - tips for housewives
- How to choose the perfect TV - useful tips
- What to look for when choosing blinds
- What should be running shoes?
- What useful things can you buy in a hardware store
- Iphone 11 pro max review
- Than iPhone is better than Android smartphones
 (No ratings yet)