

DIY dress for graduation in kindergarten
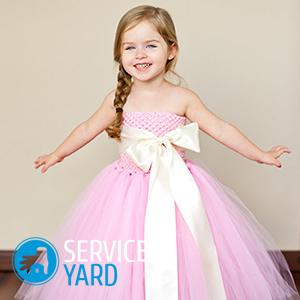
Do you know how to sew or not sew a dress for graduation in kindergarten with your own hands? In any case, you have something to think about. Of course, any prom dress can be bought, but we offer you a great alternative - to sew it yourself. Why not? So, in the sewing process, you can take into account not only the most popular holiday models of the outgoing year, but also the wishes of your child. Yes, this is a rather painstaking process, which is worth a lot of work, but believe me, it's worth it. Having made such an outfit yourself, you guarantee him uniqueness and originality. Your daughter will not see such a product on another girl, which is important to maintain a good mood and personality.
to contents ↑Preparatory stages
Before you sew a dress for graduation in kindergarten, you need to carefully think about the preparatory stages.
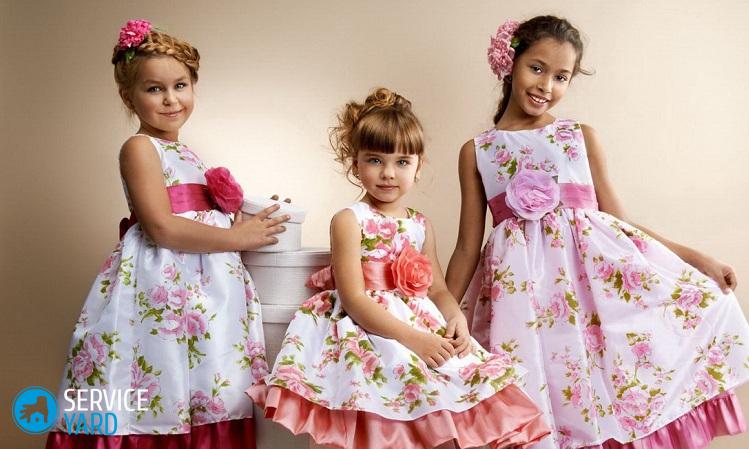
Choice of dress style
This is the first thing to think about. The choice is large enough, so you should include all your imagination and creative ideas. The most important thing here is to sew not only a beautiful, but also a comfortable outfit that will be in trend and will appeal to the hero of the occasion.
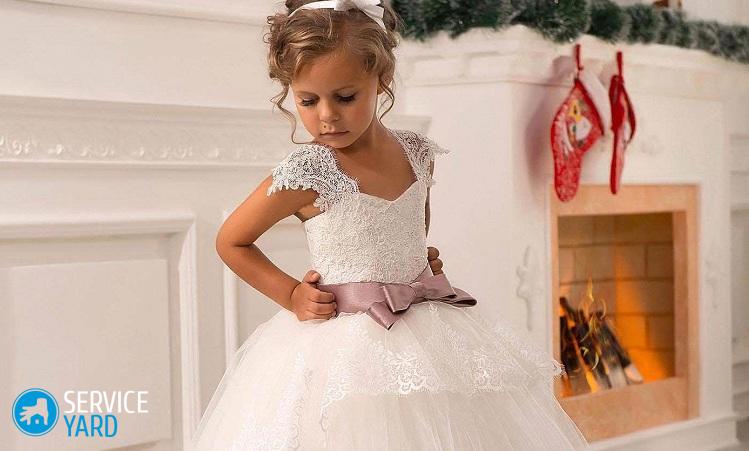
When choosing a style, greater emphasis should be placed on the features of the figure, the appearance and convenience of the product. So, for example, for the final dress in kindergarten, the criterion of comfort is very important - your princess should move freely in the dress with her own hands. You can choose a ball gown or a product with a corset and a multilayer tulle skirt. These two options are equally relevant.
Important! You can sew a graduation dress with your own hands, which is useful not only for a solemn event, but also after the holiday. Such a practical option will kill “two birds with one stone” at once with one shot: it will help you out at the children's matinee and save you from sewing a new outfit for the next event.
Fabric selection
After you decide on the style, you should go to the choice of fabric for your dress. What fabric to sew a prom dress from? In this case, build on the desired model of the outfit, since the selection of material and accessories depends on it. For instance:
- To sew a lightweight, airy and delicate Greek dress, you need to take flowing fabrics: silk, chiffon, polyester.
- In order to make a full skirt, tulle is useful to you.
- To create ball gowns and long volume dresses - brocade, satin, fabrics with shiny lurex, cotton with elastane.
In addition to the fabric, you need to prepare elements for decoration: beads, beads, sequins, rhinestones, lace, bows, artificial flowers, appliques.
Important! Remember to fabricate (wet and iron) the fabric before starting to build the pattern. This is necessary so that after the first washing the material does not shrink the product. If you use silk to sew a dress, it will be enough to soak it in warm water with a tablespoon of vinegar. Such work does not allow him to lose color and original density. Then you will need to slightly squeeze the silk with your hands, dry it a bit and iron at a minimum temperature on the wrong side. Keep in mind that water should not get on dry satin or silk, which leaves behind stains that can be removed by re-washing.
Pattern
For sewing almost any dress you will need a pattern that will allow you to avoid mistakes and alterations during the entire work and at the end of it. By measuring the parameters of the model, putting them aside for the pattern, taking into account all the allowances, you can safely begin to cut the material and start sewing. Be extremely careful when building the style of the outfit, since then it will be very difficult for you to correct your mistakes.
to contents ↑Important! The edges of the “loose” fabrics should be processed (tucked and stitched or overlocked) before sewing the seams to prevent the threads from opening.
DIY dress for graduation in kindergarten - master class
Let's consider a simple version of tailoring a magnificent outfit for a solemn event. Each mother can sew such a dress, regardless of your knowledge and experience working with patterns and patterns. All you need is a little imagination, improvised materials and tools.
Materials and tools:
- Fabric for dress to choose from.
- Fabric for a petticoat (chiffon, silk, mesh).
- A wide elastic band to match the tone of the product.
- Small artificial flowers.
- Wide satin ribbon matching the tone of the elastic band.
- Taffeta (a tone darker than a wide elastic band for a belt).
- Threads in the color of the main fabric, gum.
- Dense inserts for sewing a belt.
- Elements for decoration.
The length of the fabric depends on the chosen style of dress. We recommend stitching a medium-length outfit that reaches the middle of the calf. This is the most optimal and convenient option. In such clothes, your girl will be as comfortable and safe as possible, which can not be said about a long dress with a train.
Important! The elastic band will be the top of the dress with a full skirt.
We sew a magnificent petticoat and the lower part
Cut a piece of lining fabric of a rectangular shape:
- We collect matter from above on an elastic band.
- We sweep, cleave and try on the petticoat on the model, passing it through the legs.
- We sheathe the lower part of the petticoat with thick tulle or organza.
- Fold the fabric in half, and then sew on the edges to give the lining more splendor and volume.
Sew up dresses:
- Stretch the elastic band using cardboard.
- Divide the taffeta into identical strips, which we fold in half to get a bend.
- We thread the taffeta in a checkerboard pattern into special holes in a wide elastic band in 3-4 rows (depends on the width of the selected elastic band).
- Poke each strip with an existing bend into the gum holes. Tie the ends of the taffeta on an elastic band. We perform similar actions along the entire diameter of the gum and with all the other strips.
- We fix artificial flowers on the upper part of the outfit, threading them through the holes of the elastic on the chest.
- We draw a satin ribbon along the edge of the upper part of the product from the front and back, trimming it on the shoulders. Satin ribbon will serve as shoulder straps for our dress, so before you cut it, do not forget to take into account the required length for tying the bow.
That's all the work! The dress is ready for the ceremonial exit!
to contents ↑Two-tone dress
Now you will learn the skill how to sew a graduation dress with your own hands for a young graduate. For sewing this style, we used two colors - gray and saturated pink, which will smoothly transition, thereby creating the illusion of using one piece of fabric.
Materials and tools:
- Fabric with a gray and pink coupon (length 1.3 meters, standard width in a roll 1.4 meters).
- Lining for a petticoat.
- Sewing needle.
- Threads in tone.
- Tailor pins.
- Scissors.
- Needles for chipping.
- Thin elastic for forming a series of loops.
- Set for tight buttons.
- Wide rep ribbon to match the dress.
- Sewing machine.
Important! For our outfit, we will sew a Tatyana skirt, consisting of two rectangular sections of fabric, collected at the waist line. The width of each piece is the standard web width of 1.4 meters. In a word, the width of our entire fluffy skirt is 2.8 meters.
Sewing:
- Due to the fact that we used fabric with a coupon for work, we leave it for sewing skirts for dresses. To do this, take a fabric with a pronounced pattern and cut it off, adhering to the upper and lower borders. As a result, we got a wide rectangular strip of matter with a pattern. Put it aside for now. We will deal with it at the very end.
- We add the wrong side of the material to the wrong side, pin it off with pins, sweep it.
- We sew the side seams of the Tatyana skirt with a French seam.
- Zipper will be located on the left side of our product. So, to connect it with the French seam, we make a small notch in the allowance area at the end of the fastener.
Important! If you have a “loose” fabric, do not forget to glue the non-woven place of the notch. In our case, we simply draw a line to the edge of the matter at the very end of the lightning, cutting the increments to 5 mm.
- We fold the canvas face to face, ironing the side seam so that the previously made allowances remain between the fabric. Now grind the seam, retreating 7 mm from the edge. We got a seam without overlock processing, with hidden allowances inside the seam.
- Ironing allowances to the side. Just in case, we glue the increments under the zipper with an adhesive strip.
- We pass along the upper part of the skirt in a zigzag so that the cut in the process of socks could not open. We lay two lines in a row with a wide stitch on the top of the skirt, tighten them well, evenly distribute the resulting assembly throughout the waist. Our skirt is almost ready.
- We choose a suitable pattern for sewing such an airy skirt. For example, we make models of the upper part of the outfit in three patterns and try them together with a skirt. We chose a bodice without a cutout on the chest with two vertical lower tucks.
- Customize the bodice layout according to the shape of our small model. We cut out on it the details of the upper part and the lining of the dress. We glue the allowances with a thin adhesive strip.
- We sew the seams of our bodice with the same seams as in the case with the skirt (French). We sew the left side 5 cm from the armholes, as we will grind the zipper a little lower. We strengthen the allowances with non-woven. We trim the allowances at the beginning of the fastener to make the French seam above the zipper level.
- We make a cutout on the back. We bend the side parts of the back along the central seam, thereby forming a V-shaped neckline. We strengthen the fold with an adhesive strip and cut the details of the back of the dress, leaving 1.5 cm of allowance from the edge.
- We decorate the back with a beautiful fastener with eyelets and textile buttons in the same color as our dress. As a fastener, we took just a series of buttonholes with buttons to make a royal look at the time. In order to simplify your task, you can use a more simplified version - lightning.
- We process the bodice with a dense lining, sew the shoulders of our dress.
- We put the upper front part into the previously made skirt, carefully chop off everything and sweep away.
- We put on a dress, we tie a waist with an elastic band. We place the waist line along the lower edge of the narrow elastic band. We do this so that the waist lies exactly horizontally. We sweep the skirt to the elastic strictly according to the intended markup.
- We sew the bodice to the skirt, and along the edge of the allowance we lay another additional line, which will facilitate the processing of the edge of the allowance.
- We iron the increase with the assembly. We overwrite the horizontal seam allowances along the waistline. We remove all the landing lines.
- Sew the clasp into the left side seam. We sweep the seam, combine it at the waist, iron the allowances.
- Iron the clasp so that it is well hooked. We prick it in increments so that the lock comes out at the beginning of the zipper cut, and the cloves are located exactly along the intended seam. We sew the fastener on its two sides, having previously tucked the sides of the fabric cut.
- We unzip and sew it on a sewing machine, carefully pulling out the fastener lock on the front side of our skirt.
- We turn the lining of the bodice underneath to chop it off with a small overlap.
- We sew a lining around the fastener and at the waist with a hand hidden stitch.We got a beautiful wrong side with no overlock seams. The zipper is masked by the lining and edged below.
- We sew the bottom of the dress. We pick up one rectangular piece of tulle (you can take a dense mesh), cut a rectangle out of it, form assemblies from above, pin it with pins, sweep and sew on a sewing machine.
- We carry out similar manipulations with a rectangular piece of fabric with a coupon (pattern).
- Sew the upper part of the dress to the lining, sweeping and sewing the seam along the upper edge at the waist line.
- We sew a rep ribbon 4 cm wide to the horizontal waistline on a sewing machine, leaving the edges free to tie a belt on the bow.
Important! A similar belt can be made of tulle, or use an already finished product that matches the color of our outfit.
Dress for graduation in kindergarten with your own hands is completely ready!
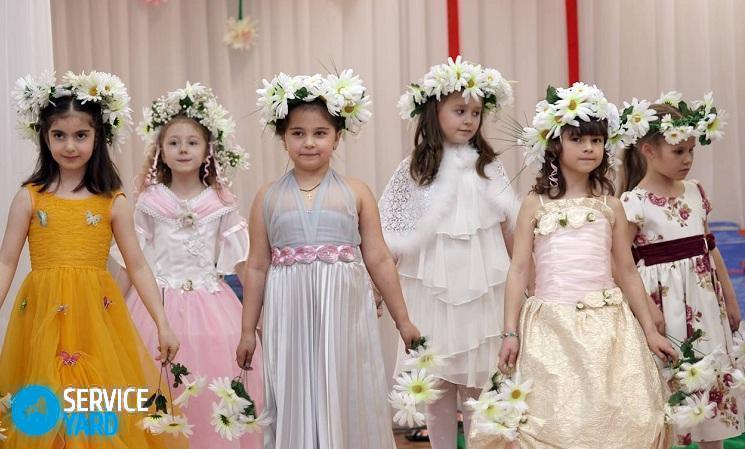
to contents ↑How to decorate a prom dress?
If you don’t have enough skills in cutting and sewing, or if you don’t have enough time, you can go in a fairly simple way: purchase a regular dress in the store that fits well on your daughter’s figure and turn it into a beautiful outfit using various decorative elements.
The list of what can be used as jewelry for a prom dress for a children's party:
- Beads.
- Sparkles.
- Sequins.
- Rhinestones.
- Ruffles.
- Artificial flowers.
- Pearl beads.
- Multi-colored braid.
- Fabric applications.
- Lace or finished lace trim.
- Elements of embroidery.
From the above elements of decor, you can make real compositions. So, for example, it is easy to form a rose from satin ribbons, and then sew it on a skirt. And with rhinestones, sequins and beads, you can make a very beautiful picture, and even lay out the inscription. Lace ruffles look spectacular as a treatment for the edge of the shoulder seam, on the back and bottom of the product. The main thing here is to use all your creative imagination in your work.
to contents ↑Important! So that the image of your little graduate is harmonious, do not forget to complement it with beautiful matching shoes and buy additional accessories: handbag, necklace, earrings, bracelet. Use flowers, elegant hoops, or a diadem as a complement to your hairstyle.
Stock footage
We have no doubt that now your little fashionista will be the most beautiful at her first solemn graduation. Following our recommendations, you can not only make a dress for your little daughter, but also improve your skills in cutting and sewing!
- How to choose a vacuum cleaner taking into account the characteristics of the house and coatings?
- What to look for when choosing a water delivery
- How to quickly create comfort at home - tips for housewives
- How to choose the perfect TV - useful tips
- What to look for when choosing blinds
- What should be running shoes?
- What useful things can you buy in a hardware store
- Iphone 11 pro max review
- Than iPhone is better than Android smartphones
 (No ratings yet)