

DIY greek style dress

Situations when a holiday dress is urgently needed are not so rare. Quickly finding something suitable in the store is not always obtained, and it can be quite expensive. But if there is a sewing machine at home, the problem is solved by itself. To sew an evening toilet, even a pattern is not required. To make a dress in the Greek style with your own hands is possible for any woman who owns a little needle. Read about how this turns out in our article.
to contents ↑Models of Greek dresses
Do-it-yourself Greek dress differs from all others in its free cut and a large number of folds, which sometimes fit right on the figure. But styles can be different:
- seamless;
- with a seam in front;
- with two seams on the sides;
- with detachable bodice;
- with a long neckline;
- with square or round neckline;
- with an open shoulder.
Choose a fabric
Before you sew a Greek dress with your own hands, you naturally need to choose from what exactly to sew it. Several factors influence this:
- season;
- model;
- fashion trends;
- your ability to sew;
- the availability of the necessary devices.
These considerations are taken into account when choosing the material for any dress. Greek is typical for summer, so light fabrics that fit nicely in folds are preferable:
- crepe de chine;
- batiste;
- chiffon;
- fine silk;
- gauze;
- knitwear;
- polyester.
Why give preference to be cheap and not particularly troublesome? So:
- The ideal material is definitely knitwear. It has a sufficient width, drapes wonderfully and lays down in beautiful folds. But he needs a special needle. You can buy it in any store of goods for sewing.
- Thin natural and artificial silk is also not bad, but a beginning seamstress with such a fabric will work hard - it crumbles very much and also slips.
- Marlevka will need more, because it is completely transparent, so it is better to make the dress in several layers. This, of course, is not a problem - the material is quite cheap. However, you can get out of the situation and otherwise - sew the cover. But this will require additional time and material.
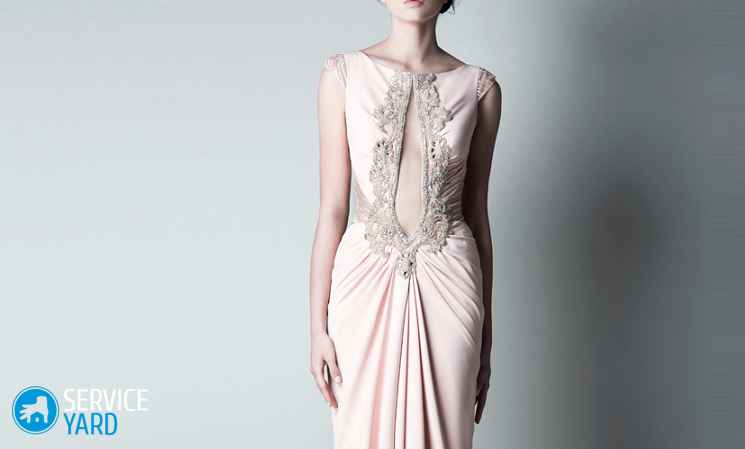
Dress with detachable bodice
You can also sew a dress in the Greek style with your own hands according to the pattern. If you master this model, making all the others will seem like a mere trifle.
For this style you need:
- the cloth;
- secret lightning;
- sewing machine;
- threads matching fabrics in quality and color;
- tape measure;
- ruler;
- pencil;
- scissors;
- pattern;
- graph paper, tracing paper or other large-format paper.
Take measurements
Know your measurements better. Of course, if you sew a loose dress without a pattern, the number of required measurements will decrease dramatically. But for modeling patterns you need:
- length of the product;
- half bosom:
- half hips;
- waist circumference.
We simulate a pattern
Before you sew a Greek dress with a detachable bodice, you have to tinker a bit with the pattern. Any one can be used to sew a dress or blouse in a classic style. It should fit your size. It is most convenient to transfer the patterns of the shelves and backs to graph paper:
- Circle the patterns of the shelf and back, not paying attention to the tucks.
- Draw a chest line on the details of the shelf
- Step away from it down 8-10 cm, draw a cut line parallel to it.
- Draw the same line on the details of the back.
- On the midline of the shelf, mark the depth of the cut - this point should be slightly above the cut line.
- On the shoulder line, mark the width of the neck - for this you need to move the point located at the base of the neck, 2-4 cm along the shoulder line.
- Connect this new point to the notch depth mark.
- Connect the cutout width point to the end of the bottom of the armhole with a straight line.
- On the back, also mark the width of the cutout.
- Connect this point to the bottom of the armhole.
- Circle the patterns along the center lines, cut lines, and modeling lines.
- Cut out the bodice details.
Important! The skirt does not need to be modeled. It is simply cut from a single piece of fabric and sewn only along the side seams.
We are preparing the details
On the panels of the skirt it is better to leave the edges - this will slightly reduce the labor costs for processing the seams. How you will process the bottom - depends on the material. If you are going to hem the hem, you need to leave the appropriate allowance. But, for example, some types of knitwear do not need to be cut at all - it is enough to cut the slices with an overlock.
Important! The same should be done with the details of the knitted bodice, then when assembling the problems there will be much less - in any case, you will not be afraid that a loop will go and an arrow will form on your magnificent outfit. So, to begin, overcast the neck and bevel lines of the shoulder.
Start with the bodice
At this point you will need tailor pins:
- Sew side seams.
- Try on what you got.
- On the shoulder seams, lay and stitch the folds - there will be few of them, only one or two on each shoulder, but they should be located strictly symmetrical.
- Sew pleat shoulder seams.
Skirt
Details of the skirt are two rectangles in the entire width of the cut. It’s better to cut them directly onto the fabric. For this, it’s all that’s necessary, on the edges, mark the length of the product from the bottom of the armhole to the hem. Above, where the bodice will be stitched, you need to leave an allowance of 1-1.5 cm.
Here's how it all goes:
- Think about whether you will have a skirt with cuts on the sides or without.
- If a cut is expected, mark its length from the bottom along the edges.
- Sew side seams.
- On the upper cut, lay the folds so that they are uniform, but at the same time that the top of the skirt is the same length as the bottom of the bodice to which it will be attached.
- Take the skirt to the bodice and see what you get.
- If you like the way your dress sits, feel free to grind off the details.
- After that, it remains only to process the slices where you have not done so yet, and to decorate your dress.
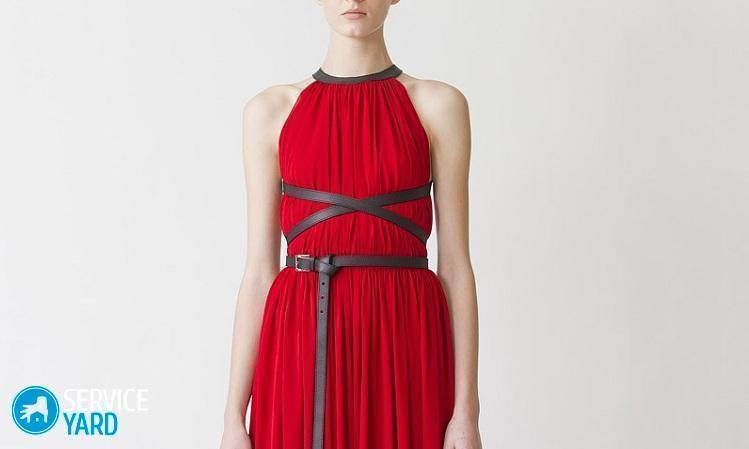
to contents ↑Important! Such a dress can be worn with a belt - if a sufficiently long strip of fabric remains, it will fit perfectly.
Do-it-yourself Greek dress without a pattern
This is the easiest dress option. He is even an inexperienced seamstress, because in this case there is almost nothing to sew, and even more so you do not have to bother with modeling patterns.
You need the most ordinary tailor's accessories, only you need to take more pins - folds can be stacked:
- only on the shoulders;
- on the shoulders and chest line;
- on the shoulders, chest line and waistline.
Important! A thin flying fabric that folds easily is suitable. The wider the cut, the better. Materials with a width of 140-160 cm are quite suitable. In any case, you will need 2 lengths, plus 10 cm for the belt and other little things.
Here's how to sew such a Greek dress with your own hands:
- We fold the fabric in half, we combine the edges (you can even sweep them or chop them off).
- Divide the bend line in half, put a point.
- From this point we postpone the estimated width of the cut - it is equal to the semi-circumference of the neck, plus another 2-3 cm in both directions.
- We decide where the cut will be deeper - front or back. If on the back, an incision can be made in general almost to the waist.
- From the middle of the bend, on the right side, draw down the perpendicular.
- Mark on it the depth of the cut.
- We connect the obtained mark with the points of the cutout width.
- Cut the cut - along the fold line between the points of width and down to the depth.
- The dress is tailored.
Assembly
Assembling such an outfit will be even easier than dresses with a bodice.But some operations are best done with an assistant. Actually, you only need to lay the folds, and this can be done during the fitting, and sew the side seams:
- Mark the depth of the armhole at the edges - it should be the same on both sides.
- Sew side seams.
- Try on your creation.
- Ask the assistant to lay the shoulder folds - they can be located towards each other or vice versa, but it is important that they are symmetrical.
- Sew folds.
- Cut the neckline.
Important! If you sew from knitwear, then you just need to sheathe it with an overlock. If the fabric is silk or cotton - hem it by 0.5 and 1 cm, and iron it.
- Handle the bottom.
- Sleeves do not need to be processed, because the edges are left.
to contents ↑Important! If the cut is very wide, and the figure is slender, the side seams can not be stitched, just fold the folds on the shoulders, and the structure will only stay on the belt.
Dress with a square or oval neckline
It is sewn almost the same as the previous model. The difference is only in the method of modeling and processing the cut:
- Similarly, fold the fabric in half and connect the edges so that they do not move apart.
- Find the middle of the fold.
- Set aside the semi-girth of the neck on both sides, divided by two, plus another 2-3 cm on each side.
- Draw a perpendicular to the middle of the fold.
- Set aside the depth of the cutout on it - in this case, it will equal the same quarter of the circumference of the neck, plus 2-3 cm.
Option 1
For a semicircular neck - connect the resulting point with the notch width marks with a smooth arc. In this case, it is very useful to make a cut in the middle of the back and insert a hidden zipper there.
Option 2
To get a rectangular cutout, through the same point as in the first embodiment, draw a line parallel to the bend, and mark on it the same distances as on the bend. Connect these points to the notch width marks.
Assembly
The assembly order will be exactly the same as for the model with a long neckline:
- Sew side seams.
- Lay folds.
But the neck will have to be processed in other ways. You can use trim parts. They are made of the same or similar in quality fabric:
- Put on the large flap the blank of the dress.
- Circle the neck - better with two parts, separately for the front and back.
- Align the trim part with the main face.
- Sew around the perimeter of the neck.
- Cut the allowance close to the edge.
- Iron the trim on the wrong side.
- Fold the slices 0.5 cm.
- Stitch the trim part to the main one.
to contents ↑Important! Processing can be done with individual direct bins.
Stock footage
Greek dresses have not gone out of fashion for many years. The beauty of them is that every woman can come up with her interesting model. So, deciding to do fashion design, it is best to start with this.
- How to choose a vacuum cleaner taking into account the characteristics of the house and coatings?
- What to look for when choosing a water delivery
- How to quickly create comfort at home - tips for housewives
- How to choose the perfect TV - useful tips
- What to look for when choosing blinds
- What should be running shoes?
- What useful things can you buy in a hardware store
- Iphone 11 pro max review
- Than iPhone is better than Android smartphones
 (No ratings yet)