

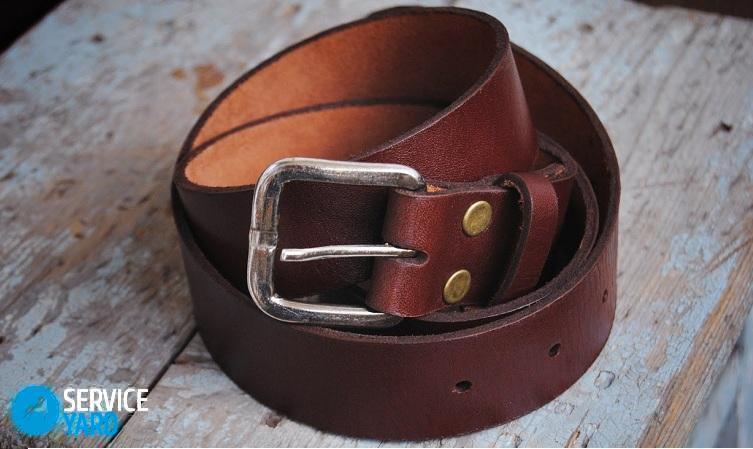
DIY leather belt
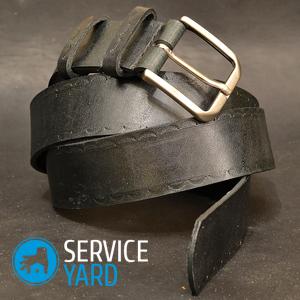
Belts are important accessories in a women's or men's wardrobe. A wide strap beautifully emphasizes a slender waist, a strict men's belt reliably holds trousers. Today we’ll talk about how to do DIY leather belt. Moreover, if you take the matter seriously, then this hand-made is in no way inferior to the factory product. An additional motivation for engaging in creativity is the high price of genuine leather products. The master classes given in the article will help you get stylish leather goods at minimal cost.
to contents ↑What tools will be needed
You probably have leather goods at home that you don’t need: handbags, raincoats, boots. You won’t wear them anyway, but they will still be useful for you to make beautiful, practical and truly exclusive things. The process of making leather straps is a pleasure in itself. In addition, there is the opportunity to feel like a designer. If there are no unnecessary leather products in your home, you can buy pieces at a specialty store.
For independent production of leather goods you will need:
- Leather.
- Set of needles.
- Threads.
- Buckle.
- Scissors.
- Glue.
- Ruler.
In addition to supplies, you will need an iron and a sewing machine.
Before you make a leather belt with your own hands, think over the design of the product. It can be straight, wicker or embossed - there are many options.
to contents ↑How to make a leather belt with your own hands? Detailed workshop
First, measure your waist with a centimeter tape. Or measure the length of the belt that you constantly wear. Decide on the length and width of the product.
Important! The classic width is 60 mm.
Then proceed in accordance with the instructions:
- Make paper patterns of the future belt.
- Using the pattern, transfer the contour to the skin.
- Cut the workpiece. If this is a classic design, then there will be two blanks.
Important! You can make a “lace” pattern or dial the product from separate rings. If the length of the piece of leather is not enough, sew a workpiece from several parts.
- Make 2 holes on one side.
- Insert the buckle between the holes and sew. The buckle can be picked up at the store or taken from an old belt. Ladies' strap can be made with ties or Velcro.
- Make holes for the belt fastener on the back.
New life for an old product
How to sew a leather belt with your own hands - you now know. You can go the simpler way - change the design of the finished product. Tired of a leather belt that still looks pretty decent? So - it's time to update it a little:
- Using an awl, pierce the holes at the same distance. They can be located both in length and in width of the product.
- Cut strips of centimeter width from beautiful textiles.
- Insert a strip of fabric into the wide-eye needle and pull the fabric through the holes. Now you have a completely different product: elegant, beautiful, and most importantly - non-standard and unique.
Here are some more interesting ideas:
- Try to make a braided belt. Cut the skin into thin slices and braid it.
Important! To make the pigtail smooth, periodically pin it with pins.It turns out even more original if you weave a pigtail out of a rope or textile and decorate it with inserts made of genuine leather.
- The “Japanese” belt of thin leather looks nice - wide in the middle and narrow at the edges. Its length is large so that it can be tied to a knot in front.
to contents ↑Important! Such a product can be decorated with rhinestones and beads.
How to make a leather belt with your own hands? Imitation weaving
The work ahead is not very difficult, but laborious. If you do everything as you need, your efforts will be rewarded. Get a wonderful embossed product with a fairly realistic imitation of weaving.
Training
The main thing for making a beautiful stylish belt is cow leather. There is one more secret. For the manufacture of embossed products, it is desirable to use vegetable tanned leather. It is not cheap, but the result will be truly remarkable.
So:
- Cut the workpiece to the desired length and width. It is advisable to use the special tool Strap-cutter.
Important! If you have the skill to work with the skin, you can do with a regular ruler and a knife. Even more reliable is to purchase an already cut blank. Of course, the cost of the finished product will increase, but there will be no risk of spoiling the expensive skin.
- The next moment is preparing the cut belt for embossing. Place the cut skin in a jar of room temperature water. After the bubbles cease to stand out, remove the workpiece from the water and let it drain.
- Put the product in a plastic bag and place in the refrigerator for 24-48 hours. It is important that the skin “breathes”, so do not try to tightly close the bag.
Important! This stage is necessary so that moisture is evenly distributed throughout the workpiece.
Markup
Since the pattern on the belt will imitate weaving, similar to plain, the marking will look like a cage. The skin after treatment is malleable, so the pattern prints without problems.
Important! Using the same technology, any paper pattern can be applied to the surface of the product.
It is advisable to draw markings using a ruler and an awl with a rounded end. To prevent the lines from becoming jammed during embossing, cut them with a knife to a millimeter depth.
During this time, the skin managed to dry out a little, but the moisture in it still remained. For embossing, this is the ideal condition of the material.
Important! Embossing cannot be called a quick process. To prevent the skin from drying out during embossing, wrap the product in stretch wrap and gradually open (100-150 mm each).
Embossing
For embossing, it is advisable to place the product on a solid, ideally smooth and massive surface. A slab of marble or granite is well suited for this. You will also need a mallet made of rubber or wood weighing 0.3-0.5 kg, as well as stamps on the skin.
Here's what the order of work will be to make such an interesting leather belt with your own hands:
- Place the stamp vertically and hit it with a mallet.
- In the same way, walk around the circuit.
- To get an imitation of weaving, make deepenings in different directions.
Important! The work will take a lot of time, but you can divide it into several days. During breaks, keep the workpiece in the refrigerator, with the untreated portion packed in cling film. The skin during such storage does not dry out for a month or more.
Trimming:
- Cut the desired length of the belt and trim the end.
- Mark and pin the holes with an awl. It is advisable to use a template.
- After that, make holes with a round or oval punch.
- Punch a hole to install the buckle and install the buckle.
- Now align the end of the belt and with a clerical knife, make the skin on the tip a little thinner.
Now your product has become almost a strap. The last stage remained.

Dyeing
Since the strap imitates weaving, you need to tint the squares in a checkerboard pattern:
- Dye is recommended to use alcohol, penetrating. Its price is small, and the effect is pretty good.
- Use a thin squirrel brush to paint the squares.
Important! Wear protective gloves and a well-ventilated area - the paint smells a lot.
After staining, tinting is done with antique paste. Apply it best with an old toothbrush over the entire surface, then remove the excess with a piece of cloth. If the fabric is slightly moistened, the staining will not be so intense.
The final stage - treat the ends with a edge cutter, and the entire surface of the product with rhizoline, which gives the belt a water-repellent effect.
to contents ↑Stock footage
Beautiful and original product is completely ready! You will not find anything like this on sale, but a leather belt made by yourself looks just fine. Use these ideas to diversify your accessories, and you will definitely want to try out other options in practice after evaluating the result!
- How to choose a vacuum cleaner taking into account the characteristics of the house and coatings?
- What to look for when choosing a water delivery
- How to quickly create comfort at home - tips for housewives
- How to choose the perfect TV - useful tips
- What to look for when choosing blinds
- What should be running shoes?
- What useful things can you buy in a hardware store
- Iphone 11 pro max review
- Than iPhone is better than Android smartphones
 (No ratings yet)