

How to assemble a rack or shelf for shoes with your own hands
In order for the hallway to be in order, shoes, boots and sandals should be in place and still be aired. But the shoe racks that are on sale are not suitable for every room.
There is a solution: you can assemble a shoe rack with your own hands using plywood, wood or improvised means. This will avoid chaos at the front door and complement the interior with a beautiful and practical product.
Types and Features
There are several requirements for a shelf for summer and winter shoes. It should be compact, roomy, neat and durable.
Structurally, all shelves can be divided into several types:
- wall models;
- coasters;
- shelving;
- thumbs
If the hallway is very cramped, it is better to opt for a shelf that is mounted on the wall. The rack is convenient in that it can be supplemented with drawers for storing trifles. A bench is a functional design that you can sit on while shoeing.
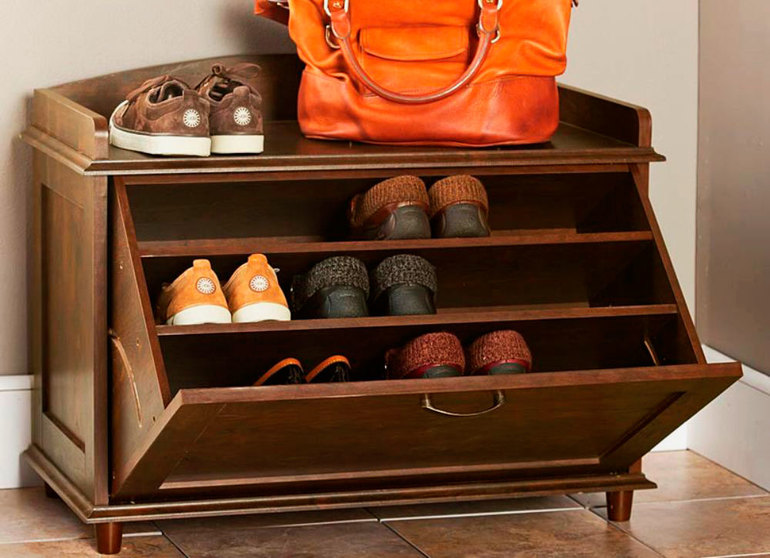
You can make a shoe shelf with your own hands in the form slim cabinets. This is a closed product with a folding wall, consisting of several sections. The disadvantage of such a shoe is that the shoes inside it are not ventilated, which means that an unpleasant odor may appear over time.
The stand is the simplest type of shelf; it can be made from any material at hand, but such a product does not differ in special convenience, and it looks too simple. The main advantage is ease of manufacture.
Material selection
Before proceeding with the procurement of parts and assembly, you need to evaluate your skills and financial capabilities. It will be a shame to take up the manufacture of a shelf or a cabinet, buy materials and spend time, and then discover that nothing works.
All models are simple, but some can only be assembled by a person who has at least minimal experience with tools. In addition, each material has features:
- metal is durable, but assembly requires accuracy and good physical preparation;
- the tree does not cause difficulties in work and looks beautiful, but not very resistant to moisture;
- plastic does not “breathe”, therefore it is not suitable for the installation of closed shoe racks;
- Particleboard and plywood are suitable for beginners, and from them beautiful storage systems are obtained, the only drawback is lower strength compared to metal and wood.
Stylistic Solution
The appearance of the shelves for storing and drying shoes should be thought out in advance. It can have a pronounced style or be universal. There are several popular solutions that can be slightly modified to fit your interior.
If the design of housing as a whole tends to be natural, it is better to make a wooden shelf in the style of Provence. Wood is decorated with painting or carving. A two-tier shoe rack is very convenient, with shoes, sneakers and sandals placed in the lower part, and woven baskets being pushed into the upper part. The lid is made reclining, and if a sufficient width is provided, it will be possible to sit on it. A simple design in the Provence style will look especially gentle if it is painted in white or any pastel color.
Minimal style Suitable if the design of the whole house or apartment is sustained in it. Modern and hi-tech also go well with minimalism. The shelf is made of glass, plastic or metal, a good solution is a design assembled from chrome tubes. Forging in such an interior will not look very appropriate, like wood.
The hallway in luxurious design is perfectly complemented by a baroque shelf or cabinet. To come up with an elegant design that you can assemble yourself, you will have to try. An interesting option is a shoe in the form of pouffes. The top is soft and upholstered with fabric - it turns out a comfortable place where you can sit down. The base is made of plywood or wood.
In the closest entrance hall, a corner metal construction decorated with elements of artistic forging will look good.
The simplest cardboard option
To make a shoe rack on a wall with your own hands, you need thick cardboard, from which large boxes are usually made. The storage system is peeled from individual blanks and fixed with fasteners and glue.
From tools and fixtures you will need the following:
- cord;
- ruler;
- pencil;
- decor from a film or wallpaper;
- paint;
- glue.
The cardboard is marked to make rectangles with sides of 60 and 65 cm, and cut. The long side of each blank is drawn, marking from the edges of 20 and 25 cm. You should get 2 lines. The short side is also marked out, laying 25 cm on one side, then 35 cm will remain on the other side. Then extra squares are cut along the marked lines to make a blank in the form of the letter “T”. The wings (sides) are marked out, laying aside 11 cm, and diagonal lines are drawn.
The “leg” of the letter will fit against the wall, the top will be on the front side, and the triangles on both sides will serve as the sides of the pocket into which the shoes will be embedded. Now you need to fold the products along the diagonal lines, put the excess on the side that will lie on the wall, and fasten the cardboard with tape so that it does not unfold.
They make several such pockets, put them into one another and stick them so that there is room for shoes. Then everything is fixed on the wall. The disadvantage of a cardboard product is that it can only store summer shoes, and boots, boots and sneakers will not fit in pockets.
Home-made furniture from pipes
A compact stand for shoes with your own hands can be made of PVC pipes. Choose those that have a diameter of 20−25 cm or even more, depending on the size of the shoes. Profiled pipes are cut into 30 cm lengths, cut edges to make them smooth, and decorated. They can be painted, upholstered with a cloth or self-adhesive film.
The segments are assembled so that a complete design is obtained. The front part can be in the form of honeycombs, flower, sun.
Profile pipes can be positioned in the most bizarre way, and the places where they touch are glued with furniture glue. Another option: the entire structure is tied with a cord or fastened with tape.
Metal model
If the farm has an old stepladder, it can be converted into a shoe rack. Saw off the part where the steps are with a hacksaw and fix it on the wall. The product is decorated at your discretion.
The shelf is convenient in that it does not take up much space, fits perfectly into the minimalist interior and will appeal to those who do not like when there is a lot of superfluous in the hallway.
If you put a construction of glass and metal in the living room, it will serve as a stand for decorative weapons and other souvenirs.
A shoe rack made of a metal profile is arranged according to a similar principle, and it is not difficult to assemble it.
To work, you will need the following:
- glass cutter;
- jigsaw;
- roulette;
- building level;
- Bulgarian;
- drill;
- profile;
- strained glass;
- screwdriver.
Perform measurements, make blanks of the desired length and assemble the frame, fixing the elements with screws. Using a glass cutter, shelves are cut out and inserted into niches. Powder dye is applied to the metal - so it will not deteriorate from corrosion.
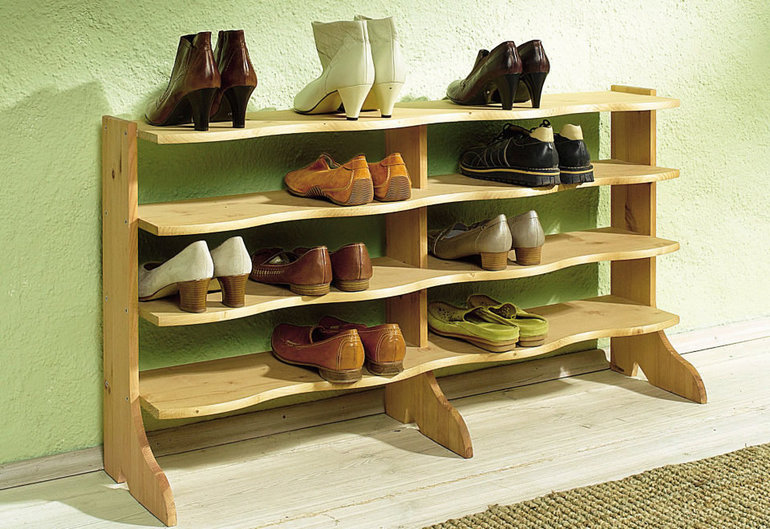
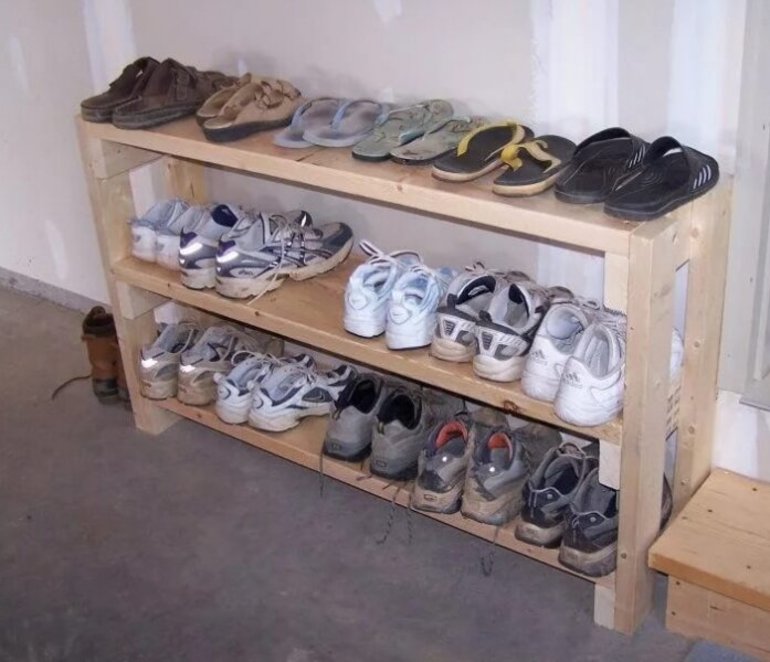
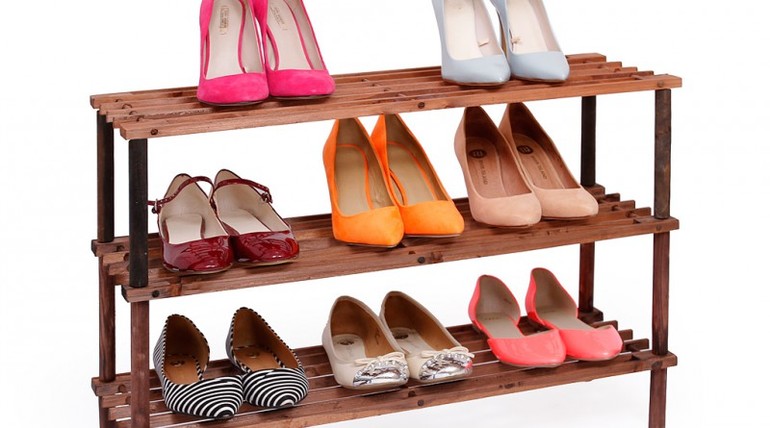
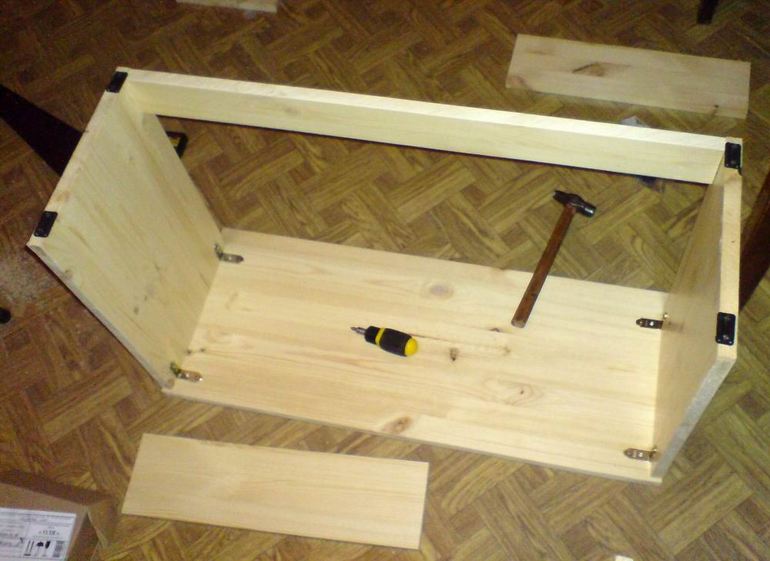
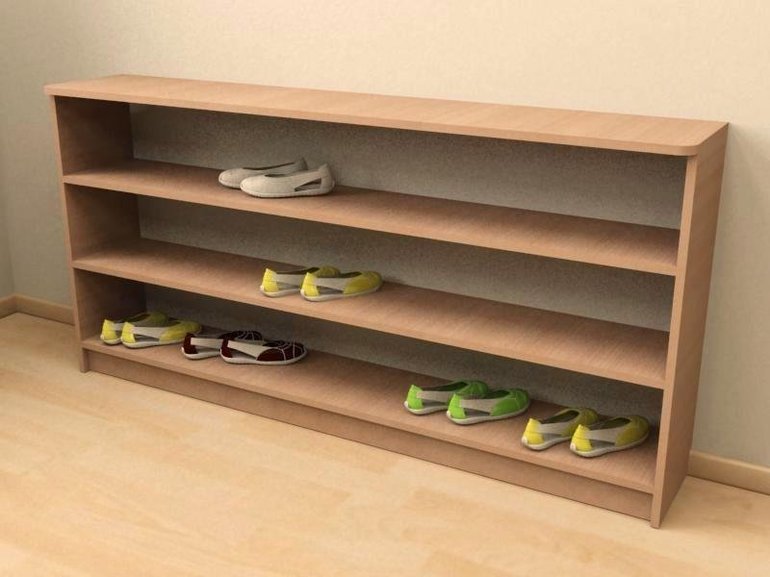
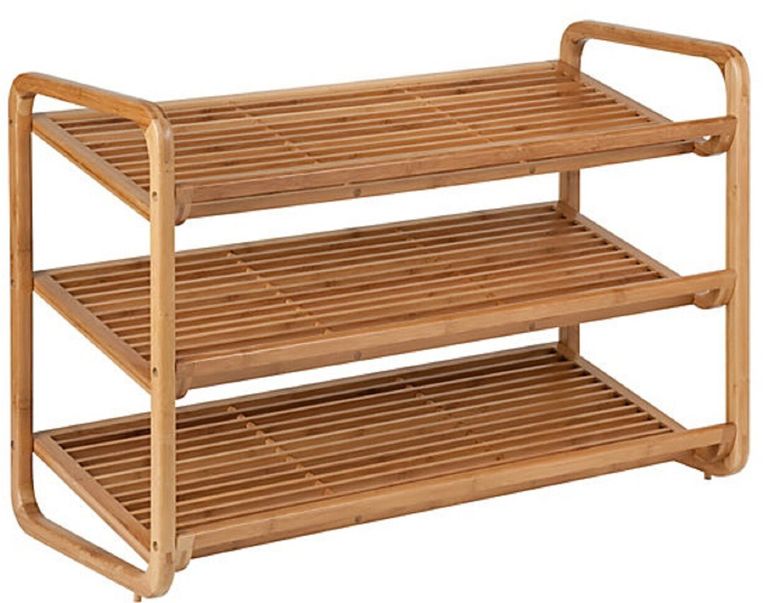
Wooden shoe shelf
A shoe rack made of slats and bars will be able to be assembled even by someone who has no experience with wood.To work, you need to prepare a screwdriver, a hacksaw, measuring devices, furniture varnish, screws and sandpaper. Operating procedure:
- Determined with the size of the future shelf.
- Make up a drawing.
- 12 strips for shelves, 4 racks and 8 transverse supporting elements are cut from rails and bars.
- On the racks mark the points where the crossbars will be fixed.
- Carefully make holes in the rack elements, not allowing them to crack.
- Grind all parts with sandpaper.
- Collect "ladders" - side racks.
- The horizontal rails are attached to the slats, which will serve as shelves (pieces of laminate are also suitable).
The final stage is decoration. The shelf can be beautifully burned with a soldering iron, treated with a stain or varnished.
Plywood Maze
From plywood sheets, an original and roomy bookcase is obtained, and it is easy to manufacture. The basis is the upper part, bottom, shelves and side walls. In each section, several pieces of plywood are mounted, so that shoes can not only be placed, but also nested horizontally, as in pockets. You need a minimum of tools:
- hammer drill;
- plywood;
- jigsaw;
- hammer;
- nails
- self-tapping screws;
- screwdriver or screwdriver.
First, measurements are made and the required number of blanks is cut from plywood. Then collect the base, fixing the elements with nails and screws. After that, try on the elements of the "maze" to find the most successful solutions. They can be attached directly or at an angle. The general appearance of the shoe box depends on how the “pockets” are located.
In conclusion, they are also fixed with self-tapping screws, not forgetting to process the edges so that there are no roughness and protruding wood fibers.
Pallet shoe rack
A shoe rack from pallets can be made in two ways. The first involves the vertical installation of the structure as a whole. The pallet is leaned against the wall and fixed with nails or screws. Such a shelf is not very convenient, as the shoes will have to be inserted into it, and not put on. Shoes and shoes can hold on, but the boots will definitely fall.
The second method is that the pallet is sawn into blanks and stacked on top of each other, with each part being horizontal. You can cut too much so that the height of the shelves is greater. The surface is treated from all sides so that the product has a decorative look.
Non-standard forms
With a lack of free space, you can design a shoe rack or a cabinet with triangular shelves. It will require very little space, the main thing is to find a free angle. Shelves are made of chipboard, chipboard, plywood or plastic, the side walls are made of MDF. You will need screws, a drill, a screwdriver and a jigsaw. Walls are cut out of MDF, triangular elements are made of chipboard, parts are cut from the bars on which the shelves will rest.
Lines are drawn on the sides, then the bars are screwed on, the triangular shelves are laid and fixed. It is best to attach the rack to the wall with dowels. The finished shelf can be painted, painted, pasted with decoupage pictures, treated with stain or varnish.
Round shoe rack - An interesting type of furniture that will be appropriate in a spacious hallway. It can not be called compact, but this is offset by the convenience and unusual appearance. The product consists of a cross, a support rack and the shelves separated by vertical crossbeams. The number of tiers can be any, depending on how many shoes the family members have. The shoe rack is made stationary or rotating, and in a sophisticated version, all shelves are rotated separately.
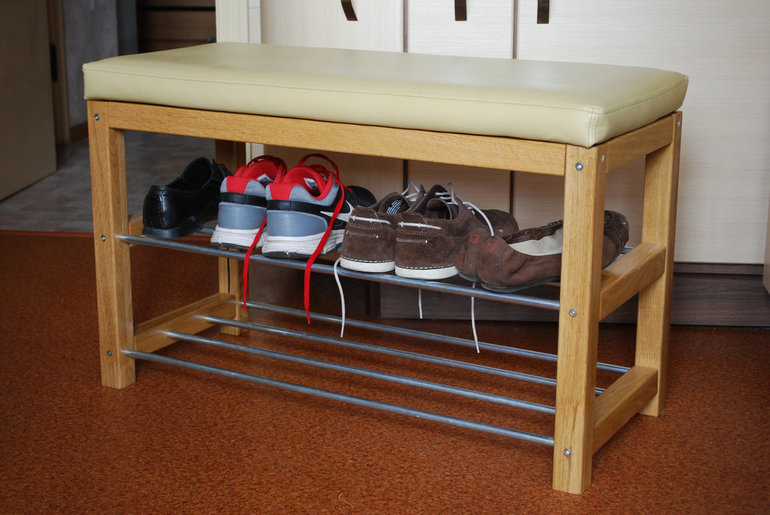
An option for those who want to make the shelf faster is a bench product. The manufacturing principle is the same as the assembly of an ordinary garden bench, only, except for the seat, there is a lower shelf. It’s convenient to shoe on such a bench, but putting a lot of shoes on it will not work. Capacity will increase if the upper part is equipped with a hinged lid, upholstered in soft material.Such a shoe rack will look like a banquet.
A few more interesting ideas from which you can make a shoe storage system:
- From plastic bottles. A container of 5 l is cut off, the edges are machined, attached with its bottoms to a plywood sheet or a vertical surface. This is a good option for a summer residence.
- From wooden boxes. They are ground, painted and set one on top of the other in random order.
- From the sliding stairs. Parts of the product are arranged as widely as possible, and shelves cut from plywood or sawn from thin boards are attached to the steps. Depending on the width of the stairs, the storage system is compact or voluminous, but in any case it does not look bulky and weighs relatively little.
You can design any of the designs to your liking. Wooden products absorb moisture and collect dirt, so it is worth covering them with a moisture-resistant material so that shelves and walls can be washed.
- How to choose a vacuum cleaner taking into account the characteristics of the house and coatings?
- What to look for when choosing a water delivery
- How to quickly create comfort at home - tips for housewives
- How to choose the perfect TV - useful tips
- What to look for when choosing blinds
- What should be running shoes?
- What useful things can you buy in a hardware store
- Iphone 11 pro max review
- Than iPhone is better than Android smartphones
 (No ratings yet)