

DIY fishing tackle tips
Making fishing tackle with your own hands is quite an exciting and fascinating process. Professionals improve their skills by creating quality products. Due to this, their catch increases many times. During operation, various techniques are used that a beginner should learn.
Types of DIY
The creation of fishing accessories with your own hands allows you to tailor the finished purchase device to individual requirements. Even in ancient times, fishermen had to make accessories on their own. But even now, many people rely only on equipment that they themselves have made. They are sure that the craft will not fail when fishing.
All this is due to the fact that most factories produce summer and winter fishing gear that are suitable for general situations. Exceptions are very rarely taken into account.
All homemade fishing gear made at home are divided into these varieties:
- Reel. Such a new little thing is inexpensive, but you can make an instrument of any interesting shape on your own, so it will fit well in your hand.
- Coma. This lotion allows you not to think about additional top dressing. It can be done without using a drawing or diagram.
- Spoon. This is a bait for predatory fish. It is applied on the river in the summer.
- Float. The main tackle that is used in both summer and winter. There are no special tricks in the manufacture. Homemade gadget also copes with its task.
- Mugs or necklaces.
- Fishing rod or spinning. If you have some experience, then you can make a homemade rod in your workshop.
- Snap. Additions to the rod.
- Nods. Useful element for catch recognition.
- Pitch. A good tool with which you can equip a more convenient place for fishing.
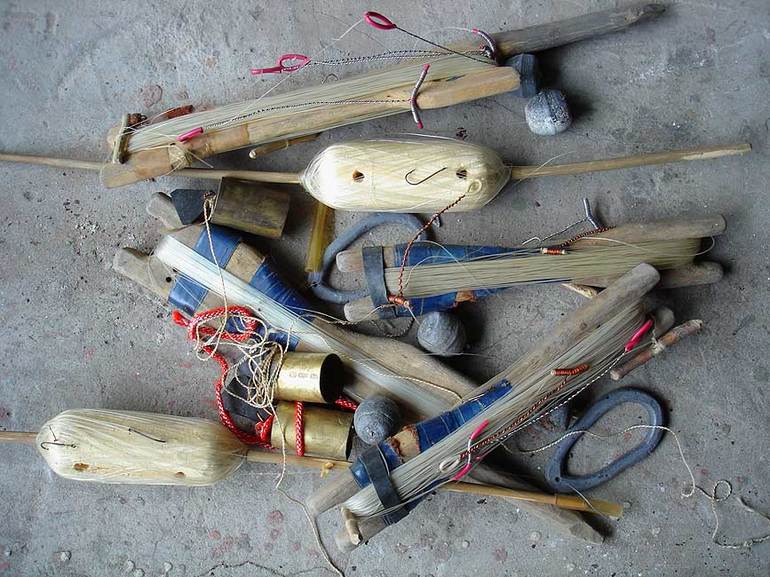
- Botalo. Poaching device. These are special traps.
- Kolobashka. A simple product abandoned from a boat.
You can follow all the news by reading fish magazines (you need to drive fish magazine into the search if you want to track foreign publications as well). On the pages there are often a lot of useful tips, new and old fishing equipment. In the booklets you can find unusual and cool gear, which few people know about.
Making wobblers
Wobbler is a solid-state bait. It is used both for the track and for spinning. For the manufacture of such fishing equipment do-it-yourself hardwood is taken. The piece of wood should be oval and 5 cm long. The following is the algorithm of actions:
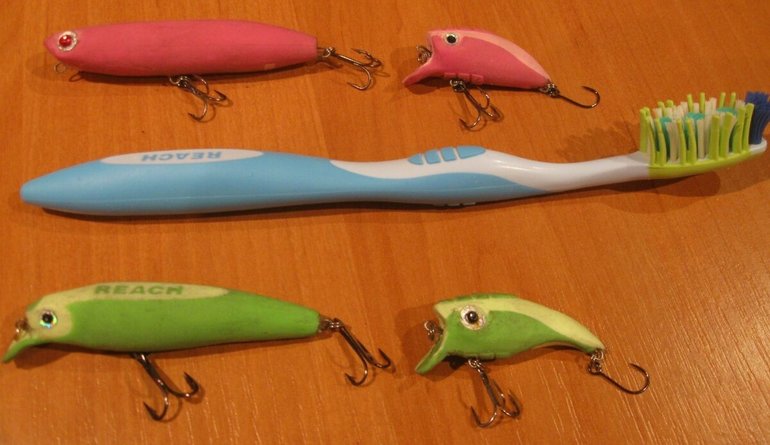
- From the main board you need to saw off a small part of 15 mm.
- On the bar, you should draw the outline of the bait, after which you need to cut off all the excess with a knife.
- A small cavity designed for the blade is cut in the front part.
- You should also make a cut from the abdomen along the entire length.
The wire for the manufacture of mounting rings is best taken from stainless steel. After inserting the ring, fill it with epoxy glue. Next, the piece of wood must be coated with waterproof varnish. After complete drying, the tees are fixed.
The buoyancy level is regulated using lead weights. They are attached to the abdomen. After that, the wobbler should be carefully sanded and varnished again to enhance water-repellent properties.At the last stage, a blade is made of thin aluminum (you can take a can of the drink) and glued into the tackle.
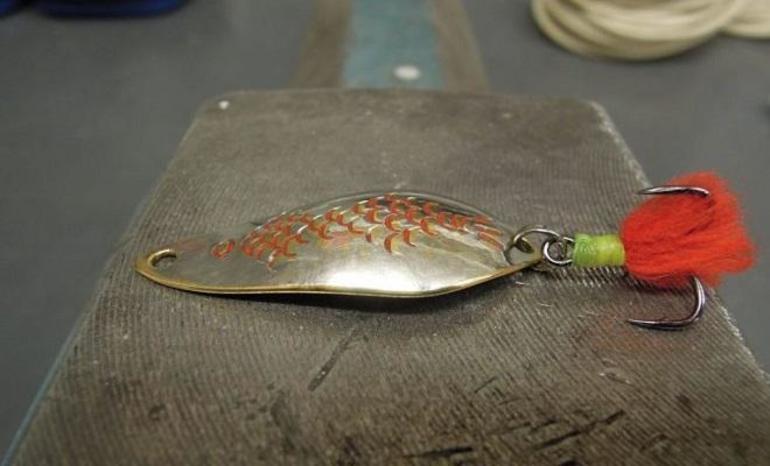
Oscillating Lures and Turntables
Do-it-yourself new fishing equipment is often made from improvised means. But still they turn out to be high-quality and catchy, if they were made by a professional.
Oscillating spinners can also be created independently. This will require:
- A special hammer that has a cross shape and a metal handle. There should also be balls at the ends.
- A board with a slotted recess in the form of a spoon.
- Metal ball.
- Steel stylus.
- Iron rubber shaft. It is necessary for rolling.
- Hacksaw for metal.
- Drill and set drilled.
For manufacturing, you need to create a template for the future product from cardboard. After that, using a steel stylus, the contour is transferred to a sheet of metal (the thickness should be a maximum of 1.5 mm). Next, you need to carefully cut everything.
The workpiece is fixed in the recess of the board, beaten off with a hammer with balls at the ends and rolled. All irregularities after the end of the process are corrected with a hammer. Holes are drilled around the edges to secure the rings. At this, the production of the oscillating baubles is over.
For spinners, first you need to make a frame of rigid wire. It is better to take stainless steel. Diameter can vary from 0.6 to 1 mm.
The petal is made of aluminum cans. You can even cut with ordinary scissors. Holes for fasteners are made with a small awl or needle and pliers.
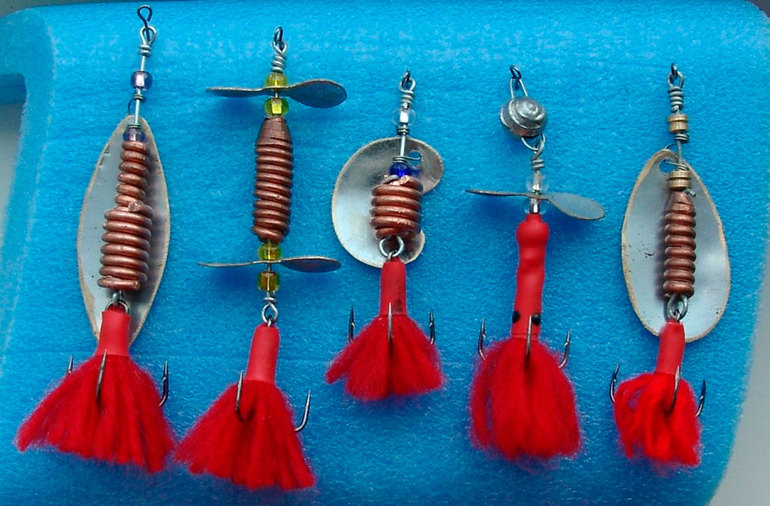
The design is assembled as follows:
- A small ring is made at the end of the wire. It is better to use round pliers, as they are easier to work with in this case.
- A bead and a petal are put on.
- One more bead is fixed.
If you want to make a heavy lure, then you need to take a wire more authentic. A sinker with a hole should be installed between the balls.
Live bait trap
After a man came fishing, he has to lose a lot of time to catch live bait. Live bait should always be peppy, but in the summer it is rather difficult to store it. The fishing gear is made of two plastic bottles. Procedure:
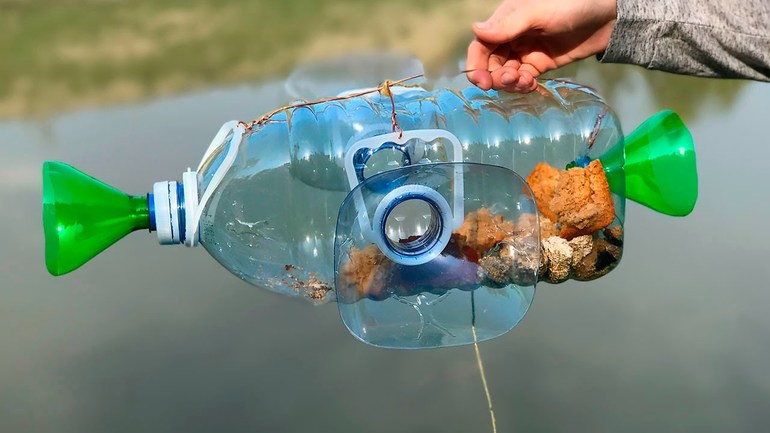
- A two-liter bottle is taken and cut in half.
- Now the neck is cut off where the widest part is located. So you can get a part that will resemble a watering can.
- The bottom should also be cut off from the main part.
- The second third bottle needs to be separated.
- The watering can is inserted back, only upside down. Everything is connected using synthetic thread. The second bottle is put on the first.
- A cargo and a small rope are attached to the trap.
Now in this design you can put the bait and lower it into the water. A fish swimming in a trap will not be able to get out of it. To prevent the baby from dying, the device must be constantly kept in water.
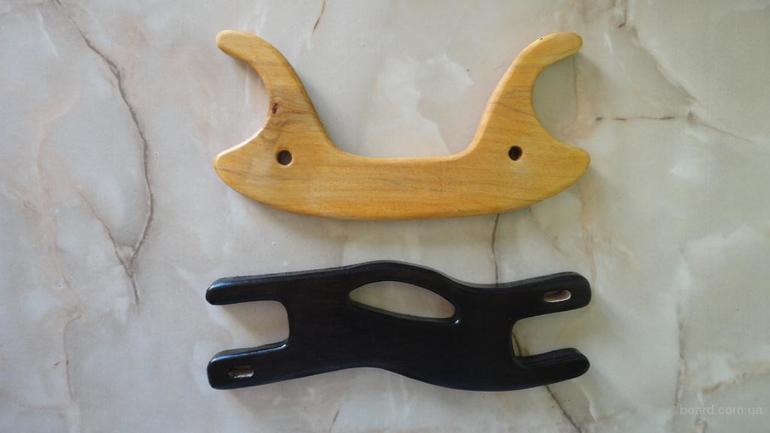
DIY Zadok
Buying a brand new hatch from a popular manufacturer costs quite a lot, because of which not every amateur can go fishing. But a high-quality catch storage product can be made independently. You will need to take a solid steel wire and make rings.
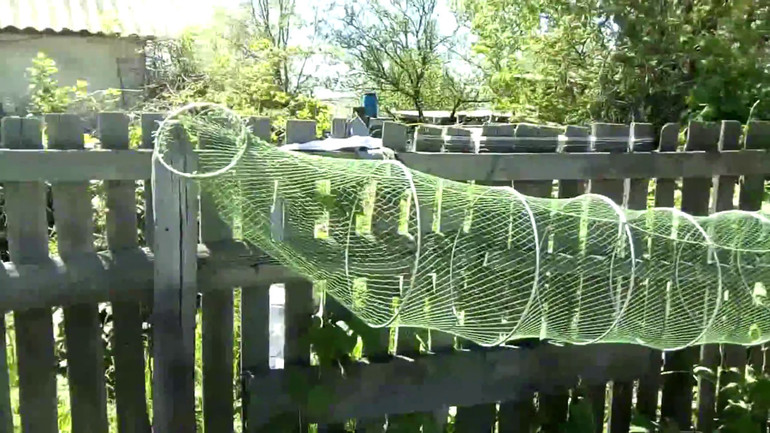
For a compact set, three rings are twisted. The upper should be small, and the middle and lower should be made of a larger diameter. You also need a nylon mesh, from which the bag is sewn together according to the size of the rings. Using synthetic threads, the rings are attached to the grid.
In order not to lose the catch, you should also make a cover. It is made of a small wire ring with a tightly stretched mesh.
During use, the product must be tied to a tree or some rigid structure so that the fish tank does not float away. To prevent flooding at great depths, you can use a children's rubber ring.
The cage is very easy to fold. Therefore, it is convenient to transport it to the place of fishing.
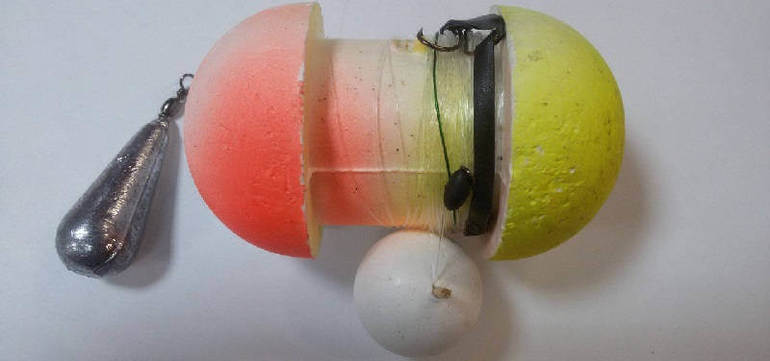
Sensitive float
Fine floats come out goose feathers. These birds almost always graze by the river or lake. In these places you can find the required material. Depending on the size of the feather, it is possible to make floats for both small and large fish.
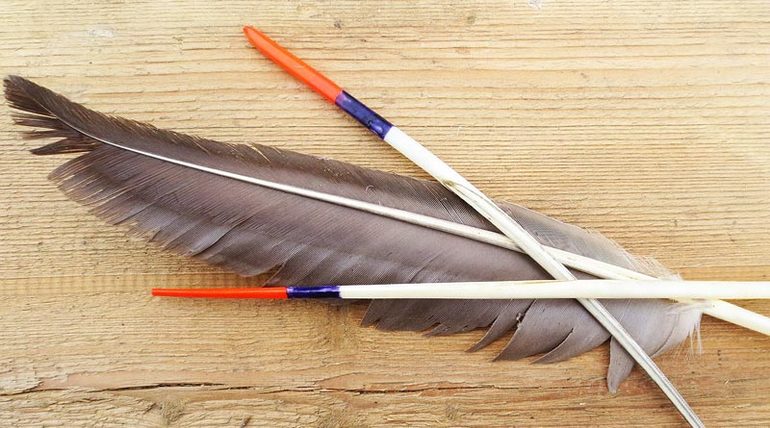
It is necessary to cut everything off, leaving only the base. So you get a thin stick, which has sufficient strength. Now you need to measure the size and cut off the excess part from the upper side. The bottom must remain intact. Otherwise, the pen will gain moisture. For work, you need a clerical knife.
The float is painted in a bright color (or several colors) so that it is clearly visible. You can use nail polish, as it is quite resistant to moisture.
At the last stage, a fishing line mount is attached. This completes the manufacture of responsive float.
- How to choose a vacuum cleaner taking into account the characteristics of the house and coatings?
- What to look for when choosing a water delivery
- How to quickly create comfort at home - tips for housewives
- How to choose the perfect TV - useful tips
- What to look for when choosing blinds
- What should be running shoes?
- What useful things can you buy in a hardware store
- Iphone 11 pro max review
- Than iPhone is better than Android smartphones
 (No ratings yet)