Do-it-yourself clock on the wall - workshop

Wall clocks not only show time, but also serve as decoration of any interior, give it a special charm. Sometimes you want something special, home and original. So, for example, with the help of handmade art you can make your own watch on the wall with your own hands - a master class, which we will talk about in our article, will help to easily create such a craft. Anyone can do the job with minimal effort, only by acquiring a clock mechanism, which can often be found at home. All other supporting elements of the decor - everything that is at your fingertips.
to contents ↑Homemade clock on the wall. The choice of material and decor
So, let's take a closer look at what these wall chimes can be made of and how to decorate them.
Materials of manufacture:
- Paper or thick cardboard.
- Wood.
- Plywood or chipboard sheet.
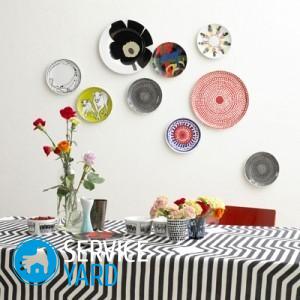
- Plate.
- Plate.
- CD.
- Book.
- Collage of photos.
- Cutting board.
- Thick fabric.
- Lace
Elements for decoration:
- Buttons
- Cutlery (forks, spoons).
- Paper application (butterflies, flowers, numbers).
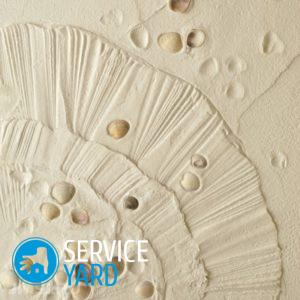
- Seashells.
- Croup.
- Napkins for decoupage.
- Coffee beans.
- Dishes from a doll service.
- Wine corks.
We have listed only a few decorative elements that can be used to decorate wall time carriers. The choice depends on your imagination!
to contents ↑Clock on the wall with your own hands. Decoupage Technique
Original wall chimes can be decorated using the available two-layer napkins, which can be found in the store or at your home. Now we will consider what is needed to translate this idea into reality, how to do this kind of work with our own hands.
Materials and tools:
- Wooden round or square base.
- Two-layer napkins with the desired pattern.
- Hands with a clockwork.
- Acrylic paints.
- A set of brushes.
- Sponge.
- Varnish or PVA glue for decoupage.
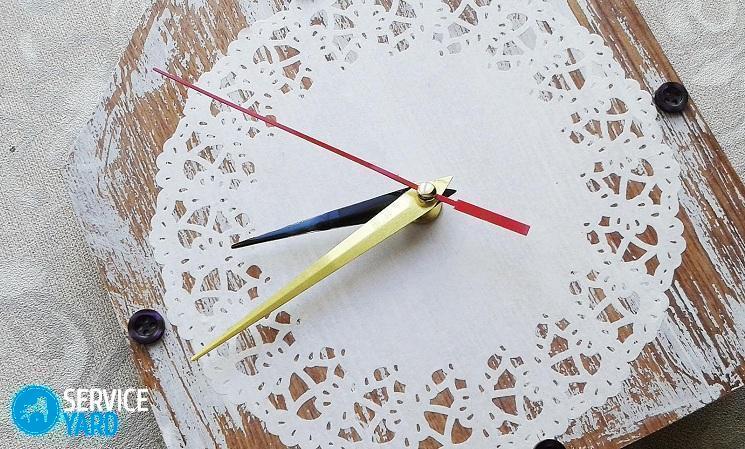
Work Stages:
- From plywood, we make a blank of the shape you like.
- We process the template with sandpaper, achieving a perfectly smooth surface. We prime it with several layers, and then once again we process the base with a fine-grained skin.
- Cut out the necessary elements from a decoupage three-layer napkin.
- Separate the topmost layer of the napkin (the one with the picture) from the bottom.
- We form the desired composition on a prepared basis.
- To use the decoupage method, we use the “file” method: we glue the areas on the workpiece with glue where the cut out elements of our creativity will be located.
- Now we put a napkin on the places smeared with PVA glue.
- We put cellophane film or a regular stationery file on top of the picture. Carefully iron the image, moving from the middle of the napkin to the edges, thereby expelling the remaining air.
- After gluing all the elements, we draw a background with acrylic paints and finish all the small details for completeness with our own hands.
- We varnish or glue the entire surface of the base. We give time to dry.
- We insert the working mechanism.
Our watch is ready!
to contents ↑Important! It is quite possible to make not only a clock, but also other decorative elements for walls with your own hands.In this regard, we have many practical and original ideas that you can use right now:
How to make a wall clock do it yourself from cardboard?
Some craftswomen manage to make wall chimes made of cardboard. Using such simple material, you can create not only useful, but also an exclusive thing.
Materials and tools:
- Thick cardboard (preferably three-layer).
- Lids and buttons in bright colors.
- Clockwork with arrows.
- PVA glue.
- Compass.
Manufacture:
- We draw a circle on a cardboard with a compass, and then cut it out.
- We glue buttons or caps (you can do both) with PVA glue.
- We draw numbers with a marker or acrylic paint on the lids.
- We make a hole in the center of the round billet.
- We install a mechanism with arrows in the hole. We insert a working battery into the back of the clockwork.
DIY jewelry is ready to show the exact time!
to contents ↑Important! According to this scheme, you can make a New Year’s clock on the wall with your own hands, cutting out the base in the form of a Christmas tree or snowflake.
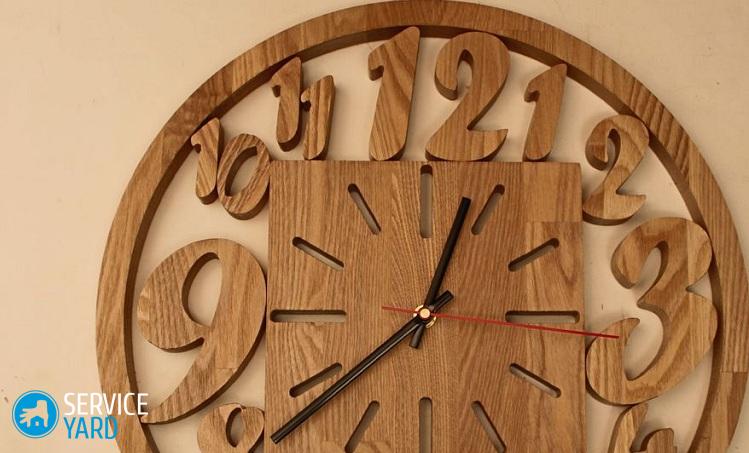
DIY wooden watch
Chimes made of wood have always been in price due to the fact that they are beautiful, strong and durable. Making such a thing will not take you much time, and the result will pleasantly please you.
Materials and tools:
- Round wooden base with a diameter of 330 mm.
- Wooden sticks and balls in the amount of 12 pieces.
- The working clockwork.
- Black cardboard.
- Hammer drill.
- Nippers.
- Primer.
- Sandpaper.
- Paint of two colors.
- Pencil.
- Ruler.
- Scissors
- Glue.
Step-by-step instruction:
- We process a round wooden disk (base) with sandpaper until the surface is as smooth as possible. Wipe the workpiece from dust.
- We cut the wooden sticks to the length we need.
- We make a hole with a puncher in the very center of the circle, which will serve as a mount for the arrows
- Now we drill 12 identical holes in the end face of the wooden blank. They will be some grooves for wooden sticks with balls.
Important! Make sure that the distance between the discs is as uniform as possible. To make the correct marks, use the protractor, drawing marks every 30 degrees.
- Pour PVA glue into the holes, and then fix the sticks in them.
- Primer the surface of the wooden disc. We put several layers of paint on the circle. For this, we took a white pigment.
- Paint the balls in red. For ease and uniformity of coloring balls, you can use a little foam and the remaining parts of wooden sticks. We string balls on them, and then paint them. We insert the balls into a piece of foam and wait for the paint to dry completely.
Important! For painting round elements, you can take a spray, since such a result is very difficult to achieve with a regular brush.
- We insert the balls into wooden sticks, first pouring glue there.
- Cut the arrows from the same thick cardboard. We color them black.
- We install the mechanism on the back of the round base. We fix the arrows in the place prepared for them.
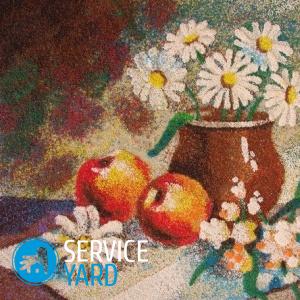
Quilling wall clock
And why not try to make a product in an interesting quilling style? This technique is not very complicated, and most importantly - economical. So, for the manufacture of various elements, paper strips of different lengths and widths are needed. It is by twisting the segments that the whole composition is obtained.
Master Class:
- We stick black paper on the body. To create contrast on a dark background, cut out different paper strips of light paper (you can take color).
Important! When choosing a shade of decor elements, consider the interior of the room where the watch is planned to be placed. They should be in harmony with the rest of the surrounding objects.
- We make numbers from pre-prepared paper strips.For these purposes we use short strips.
- We twist the rest of the decor elements, forming various compositions from long and short stripes. So, for example, flowers or patterns can be made of paper. You can draw a sketch in advance to make it easier to appreciate the appearance of our future creation.
- Glue PVA glue to the selected places on paper numbers and other decorative elements.
- We make a small hole in the center of the base, where we insert the mechanism with arrows.
Stock footage
We hope that we have helped you in resolving the issue of how to make a large clock on the wall with your own hands. As you can see, it is not at all necessary to buy an expensive product that can be made according to one’s own idea with minimal costs.
 (No ratings yet)