

Do-it-yourself highchair for children - drawings, sizes, diagrams
When the baby appears in the house, new items appear that he needs. And of course, every parent wants to get all the best for the child. And what could be better than made independently. After reading our article, you can easily make a highchair with your own hands. Drawings, sizes, schemes - all this will be agreed. And most importantly - it will be convenient and safe for your baby, because you will be sure of the quality of the selected materials, and the reliability of the assembly of the entire structure.
to contents ↑Do-it-yourself highchair
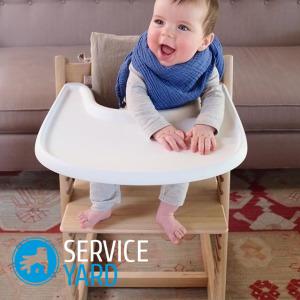
Your child will need such a chair for feeding when he turns six months old and begins to sit on his own. On the chair is the formation of the musculoskeletal system of your baby, and his posture. This will be his first property, thanks to which he will get acquainted with the outside world.
That is why a highchair should be not only convenient, but also useful.
General requirements
In order for this piece of furniture to be practical and comfortable, you need to consider the following nuances:
- The chair should not be soft. In order for the child’s skeleton to develop correctly, the body must feel reliable support. But on the highchair, relatively thin soft pads on the seat and backrest are needed.
- Material for the chair. It is important for a child to use non-toxic, natural ones, for example, wood, plywood, chipboard.
Important! Do not use plastic, as it does not always contain harmless substances.
- The size of the chair. In order for your baby to feel comfortable on the seat, you need to correctly calculate the height of the back and the length, width of the seat.
to contents ↑Important! There is a special table that is designed for children's furniture. According to this table, we determine that the height of the chair seat should be 20 cm, if your child’s height is from 80 to 90 cm, and the width and depth are 33 and 26 cm, respectively.
Options for Feeding Chairs
The child begins to eat at the common table, starting at six months. Of course, you need the baby to eat with all members of the family. For convenience, various options have been developed, but when you put your baby in a makeshift chair, you must be sure of its safety.
Designs of baby chairs for feeding:
- Chair with high legs - made on long legs. Sitting in it, the baby will be on a par with everyone sitting at the dinner table.
- Soft cover - it looks like a slim one, which is attached to a regular chair. This option can be taken with you to the cottage or to visit.
- Combined chair - a small chair with restrictive rings is installed on a low table.
Material selection
For the manufacture of high chairs suitable wood coniferous pine or spruce. This type is quite durable and easy to process, the wood texture is pleasant to look at.
Joiner's tools:
- nails, sandpaper;
- hinges, screws, dowels (special connecting elements);
- saw;
- hammer;
- glue for wood;
- fiberboard sheet, plywood;
- fabric, batting or synthetic winterizer;
- varnish or paint for topcoat, brushes.
to contents ↑Important! Choose paint on an acrylic basis, and varnishes are non-toxic on a water basis, because your baby can not only breathe with them, but try it on the tooth.
DIY Combined Highchair
We offer a detailed description of the steps involved in manufacturing parts and assembling a combined feeding chair. Here you need to separately make a chair and a table. This assembled option can be used by feeding the child at a common table, and having figured it out, you can put the child behind him for various games and activities.
Procurement of parts
The first stage is the preparation of all the details for this stool. You need to prepare such materials:
- a bar with a thickness of 200x400 mm - for legs and crossbars;
- a small board with a thickness of 200-250 mm - for cutting armrests;
- fiberboard sheet 2x2.1 m for the back and seat;
- plywood on the countertop.
Preparation of parts for the chair
To make a stool you will need such details:
- 4 children legs - workpiece length 390 mm;
- 3 children cross bar - 300 mm long;
- 4 children rounded elements;
- 1 child countertop 200x340 mm (can be changed to your taste);
- 2 pcs. - upper crossbar size 220 mm;
- 2 pcs. - lower crossbar size 340 mm.
Important! In order for your baby chair to do-it-yourself beautiful and even, the dimensions of the parts must exactly match the drawing.
Making parts for the table
It will require:
- 4 legs 500 mm long;
- 4 cross rails the size of 340 mm;
- 4 plates 410 mm long;
- plywood for countertops measuring 380x450 mm.
Important! You can not buy all the necessary materials, you can choose the right size, using items that are unnecessary in your household.
Now we have reached the main stage - the assembly of the entire structure. Be careful and accurate in your work, do everything perfectly, because you are trying for your child, which means that you must provide him, first and foremost, with safety and convenience.
Wood preparation:
- In the production of timber, the sawn timber is cut into certain sizes. Sawing the details into sizes, you need to remove all the bumps, roughness, scratches with sandpaper.
- The detail of the rounded element of the sidewall for the stool should be rounded with a carpentry machine or an electric jigsaw.
Important! Rounding the sidewalls is necessary according to the drawing of the highchair.
- They needed to be fastened with the help of dowels (can be purchased in the department of furniture accessories). In extreme cases, the use of self-tapping screws is allowed.
Mounting Process:
- In places of fastening on a board or bar, we cut or drill holes with a drill depth of 30-40 mm using a drill.
Important! Carefully make holes without drilling through the details of the chair.
- We connect and insert dowels.
Sidewall assembly
Your chair will have two sidewalls that will protect your baby from falling. To do this, you will need for each sidewall:
- 2 roundings;
- 2 legs;
- 2 slats upper and lower.
We collect each sidewall separately. To do this:
- Connect the legs and the lower bar.
- Fasten the rounding to the upper rung.
- Glue these two parts together.
Important! Before connecting the two bars, the hole and dowel must be lubricated with glue for furniture or PVA.
The same collection process will occur for the second part of the sidewall. All items must be left to dry for a day. After - go with sandpaper on this part of the chair to permanently remove all irregularities.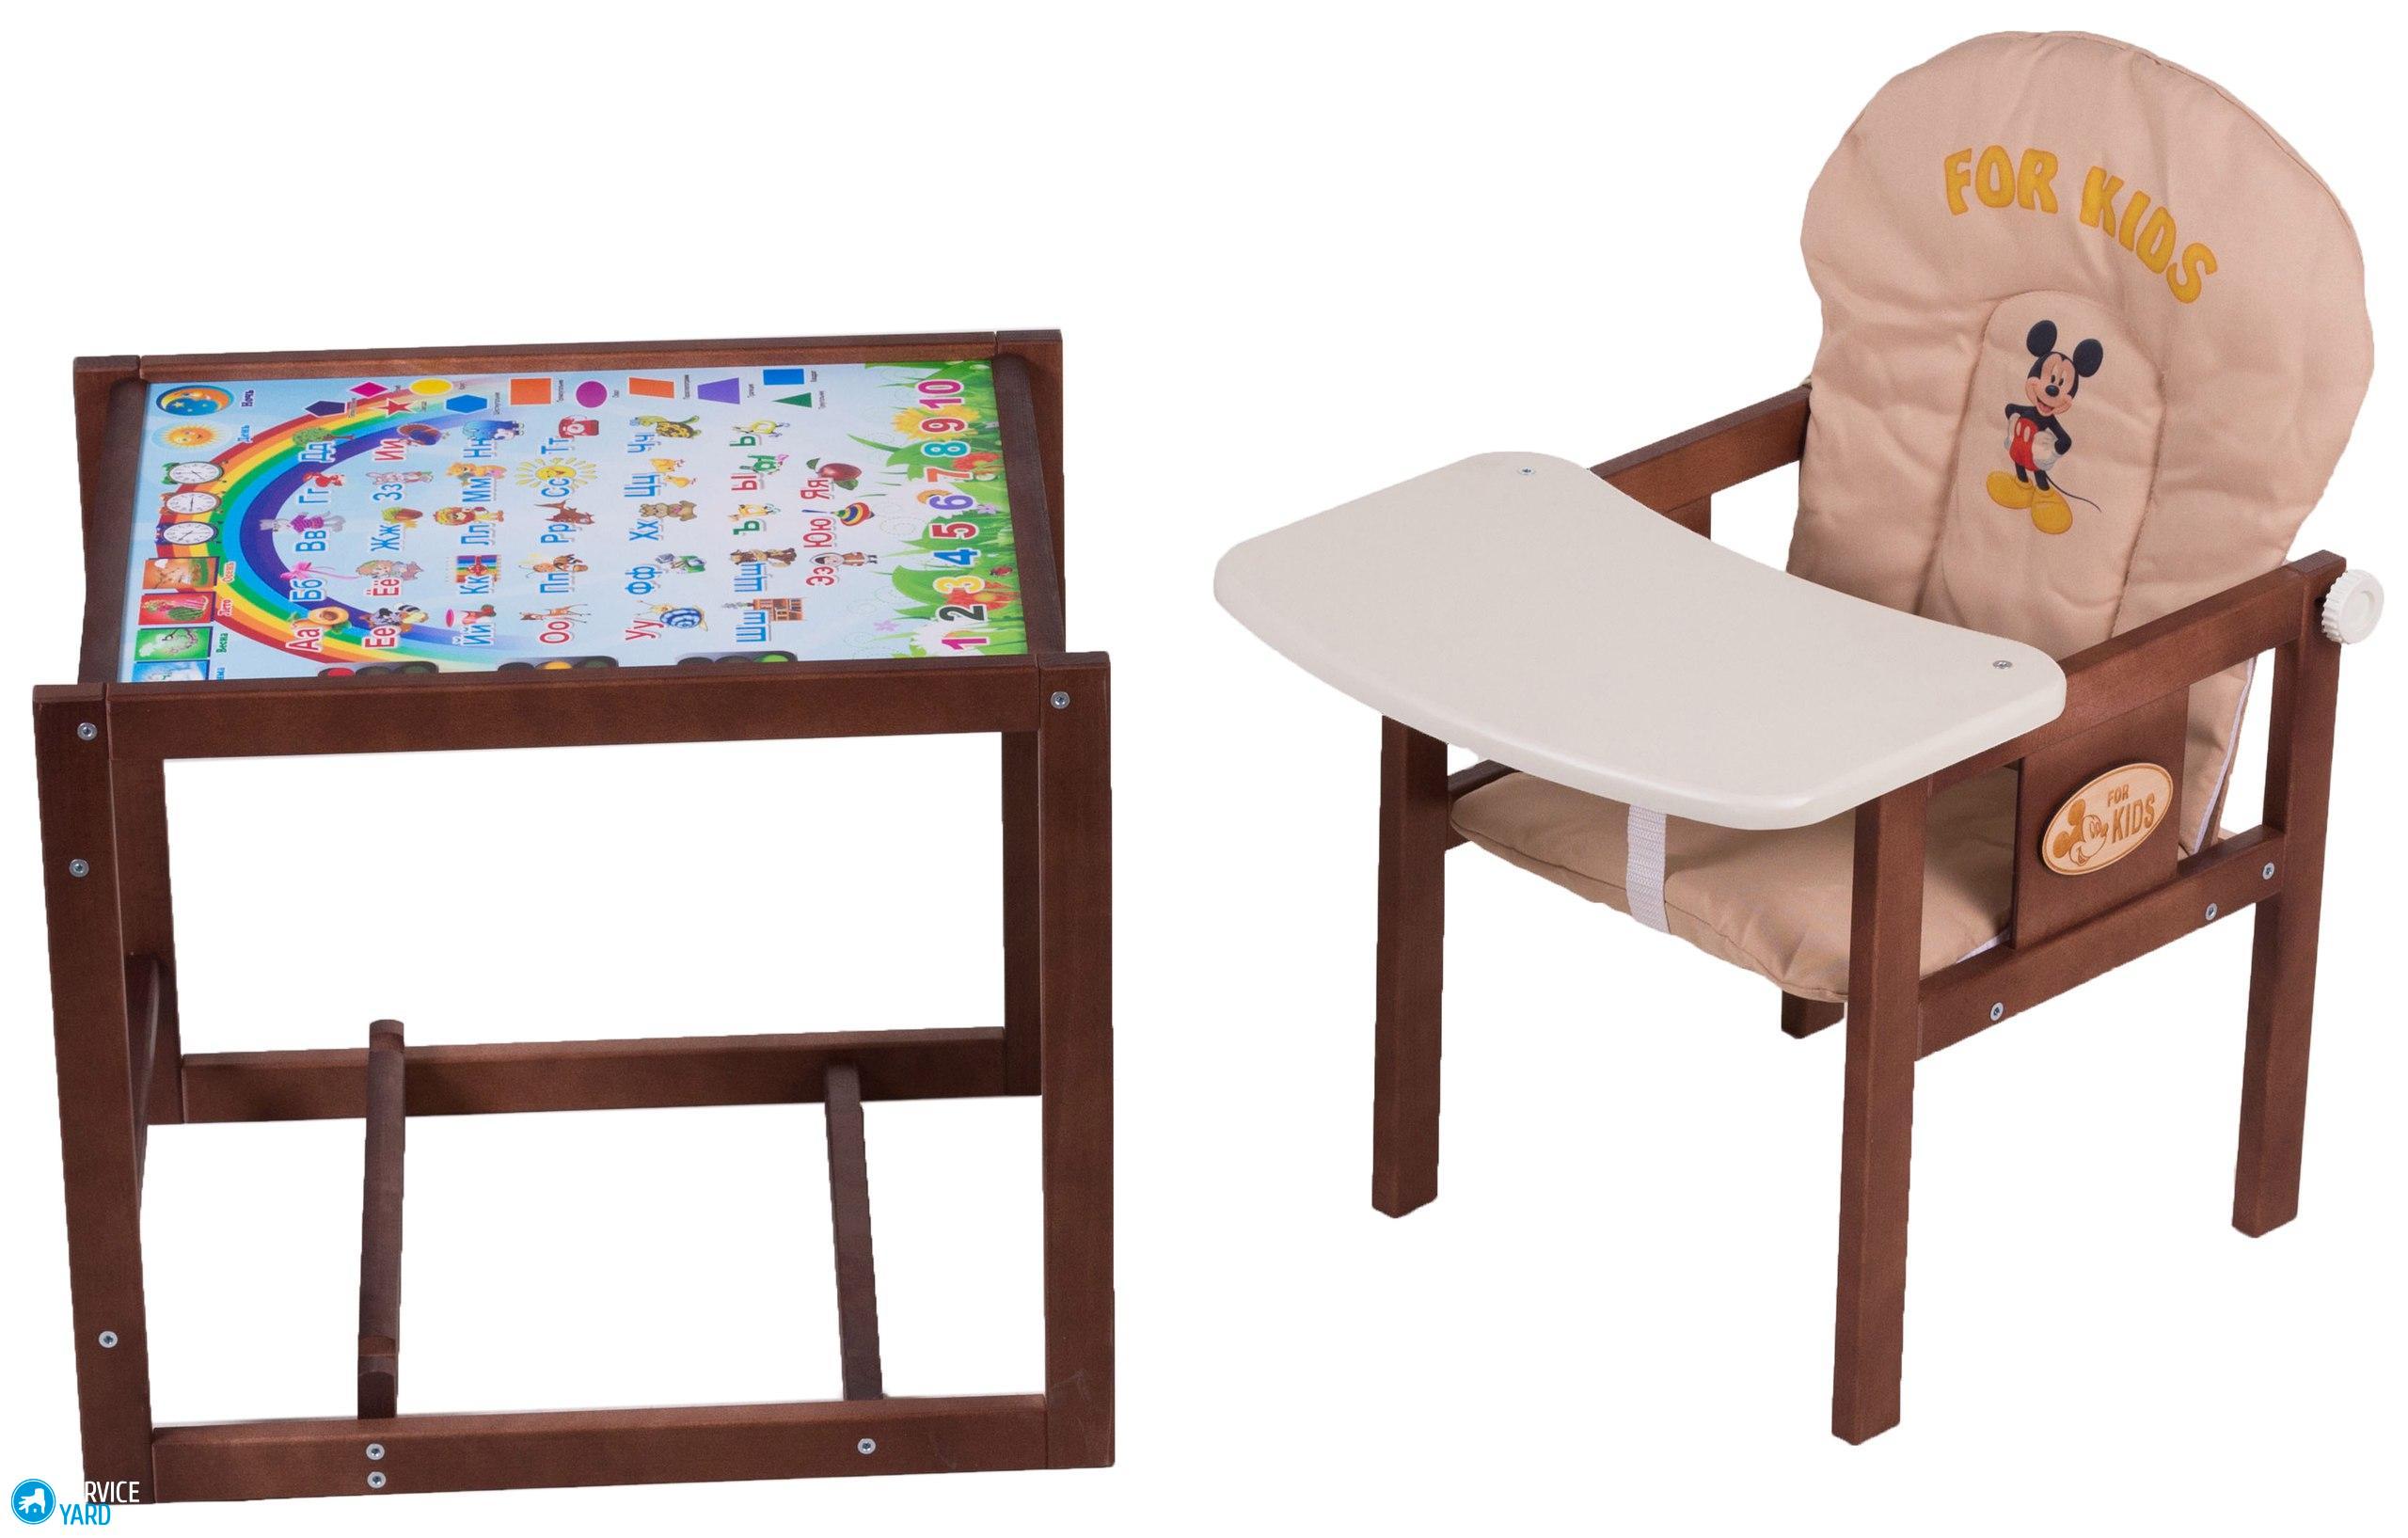
Important! Carefully ensure that all angles between the bars are straight and the sides are symmetrical.
Seat fabrication
We begin the process, it is necessary:
- Cut 6 rectangles of 300x250 mm from chipboard.
- Round 2 corners on the long side.
- Sand all edges with sandpaper.
- Glue 2 plates to put under the press.
- Fasten the finished parts curved along a strip of metal or fasten with screws.
Seat assembly
We begin to assemble the chair, for this it is necessary:
- The sides are connected by transverse slats using dowels, as described above.
- Fix the slats to support the back and plywood worktops using the same method.
Important! In order to make it more convenient to fold the structure, it is required to outline the installation sites of dowels, drill holes and bait the bars without glue. Carefully review, remove all flaws. Then you can use glue for the final docking of the elements.
Making a table
The process itself is very similar to the assembly of a chair.
Table assembly technology:
- Attach the upper and lower trims to the legs.
- Cross bars 340 mm long, fasten the sides of the table.
- Grind the sides with fine-grained sandpaper.
- Tabletop mount - must be screwed from the end of the structure.
Seat fabrication
This stage is optional, but for the comfort of your child, do not regret the material and the time spent. To do this, you will need:
- foam rubber no more than 2 cm thick;
- dense furniture fabric or colorful oilcloth;
- construction stapler.
Let's start the process, for which you will need:
- Cut foam on the contour of the seat and back.
- Glue to particleboard using PVA.
- Cut out the patterns of the back and seat, making allowances for hem 4-5 cm on the seat, and the back will need so much to fit two sides.
- Place upholstery on the seat.
- Secure on four sides with brackets on the back.
- Shoot around the circumference of the seat, while adjusting the uniform tension of the fabric.
to contents ↑Important! The same techniques should be used to tighten the back of the seat with the difference that here you will also tighten the wrong side, while wrapping the fabric diagonally with an envelope.
Mobile highchair
You can take this option of a chair with you to the cottage or to visit. We offer you a portable (mobile) version of a highchair, which you can sew at home, having basic sewing skills.
Materials for work
To do this, you will need:
- fabric (cotton, linen, lining fabric) - 3 m with a width of 1.5 m;
- slings 2.5 m (buy in a fabric store);
- carabiner buckles - 3 pcs.;
- scissors;
- synthetic winterizer;
- needles;
- sewing machine;
- threads
- thick strong braid.
Step-by-step sewing instructions:
- Open the fabric according to the pattern below. You should cut:
- 2 main parts made of fabric;
- 1 main of synthetic winterizer;
- 4 parts for wide shoulder straps.
- Attach a synthetic winterizer to one of the sides of the main part, then stitch it, departing from the edge of 1 cm.
- Sew each strap around the circumference by sewing slings into it:
- turn out using a ruler;
- iron by aligning all corners;
- stitch to the main part at the places indicated on the pattern;
- Fold the two main parts face to face, and sweep, stitch in a circle, not extending 7-10 cm.
- Turn out and straighten all corners and bends.
- To stitch, stepping back from the edge of 1 cm.
- On the straps, put buckles on the carabiners.
Stock footage
That's all your baby chair is ready. Using your imagination, the chair will be original and comfortable for both you and the baby. With it, your baby will get to know the world around him.
- How to choose a vacuum cleaner taking into account the characteristics of the house and coatings?
- What to look for when choosing a water delivery
- How to quickly create comfort at home - tips for housewives
- How to choose the perfect TV - useful tips
- What to look for when choosing blinds
- What should be running shoes?
- What useful things can you buy in a hardware store
- Iphone 11 pro max review
- Than iPhone is better than Android smartphones
 (No ratings yet)