

DIY infrared heater
Until relatively recently, the infrared heater belonged to the category of “miracles of technology”. Today it is a familiar device that is used in residential and public buildings, as well as in open areas. It comes to the fact that home-grown masters, having finally shuddered in the garage, are trying to construct an infrared heater with their own hands. As the saying goes, "from what was." Is this really possible? We will understand this article.
to contents ↑Operating principle
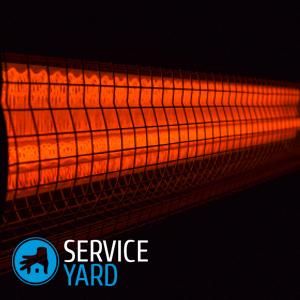
Unlike a conventional heater, an infrared heater does not heat the air in the room. It heats objects caught in the path of infrared rays. And those, in turn, share their heat with air.
The main components of an infrared heater are:
- Radiator heating element.
- Reflector (reflective part).
How to assemble an IR heater?
- To make the reflector yourself, use polished steel or aluminum. The reflector is designed to direct the radiation flux to the desired area.
- The heating elements in an infrared heating device are lamps: quartz, carbon or halogen.
Differences of lamps for a heater, or which ones to choose
In order to personally understand for yourself which lamps are better to take in order to make an infrared heater yourself, we will analyze some of their features:
- The cost of devices with halogen lamps is lower than carbon and quartz.
- There is a myth that a quartz heater has a beneficial effect on people's health. This statement has nothing to do with the truth.
- For all its cheapness, a halogen device has a significant drawback: during its operation, the lamp glows. Naturally, it is not suitable for a children's room or bedroom.
Important! In addition to a reflector with a radiator, an infrared heater is equipped with a thermostat and a fire hazard sensor. The thermostat is designed to maintain the set temperature, and the sensor automatically turns off the overheated device.
Now, armed with basic knowledge about the operation of an infrared heating device, let's move on to its independent manufacture.
to contents ↑DIY infrared heater - instructions
To work, you will need:
- Reflector (made in the USSR in 19 ..- some year).
- Nichrome thread.
- Dielectric material made of refractory material.
- Steel rod.
Important! A plate made of glazed ceramic can serve as an insulator.
Procedure:
- Clean the old reflector from dust and dirt.
- Check if the power cord, plug, terminal connections for connecting the spiral are intact.
- Measure the length of the spiral that fits over the cone of the device.
- Cut a rod of the same length, thread a nichrome thread on it. Furthermore, the winding pitch is 2 mm.
- As a result of the last simple manipulation, you get a spiral. Remove it from the rod.
- Loosely lay the spiral - so that its coils do not come into contact with the dielectric.
- Connect the current from the network to the ends of the spiral.
- Disconnect the heated spiral and lay it in the groove from the ceramic cone of the reflector.
- Connect the coil to the power terminals.
DIY infrared lamp made of glass and foil
Another option is how to make such a device yourself.And he, too, is not something excessive or difficult for an ordinary home master.
You will need:
- Two identical pieces of glass.
- Aluminum foil.
- Candle.
- Sealant.
- Network wire with plug.
- Cotton buds.
- Epoxy adhesive.
- Candle holder.
- A clean cotton napkin.
The DIY assembly algorithm for an infrared lamp is as follows:
- Clean the glass surface from dirt.
- Light the candle and, moving the glass plates above the flame, evenly smoke them.
Important! The soot layer in the heater will play the role of a conductor. On the chilled glass, the soot layer lies smoother.
- Using cotton swabs, make a “frame” about 0.5 cm wide around the glass.
- Cut 2 rectangles of aluminum foil into a conductive layer (the same soot). Foil rectangles in the future device will serve as electrodes.
- Place the glass plate soot up and apply epoxy to the surface.
- Apply foil to the edges of the plate so that the ends of the foil extend beyond the glass.
- Cover the resulting “sandwich” with a second piece of glass, smoked with a plane inward.
- Glue the layers, pressing them tightly against each other.
- Seal the structure around the perimeter.
- Measure the resistance of the conductive layer.
to contents ↑Important! The power of the device is calculated by the formula N = R x I x I, where:
- N is the power of the device, watts.
- R is the resistance value of the conductive layer, Ohm.
- I - current strength, A.
If the received power value does not exceed the standard value, you can connect the design to the outlet. Otherwise, you have to disassemble everything and start all over again.
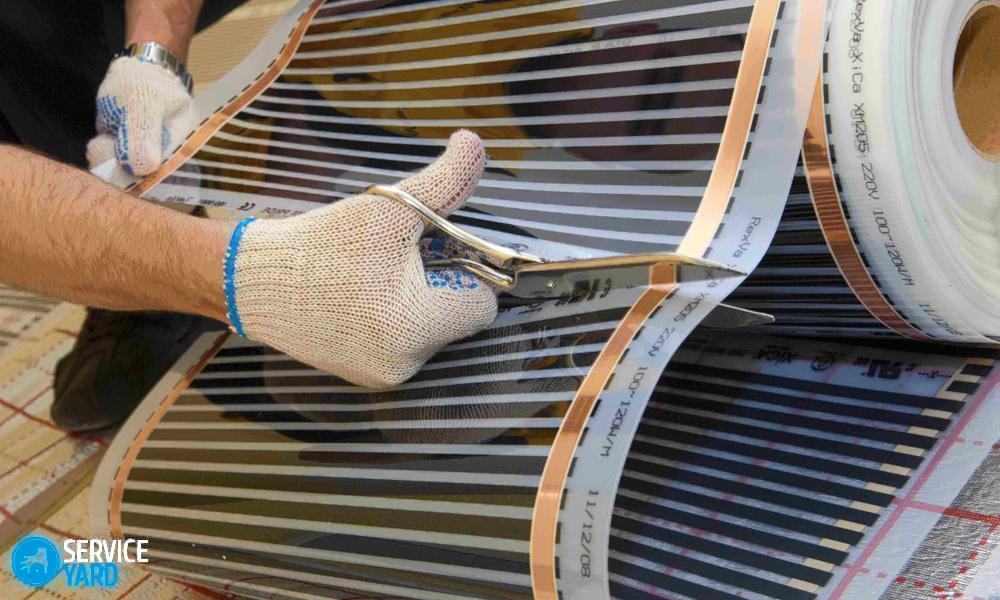
Laminated infrared device
To make an IR heater yourself, you will need:
- 2 blanks from laminated paper plastic (1 square meter).
- Epoxy adhesive.
- Graphite. It can be removed from used batteries.
- Copper bus for terminals.
- The power cord.
- A tree for a frame.
The procedure is as follows:
- Mix in a thick mass of graphite with epoxy. This is a future conductive layer with high resistance.
- Place a plastic blank on a flat surface (rough side up).
- Apply a mixture of epoxy glue with graphite and zigzag strokes to the plastic.
- Prepare the second workpiece in the same way.
- Putting the plates together with the machined sides, glue the structure.
- Perform a wooden frame around the perimeter of the product.
- Wait for the glue to dry.
- As in the previous version, measure the resistance of the conductive layer and calculate the power.
Important! If during the calculation it turns out that the conductive layer has too low resistance - make a new graphite-epoxy mixture with a large amount of graphite. If, on the contrary, the resistance is increased, the amount of graphite in the mixture must be reduced.
- After obtaining the optimal result, you can connect the cord to the terminals and connect the device to the network.
- If desired, you can equip the device with a small thermostat.
Simply and easily…
And, as they say, “for dessert”, the simplest heater from a light bulb with your own hands. Take a powerful incandescent lamp, put it in a case made of metal.
to contents ↑Important! The lamp, generating heat, heats the metal, and that, in turn, gives its heat to the air and, thus, heats the room. Of course, such a primitive device is suitable only for a small room as an additional source of heat.
Stock footage
These are just the four simplest ways to create a do-it-yourself infrared heater. In fact, there are much more. Involuntarily the question arises: do you need it? Fuss a lot, and not the fact that everything will turn out as it should. But:
- Firstly, knowledge is not superfluous.
- Secondly, you kill two birds with one stone. You get a useful device and get rid of a bunch of unnecessary trash.
Maybe it's worth a try?
- How to choose a vacuum cleaner taking into account the characteristics of the house and coatings?
- What to look for when choosing a water delivery
- How to quickly create comfort at home - tips for housewives
- How to choose the perfect TV - useful tips
- What to look for when choosing blinds
- What should be running shoes?
- What useful things can you buy in a hardware store
- Iphone 11 pro max review
- Than iPhone is better than Android smartphones
 (No ratings yet)