How to build up nails at home?
Beautiful well-groomed manicure is an important part of the image of a modern woman. The technology of nail extensions is not too complicated, you can cope with it without resorting to the services of professional salon masters. An additional bonus with this approach is that you will be 100% sure of the sterility of the instruments and the quality of the materials used. Let's talk about how to build up nails at home, which is necessary for this.
to contents ↑Are there any contraindications?
We begin, oddly enough, with contraindications to avoid trouble. You can not build up nails in such cases:
- Problems with the heart and / or blood vessels.
- Diabetes.
- Circulatory disorders.
- Hypersensitivity to the materials used in the procedure.
- Thyroid disease.
- Disorders of the hormonal background.
- Herpes.
- Chemotherapy
Important! You need to refrain from building if you are undergoing antibiotic treatment. In this case, the nails simply will not hold.

Many people ask: is pregnancy a contraindication for nail extensions. Pregnancy in itself is not a contraindication, but during the buildup you need to observe precautions:
- The room in which the nail extension is carried out should be well ventilated.
- Only the highest quality materials should be used.
- At the end of the procedure, rinse your nose with mineral water. This prevents dust from entering the airways and minimizes the risk of allergies.
In addition, you should not build up nails:
- When injuring the nail plates.
- In the presence of viral or fungal diseases.
to contents ↑Important! A few more interesting aspects regarding different types of manicure we revealed in the article "The harm and benefits of varnish and gel polish".
Memo to the novice master
These simple conditions will help you not only do the work according to all the rules, but also maintain your nails in perfect condition for a long time:
- The extension is preceded by the work of removing the cuticle and preparing the nail plate.
- Do not trim your nails too short. Ideally, if they protrude 1-2 mm.
- On the day of nail extension should not use a hot bath. It is also better to refrain from going to the sauna or pool.
- After building, you should be careful to use hand products, as the nails may delaminate.
- Is the marigold stratified? Picking it should not be. In this case, only correction will help.
- A few days after the procedure, the skin around the nails needs to be moisturized and nourished. Ideally, if you do it twice a day - in the morning and at night.
- Do not forget about regular corrections. It must be carried out once every two weeks to a month.
- If you are doing self-extension for the first time, it is advisable to choose the minimum length.
- Artificial nails are, first of all, an ornament. And beauty requires sacrifice. Therefore, all household chores will have to be done with protective gloves.
- Carefully use sharp objects such as knives, vegetable cutters, or graters. Otherwise, you risk staying with a broken nail or even cutting it off.
- Be careful when near an open flame.All beauty can be burnt or covered with a layer of soot.
- It is advisable to clean the subungual area with a soaped toothbrush. Do not use sharp objects.
Types of Technologies Used
When building, 2 types of materials are used: acrylic or gel. The difference between the use of materials is the method of hardening:
- Acrylic polymerization occurs when powder is mixed with monomer, and both components are present in the gel.
- The consistency of the gel is liquid. Its polymerization occurs only when exposed to UV rays from a special lamp.
Important! If you do not have experience with nail extensions, it is advisable to use a gel. It is easier for a novice master to work with him. As for the professionals, most of them prefer acrylic. Only with it you can achieve clear natural lines. With a gel, getting a “professional” effect is problematic.
Acrylic is not without such a drawback as a strong smell. Alas, this “aroma” indicates the presence of not just volatile, but also toxic substances. The gel is almost odorless, so it can be used even in the room where the children are.
There are 2 types of extensions - on forms and tips. Forms are used infrequently. Tips can significantly reduce the time spent on the entire process. True, grace suffers.
What is necessary to grow nails with gel or acrylic?
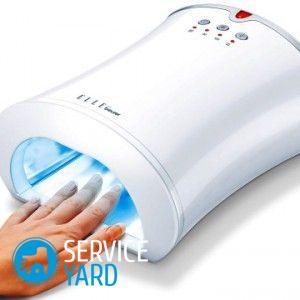
The first thing you need is a UV lamp. It will be needed, regardless of the selected technology.
Important! For acrylic, you can use a low-power lamp. As for the color gel, then more powerful UV radiation is needed. Use our detailed recommendations to choose a good lamp for nails for home.
In addition, for nail extension at home you will need:
- Shoulder to move cuticle.
- Nail files. Moreover, for acrylic technology it will be needed more rigid than for gel.
- Glue.
- Forms (they can be replaced with tips).
- Brushes for applying acrylic or gel.
- Tweezers.
Such types of consumables will be needed:
- Disinfectant.
- Dehydrator is the fluid needed to dry the nail.
- Primer. It enhances the adhesion of artificial material with a natural nail.
- Bonder - using gel technology.
- Gel or acrylic powder (it all depends on the chosen method).
- Monomer - for acrylic nails.
- Topcoat.
- Means for removing the sticky layer.
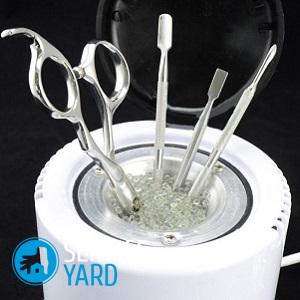
Important! Even if only you will use all the devices, it will not be superfluous to also think about how to buy manicure instrument sterilizer.
Forms
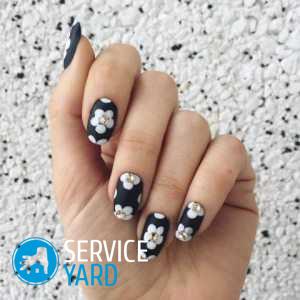
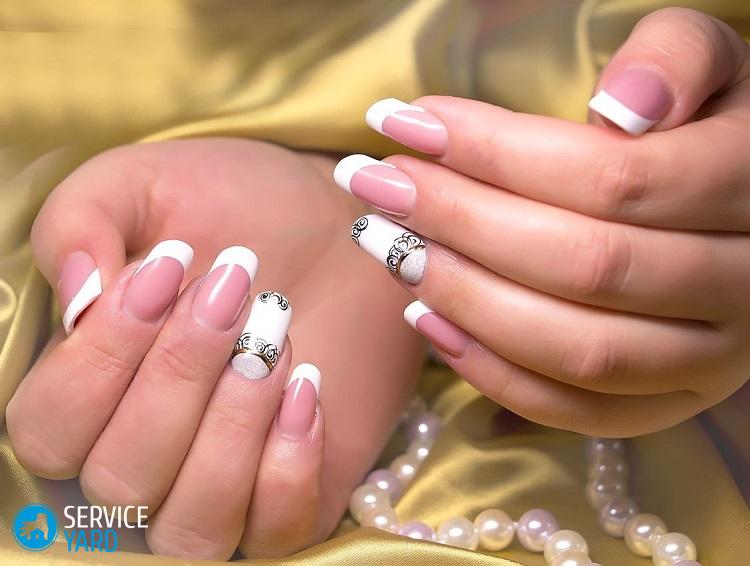
It all depends on your taste. The shape of the extended nail can be classic or complex. Classic shapes: oval, square, almond-shaped or “soft square”. Modern forms, such as a stylet, pipe or bridget - for courageous ladies, for whom originality is the main thing.
Important! If you want to understand in more detail the classic and modern trends, read our article. "Manicure Design".
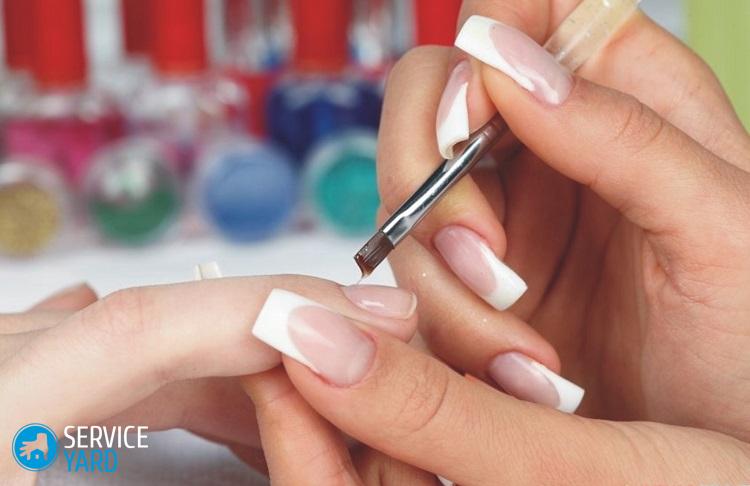
How to build up nails in stages? Tips
This is the easiest build option. If everything is done correctly, it will turn out very beautifully:
- The very first step is to disinfect the instruments.
- The next point is the selection of tips in the shape and size of the nails. Now you need to give them the desired shape - classic or original.
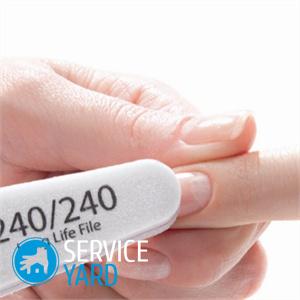
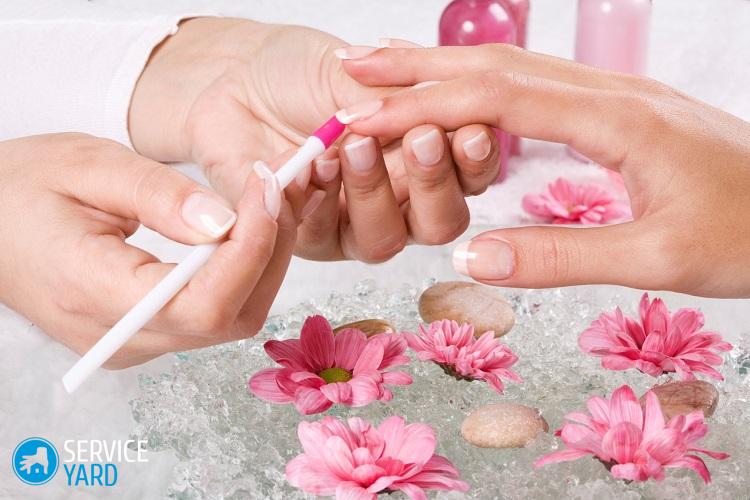
- The most crucial moment is the preparation of a natural nail plate. To do this, you need to move the cuticle with a spatula, and with a nail file, trim the nails in length and remove the natural shine. Do all the manipulations carefully so as not to damage the nail.
- Performing a manicure. Now treat the nails with a disinfectant and dry with a dehydrator. You can stick tips, distributing the glue evenly and economically.Glue the tips to the nail plates, making sure they are positioned correctly.
- The next stage is the application of the prime and the bonder on the prepared surface. It is important not to overdry the bonder.
- The main point is the application of acrylic or gel composition. Then the sticky layer is removed, the nail surface is covered with a finishing gel and dried for 2 minutes under the lamp.
Using forms
This is a more laborious and painstaking process. The form is a pattern that allows you to perfectly model each of the nails. The form is bent in half and placed under the nail plate. Fixing it is carried out by a sticky edge. The distribution of materials is similar to that with tips.
How to care for extended nails at home?
Building nails at home is easy. The process of leaving is also very simple. It is enough to feed the cuticle twice a day with special oil, and to apply a transparent varnish to the surface of the nail. The time spent on caring procedures is minimal, and a manicure will always look well-groomed and stylish.
In addition, the following rules should be observed:
- It is impossible to remove varnish with acetone. If you suddenly decided to change the design of manicure, use the right methods to remove gel polish from nails.
- Do not use nippers and scissors - the manicure can be damaged.
- Be very careful. Accidentally damaging an artificial manicure, you risk damaging the natural nail plate.
- Avoid sudden changes in temperature - you risk making your nails brittle.
- When choosing a varnish, make sure that it contains acrylic or gel.
- Do not forget to make corrections. Due to the natural growth of the natural plate, artificial manicure lasts worse.
Stock footage
Stick to these rules, and your artificial nails will retain a luxurious look for a long time.
 (No ratings yet)