

How to upgrade old furniture?
If your furniture already looks far from what you would like, then do not rush to change it; there are still chances to restore it. Perhaps your furniture is very strong, resistant, but with the visual component has long been out of fashion, or you decide to make repairs, and old furniture does not fit the current style of your room, apartment. Why buy new, far from cheap furniture, if you can update it and give it its former beauty and freshness. This is where you will learn how to update old furniture with your own hands.
to contents ↑Chair
Chairs are the most intensively operated, and therefore age the fastest. How to be Very simple! Refresh this old furniture.
Materials for work
To give a second life to a stool or a wooden chair, you will need a certain list of tools:
- Pastel white acrylic paint;
- Brush;
- Masking tape.
We observe the following instructions for restoring a chair or stool:
- First of all, take a chair, sand it well with sandpaper in order to remove the old cover.
- After - they must apply a primer coat of white paint.
- When the paint dries, you need to paste over the legs with the masking tape at the desired height.
- On the top of the tape, paint the legs in a contrasting color.
- Allow the paint to dry and then remove the protective tape.
Actually everything, your updated stool is ready!
to contents ↑Striped chair
Consider another design option for the old chair.
Materials will be needed such:
- Primer or putty;
- Acrylic paints;
- Brushes;
- Paint roller;
- Masking tape;
- Shlif machine.
Furniture renovation workshop
We proceed directly to the process itself:
- Again, the first thing you should do is remove the old coat of varnish and paint from the old chair.
- Using a grinder, smooth out possible irregularities, cracks and dents.
- Then you need to paint the entire chair with an even layer of primer.
- Allow to dry.
- Paint everything in the first color and let it dry too.
- Then take masking tape, stick strips around the perimeter of the chair and paint in a different contrasting color.
- After the paint has dried, you need to remove the masking tape.
That's all, the chair will look fresh and in a new way!
to contents ↑Table
We turn to more serious furniture products, as you already understood, they will go in ascending order. Now we will perform the restoration of the bedside table or the cabinet.
Tools and materials:
- Acrylic paints;
- Masking tape;
- Paint roller;
- Brushes.
Instructions for restoration
After you have collected this set of materials, let's go to work:
- The table is clean of past paints and varnish.
- We glue the zigzag pattern on the tabletop with masking tape.
Important! It is necessary to observe equal intervals between zigzags.
- Paint in a contrasting color and wait until it dries completely.
- Remove the tape and cover with varnish.
Yes, everything is as simple as you can imagine!
to contents ↑Glass replacement
There are situations when you need to do your own renovation of old furniture that has glass elements. In other words, it is necessary to replace old and shabby glasses that are present in the furniture with new ones.
Important! This is due to the fact that almost any glass becomes dimmer over time and loses its transparency.
You can definitely just replace the old glass with a new one.But there is an easier way, for example, to update the glass surface with stained glass painting.
To do this, use:
- acrylic-based paint, which has the effect of frozen glass;
- finely porous foam sponge;
- masking tape.
Let's move on to the process itself:
- The first step is to stick masking tape on the surface of the glass, and this is done from strips of different thicknesses.
- Then the sponge is dipped in paint and painted over the entire surface of the glass.
- After thirty minutes, when the glass is completely dry, you can remove masking tape.
The result is frosted glass of a pretty beautiful and original color. It will definitely please you.
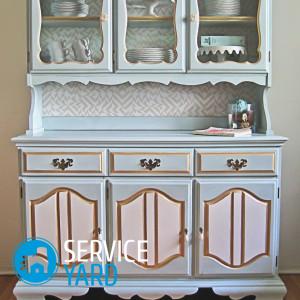
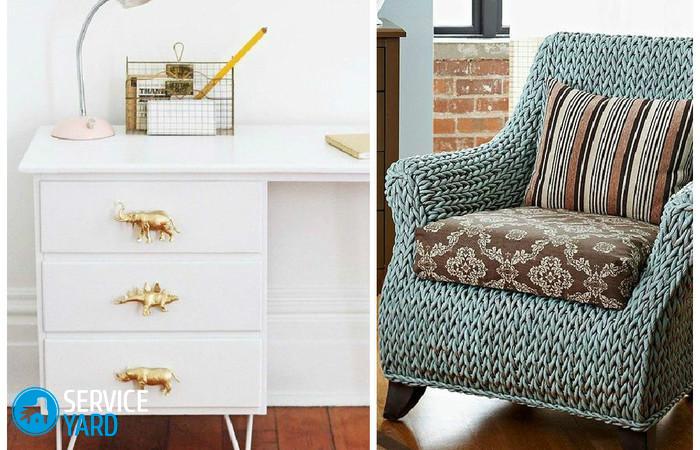
to contents ↑Old cabinet or chest of drawers
Do not rush to throw out an old chest of drawers or a cabinet, think a few more times, because you can get good dividends in the form of financial benefits and time spent.
So, we proceed directly to the restoration of the bedside tables.
You will need:
- Fine-grained emery paper;
- Planks are decorative wide;
- Wood glue;
- Styrofoam products, decorative;
- Tassels;
- Acrylic paint.
Process description:
- As always, the first thing we clean from the old cover is a cabinet or a pedestal with sandpaper.
- The next step will be cutting to the required size of decorative panels.
Important! For the strip, use a wide baseboard at an angle of 45 degrees, and narrow stripes at 90 degrees. All planks are fixed with glue to selected places on the cabinet.
- Next you need to find a place for the decor. A thin layer of glue is applied to the finished sample and gently glued to the wall of the piece of furniture.
- At the end of the whole process, the paint of the desired color is applied, if desired, varnish, which will not be superfluous.
Restoration of a pedestal
Another very simple way to update old furniture can also be convenient and interesting for you.
You will need:
- Actually the decoration material itself is a self-adhesive film, wallpaper;
- Dishwashing liquid;
- Sponge;
- Glue;
- Dry cloth.
Technology:
- Furniture should be thoroughly washed with detergent and wiped dry.
- All drawers and handles are removed, removed.
- We accurately measure the length of the film and add to this result a margin of several centimeters on each side.
- Then carefully remove the protective layer and stick.
- It is important to move from top to bottom, without rushing and smoothing with a napkin.
- When the entire perimeter is glued, take a dry cloth and wipe the surface to get rid of possible air bubbles.
Important! If suddenly a large bubble has formed, then it can be carefully pierced with a needle and immediately ironed out.
- We repeat the procedure also with drawers and doors, only having previously unscrewed the handles. If necessary, after gluing, make holes for the handles.
- Excess pieces of film are carefully cut and smoothed.
Important! If you use wallpaper or other paper materials, performing restoration of furniture using decoupage technique, then at the end of gluing you need to let the item dry well and then varnish for strength.
We pass to heavier artillery, that is, cabinets.
to contents ↑The larger the cabinet, the less to do.
Despite the fact that the cabinets are very large, the effort for them will require a minimum amount.
Find the following materials:
- Decorative panels or film;
- Pencil;
- Double-sided tape.
As you can see, not only a minimum of effort, but also a minimum of funds to implement the next plan.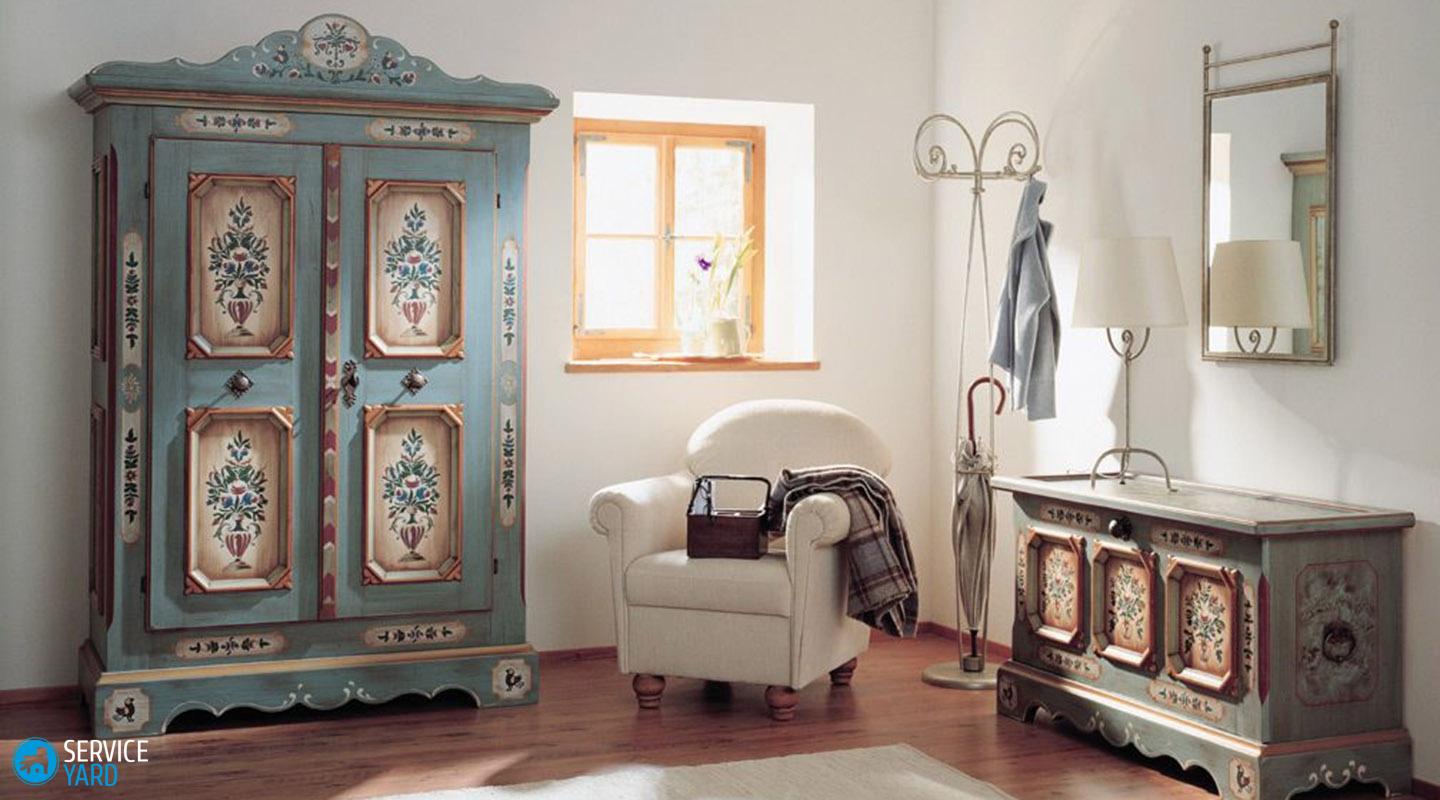
Technology:
- Cut a piece of wallpaper according to the measured dimensions of the sides of the cabinet.
- The resulting rectangle must be glued with double-sided tape or glue.
- After gluing, wipe with a dry cloth on top.
Everything is so simple, and most importantly - original and will refresh your furniture.
to contents ↑Varnishing
Varnishing is a good way that will definitely refresh your furniture, but will not make it brighter and more fashionable if it is not.
Materials for work
Remember that it is best to use oil varnishes in furniture varnishes.Here are a few reasons to choose just such:
- universality - they are suitable for all types of wood;
- quality - form a very durable, shiny and moisture resistant coating.
The only negative is a long drying period (it can reach 12 hours). For comparison: shellac lacquer dries in 1-2 hours, and nitro-lacquer - in 30-40 minutes.
Having determined your goals, quality or time, you must make the right choice.
Instructions for varnishing old furniture:
- Varnish should be applied with a brush or a piece of dense, lint-free fabric, folded 2-3 times.
- The varnish is applied in 3-5 layers, moreover, after applying each new layer, increase the drying time.
- The excess varnish should be squeezed out on the edges of the can, the brush can sometimes be washed in a solution of alcohol.
Craquelure varnish
Craquelure varnish - there are many varieties of it, with the effect of patina, gilding, etc.
Application Basics:
- The standard type of varnish is applied in a thick layer on top of the main paint layer, then it is coated with a different color to emphasize cracks.
- Also craquelure varnish can consist of two components: the first is applied to age the treated surface, the second to create decorative cracks.
to contents ↑Important! Restoring Soviet furniture with the help of craquelure is perfect for you if you are a lover of antiquity and Country style.
Stock footage
Above were presented almost all the possible methods for the restoration and updating of furniture. Agree that it is better to approach the matter yourself, to do what you definitely like, in the future there will not be an eyesore. Moreover, it is more profitable for you in almost all aspects, which is also important. Such furniture decor options are universal and original. Take a closer look at them, and be sure to try, the main thing is to start, and then everything will work out.
- How to choose a vacuum cleaner taking into account the characteristics of the house and coatings?
- What to look for when choosing a water delivery
- How to quickly create comfort at home - tips for housewives
- How to choose the perfect TV - useful tips
- What to look for when choosing blinds
- What should be running shoes?
- What useful things can you buy in a hardware store
- Iphone 11 pro max review
- Than iPhone is better than Android smartphones
 (No ratings yet)