

How to paint a wooden table?
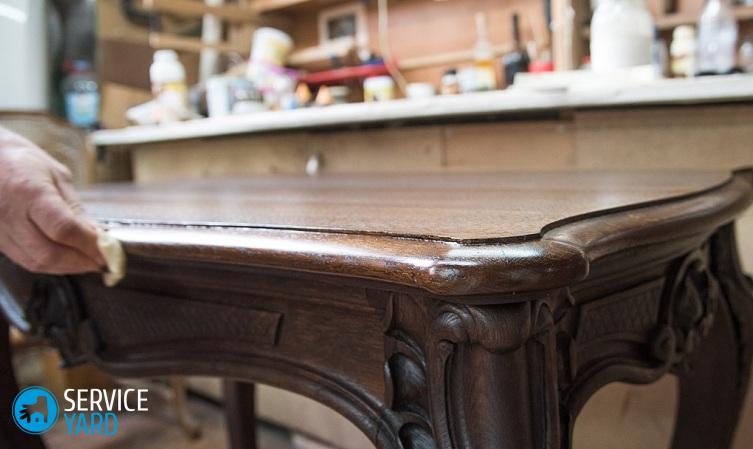
Factory decorative table cover, no matter how high-quality it may be, will fade over time, rub and crack. Perhaps the paint will peel off. To continue to use the item, it is advisable to restore it, giving it a beautiful look. The easiest way is to purchase a ready-made table, painted and varnished. However, if you have some carpentry skills, then you can restore the piece of furniture with your own hands. Of course, we should not forget that after that you will need to apply some kind of protective coating (varnish or paint). In this article, we will tell you how to paint a wooden table correctly. The main thing is to set a goal, and you can give a second life to your table.
to contents ↑Why does wood need painting?
Everyone knows that natural wood is a fairly strong and durable material. It is used not only for the manufacture of utensils, furniture, interior items and household goods, but also in construction.
Due to the influence of the external environment, the wood deteriorates over time:
- Dries up, or - on the contrary, swells.
- Rotting due to moisture.
- It darkens, dims or burns out, warps or warps.
- Being attacked by woodworkers.
- Chipped and erased.
Important! To prevent all this, the wood must be protected and strengthened with various impregnations and decorative coatings.
In some houses, where the wood products are properly maintained, cabinet furniture can serve more than one generation. To protect the wood for longer life, you can use various impregnations, paints or decorative coatings.
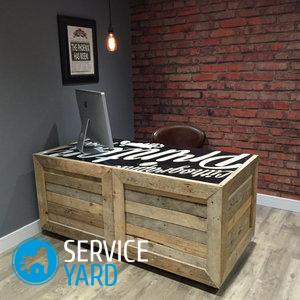
So, you have a table that has served you faithfully for many years and would like to extend its life by coloring it. It's time to find out how and how to paint a table made of wood.
to contents ↑What to paint?
Painting wooden furniture, including tables, is actually not such a difficult process, of course, if you know what materials should be used in the work. The painting technology itself is similar to other types of painting.
The choice of the necessary coating depends on the particular use of furniture:
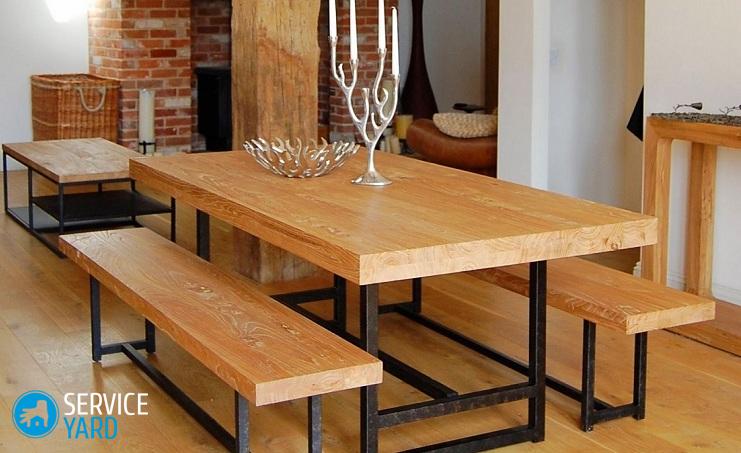
- Kitchen cutting surface is subject to frequent influences from the outside, like a dining table.
- Wood furniture on the terrace, porch or gazebo is subject to increased atmospheric influence.
- Decorative tables, which are more used as pedestals, are less exposed to mechanical stress.
Waterborne dispersion paints
For the proper processing of furniture that is used indoors, the most successful protective coating will be water-dispersed acrylic paint. She:
- non-toxic, therefore applicable for interior use;
- dries quickly;
- lays well;
- easy to apply, so even a person who has no experience in this business can paint a wooden table on their own.
Important! This paint has a wide palette of colors and shades, and after drying provides the wood with excellent protection against moisture.
With the use of water dispersion, simple correction of minor flaws in the work is allowed - until the paint has dried out, it can easily be washed off with water. But now the dried decorative coating is already becoming immune to moisture. It is frost-resistant and not afraid of ultraviolet rays.
Important! Waterborne acrylic paint is the best protective coating indoors.
But, there is still a minus - acrylic paint is subject to mechanical stress and abrasion. Too aggressive chemical environments are highly undesirable for surfaces painted with such a paint.
Important! To paint a wooden dining table, you can purchase any paint and varnish. But for woodwork outdoors it is advisable to use alkyd mixtures. They are able to create a durable and durable protective coating that repels water well.
Oil paints
There was a time when oil paints were widely used. However, with the advent of analogues that are economically viable (oil paints have too much consumption), as well as are more environmentally friendly in composition, they have lost their relevance.
Enamel
You can also paint the wooden table in white or any other shade with enamel. This material also copes well with the task:
- A beautiful, light-sensitive, fairly resistant to all kinds of influences coating forms on the surface, which has anti-corrosion resistance.
- Enamel paints and enamels have a decorative appeal, because they are distinguished by their glossiness (although matte mixtures are also found).
- Nitro enamel formulations dry quickly - it takes 15 minutes to set.
Important! It is worth remembering that the choice of a suitable coating will depend directly on the type of wood from which the table is made. Softwoods are better waxed than painted.
As we mentioned above, the nature of the environment and operating conditions play an important role in the selection of materials for painting wood products. If you plan to restore a previously painted table, then the masters recommend choosing a coating that is similar in characteristics to the old one.
to contents ↑Painting works
When you have decided on the type of paint, you can proceed to the next steps. The first is the purchase of related materials:
- Painting tools - brushes, roller with a pile (for painting countertops) or spray.
- Sudok for paint for wetting the roller.
- Personal protective equipment - mask, gloves, glasses, if you plan to spray.
- Wood preservative.
- Primer on wood (for better adhesion of the base and paint, as well as reducing the consumption of the paint mixture).
This is a list of basic materials for painting a wooden table. If desired - you can buy a tool for finishing varnishing. And if the table needs preliminary sanding and cleaning of the old coating, then you should apply:
- Chemical cleaners and solvents of the old coating.
- Metal sponge.
- A set of emery with a different abrasive.
- Rags and unnecessary newspapers or polyethylene to protect the area in the radius of work.
Important! Pay attention to the moment that even if “quick-drying” is indicated on the paint box, it is still advisable to allow the coating to dry well. This means that you can start using the table no earlier than a day later, or even more. For example, this applies to water-dispersion mixtures, because water evaporates longer than organic solvents. And until the coating completely hardens, it will be vulnerable.
Operating procedure:
- The table prepared for painting is initially treated with antiseptic impregnation.
- Then primed using the instructions for use of the product indicated on the package.
- After the primer dries, you can start painting.
- Traditional staining is multi-layered. At the first application, the paint is thoroughly rubbed and allowed to dry completely. After this, the following layers can be applied with technical breaks for the drying period.
Important! Masters recommend: it is better to apply several thin layers than one thick one. And it will take much more time.
To handle the table well in all its places, especially when it comes to a large object, it is better to disassemble it into individual parts. Switch to staining the second side of the countertop only after the opposite has completely dried.
to contents ↑Important! How to check if the paint is dry? - Touch your finger to the very edge: if the paint does not stick, it means it has dried.
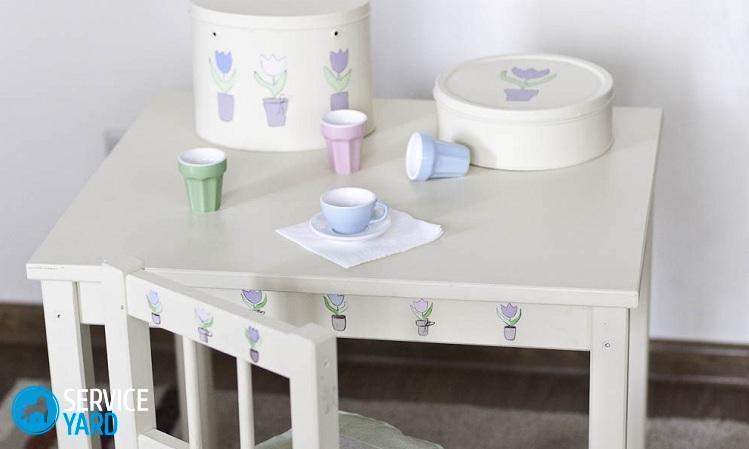
Tulle Painting
You can paint a wooden table in a very original way. Here you only need to connect your imagination and make a beautiful painting, or come up with a bright interesting option with blots of paint or handprints. A wonderful solution would be dyeing through the tulle.
For this you will need such materials:
- Sander or sandpaper.
- Masking tape.
- Roller.
- Tools for disassembling and assembling the table - a key, screwdrivers, a hammer, pliers.
- Colors: one for the drawing, the other for the background.
- Tulle.
- Newspapers.
- Acrylic varnish.
Important! In order to repaint the table, it is better:
- Buy acrylic paints, because they are very practical - they dry quickly, are practically odorless, easy to use and durable. But any other paints are also suitable.
- Colors for drawing and background should be contrasting. A great option for this method is a black and white classic.
- The tulle should be with a beautiful pattern - large flowers or a pattern.
To paint using tulle, you must:
- Disassemble the table for details. Each of their elements is prepared separately for painting - it is processed with sandpaper or a grinding machine.
- After that, it is necessary to carefully erase the dust and paint all the elements with a background paint.
- After that, the table can be assembled. Masking tape and newspapers need to close those parts of the table that should not be painted.
- After security measures, tulle is laid out on the table. This is done as carefully as possible so that the pattern is beautifully located, there are no folds of fabric anywhere.
- Now right on top of the tulle spray paint is applied. It is necessary to paint over well - you should not regret paint.
- After complete drying, the tulle is removed.
- The last step is the application of acrylic varnish, which will give completeness to your table, as well as fix the pattern and protect the surface.
Decoupage technique
To paint a wooden table, you can use such an interesting method as decoupage.
Important! Decoupage is a decorative design of any item by attaching a picture to it. Often, special napkins and any patterns, fabrics, pictures, decoupage cards, decoupage paper, which can be bought in any store for creativity, are used for this technique. With its help, you can quickly and easily give the old table an original and beautiful look.
Remaking a table using decoupage technique will require the following materials and tools:
- PVA glue or special decoupage glue.
- Decoupage card or napkins.
- Clear acrylic varnish.
- Scuba diving.
- Primer.
- Basic acrylic paint.
- Fan brush.
- Emery paper of two types is fine and coarse.
- Roller.
The sequence of design of a wooden table using decoupage technique:
- Prepare the table for future work - sand it and grind it.
- Apply 2 coats of base paint in succession and leave to dry.
Important! It is necessary that before further work, the paint is completely dry, because the places that remain underfinished will most likely change color under a layer of varnish. Because of this, the appearance of your furniture may be damaged.
- If you are making a table in a vintage style, you need to sand it first (first with coarse-grained, and then with fine-grained paper).
- Put scuba diving on the table surface, gently sand it after it is completely dry.
- Cut out the pictures you like from decoupage paper and carefully lay them out in the correct order. The tabletop can be completely closed, or you can lay out a beautiful pattern with pictures, for example, along the edge.
- Mark the location of the pictures with a simple pencil, so that during the work not to stray and not confuse the layout.
- Soak the pictures in a container of water for 5 minutes, then glue them with glue, which was previously diluted slightly with water.
Important! Each picture needs to be smoothed out with a fan brush, otherwise ugly folds and bubbles may appear.
- When the glue and pictures have completely dried out, again process the countertop with fine-grained sandpaper.
- Remove dust particles with a cloth, cover the table with varnish. The varnish must be applied in two layers, while the second lacquer painting is carried out no earlier than the first layer is dry.
Stock footage
A little attention, accuracy, patience in work, and everyone will be able to repaint the table with their own hands. I would like to note that it is not difficult to independently carry out not only ordinary coloring, but also non-standard design.
- How to choose a vacuum cleaner taking into account the characteristics of the house and coatings?
- What to look for when choosing a water delivery
- How to quickly create comfort at home - tips for housewives
- How to choose the perfect TV - useful tips
- What to look for when choosing blinds
- What should be running shoes?
- What useful things can you buy in a hardware store
- Iphone 11 pro max review
- Than iPhone is better than Android smartphones
 (No ratings yet)