

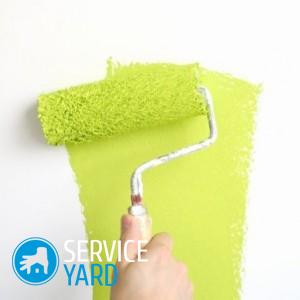
How to paint the ceiling with water-based paint on whitewashing?
The modern design of apartments often includes a stretch ceiling with beautiful lighting and several levels of various materials. Of course, these designs look impressive, but require careful maintenance and considerable financial investments. Therefore, if you want a beautiful ceiling with minimal cash costs, then pay attention to the usual water emulsion. This simple way has passed a thorough test of time and is still relevant. There is no particular difficulty in how to paint the ceiling with water-based paint on whitewashing. The main thing is to understand the essence of each stage and skillfully use the tool. This will be discussed in this article.
to contents ↑Choosing paint for the ceiling
Aqueous emulsion paint has long been successfully used in the design of interiors and outdoor works. In recent years, she even takes a leading position in comparison with other materials.
Important! Its main advantage is environmental friendliness, because this paint consists of water, pigments, polymers and no chemistry. In addition, with the help of tinting, you can get absolutely any shade.
Types of paint composition
Water based paints come in four types:
- The leader in terms of low cost is polyvinyl acetate paint. It fits perfectly on cardboard, wood and plaster. Using additives allows you to get both a matte and glossy surface. This type of paint has a high water repellent ability, and it is necessary to cover it with a surface exclusively in dry rooms.
Important! Among the disadvantages, low moisture resistance and poor resistance to mechanical stress can be distinguished.
- Compositions containing basically latex additives belong to the middle price category. And if you need a surface that is completely unaffected by moisture, then you should opt for this type of paint.
Important! Thanks to additives, it can withstand over five thousand wet cleanings, while ordinary paints can only be wiped occasionally. This is ideal if you need to paint the ceiling with water-based paint in the kitchen or in the bathroom.
- Acrylic paint is the most popular material. It does not have a pungent odor, it is moisture resistant, it hides small cracks on the ceiling well.
Important! It is worth considering one important nuance - acrylic paint will become a little darker after it finally dries.
- Silicone paints can be applied to any mineral coatings. Its main advantage is elasticity. This paint can even paint cracks up to two millimeters. Also, such paints are vapor permeable, and most importantly, microbes do not multiply on such a coating.
Important! It would be an ideal option in all respects to paint the ceiling with water-based paint, except for one thing - the price of such products is huge.
Emulsion labeling
In order for buyers not to have to learn painting from A to Z, there is a detailed annotation on each can with a water emulsion:
- On domestic materials, the letter designation VD is necessarily indicated.
- The number 1 following these letters indicates that the paint can be used for outdoor applications.
- The number 2 means that the material is intended for indoor use only.
- Also, the main characteristics indicate the type of paint, dullness, durability, hiding power and material consumption per 1 square meter.
Simple calculations will help you determine the right amount of material right at the counter.
Important! For the kitchen, an option that is not afraid of wet cleaning is preferable, because the surfaces there are polluted much faster than in others. But for the ceiling in the bedroom, this option is perfect - here frequent cleaning is unlikely to be required.
Budget for paint work:
- The most budgetary option for water-based paint is domestic material. For example, a mixture of VDAK-22LAZAR will cost 2 times cheaper than Lacra.
- Materials produced outside our country will cost much more. So, the purchase of well-known Tikkurila or Beckers paints will result in a solid penny, but they are worth it.
- The work of the master is calculated per square meter. And this indicator will depend not only on his experience. Important features will be the surface feature and application method.
Security
If you already know how to paint the ceiling with water-based paint on an old whitewash and decide to take matters into your own hands, or rather, then you should know the basic safety rules. When carrying out work on the preparation and painting of the ceiling, you can breathe in harmful substances and simply get dirty from head to toe. Therefore, you must first prepare:
- Protective suit so that the emulsion does not get on your skin.
- Respirator.
- Protective glasses.
to contents ↑Important! If the master asked if it is possible to paint the ceiling with water-based paint on whitewashing, you will receive a positive answer, then it is better to immediately refuse his services. A true professional knows that the surface needs to be thoroughly prepared, the “Tyap-Lyap” work scheme will not work here.
Preparatory stage
In order for the water-based paint to lie evenly, and the result exceeded the wildest expectations, you first need to clean the surface. Over time, the lime turns yellow in places and begins to crumble. And if you paint on such a surface, then after a couple of months the old whitewash will fall off anyway, already with a new coat of paint.
Therefore, first of all, the ceiling needs to be cleaned elementarily. With a rag or broom, carefully walk across the entire area in order to remove cobwebs, dirt or insects. Although whitewashing is difficult, using the right surface preparation methods can help you get rid of it relatively easily.
Removing the old coating from the ceiling occurs in two ways. Let's consider them in more detail.
Dry way
For this method you will need:
- an electric drill equipped with a brush head;
- grinder with grinding disc;
- sandpaper;
- grinder machine.
Thanks to the use of these tools, this option can be implemented quickly and fairly easily. With a grinder, walk around the ceiling and the surface is ready. But it has one big drawback - the huge amount of dust that will be everywhere. Therefore, this option is rarely used. However, if you are driven by deadlines and you settled on it, then:
- Insulate the area thoroughly before dry cleaning.
- Since there will be a lot of dust during the processing of the ceiling surface, it is necessary to work only in personal protective equipment, as we wrote earlier.
- Before work, it is worth opening the windows, and laying wet pieces of fabric on which lime will settle on the floor.
- After completion of work in the room, thorough wet cleaning is necessary.
Wet Way
The main advantage of the second option is the lack of dust and health safety. The main disadvantage is that it will take much more time. To remove whitewash in a wet way, you will need:
- a container of water.
- spray gun;
- metal brush or sandpaper;
- sharpened small spatula;
- a roller having an average pile length.
The wet ceiling cleaning method has several important points:
- First, with the help of a spray gun or a simple roller, we wet the surface of the ceiling.
Important! Do not spare water - lime will actively absorb it.
- To make our whitewash more loose, and, accordingly, to get rid of it as soon as possible, ordinary soda will help. Add 5-6 tablespoons to the water, the same amount of liquid soap, and you will be surprised how much the process will speed up.
- After applying the solution, you need to wait a bit so that all layers of the whitewash are saturated with water.
- After half an hour, you can begin to remove the old finish with a spatula.
Important! Do not focus on areas where the old whitewash does not want to be removed. When you clean the entire ceiling, again return to the problem areas and treat them with sandpaper or a brush to work with metal.
Tips experienced
At various forums on the Internet on the topic of how to paint the ceiling with water-based paint on whitewashing, you can gather a lot of useful information. Those who have repeatedly done repairs with their own hands share invaluable experience:
- To wash off whitewash without drops on the floor, dust and dirt, you can use an old terry towel. Loops of material remove layers of lime well. The main thing here is to rinse the rag more often so that the loops on the fabric do not clog.
- We buy a wide brush mowel. We wet the surface with an interval of 5-10 minutes, in areas of 1-2 square meters. Moisturize strongly until droplets appear. And we act according to the following scheme. We moisten the first section of the ceiling, we are waiting. Once again, moisten the first and immediately second sections. While the second swells, with the help of a hard spatula we clear the first section.
- Experienced advisors guarantee trouble-free preparation of the ceiling for painting to those who have a washing vacuum cleaner. Only one of the problems arises - hands get tired quickly.
Level the ceiling.
If there are cracks or crevices on the ceiling, then:
- They must be repaired with putty.
- Wait a little while it dries and clean the entire area of the ceiling with sandpaper.
- Then you need to prime the surface.
This will protect the ceiling from the appearance of fungus, mold, dampness and the appearance of insects. In addition, thanks to the primer, the paint will hold much longer in time and will become more resistant to external influences.
Important! As the soil, you can use either a composition purchased at a hardware store, or use the same emulsion, diluting it with water in a ratio of 1: 5. The soil must dry on the surface for at least a day, after which you can start painting.
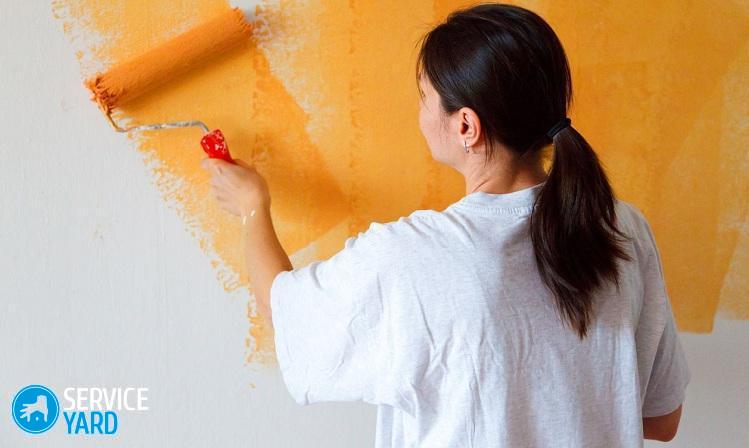
Water-based paint application
For directly painting the ceiling we need:
- paint;
- roller;
- brush;
- special tray for paint;
- mixer drill:
- spray gun.
Aqueous emulsion paint must first be diluted with water, if necessary, and then mix thoroughly. To do this, use a mixer nozzle on a drill or stick. Then pour the required amount of water emulsion in the bath and proceed:
- Dip the brush in the paint tray, and then gently squeeze it on the corrugated surface of the tray.
- Then with this brush double paint over the line of the perimeter of the ceiling, paying special attention to corners, transitions from the ceiling to the wall, in general, places difficult for the roller to reach.
- Blend the outlined border with a semi-dry brush (with a brush on which there is almost no paint left).
- Dip the roller in the paint bath and roll it over the corrugated surface.
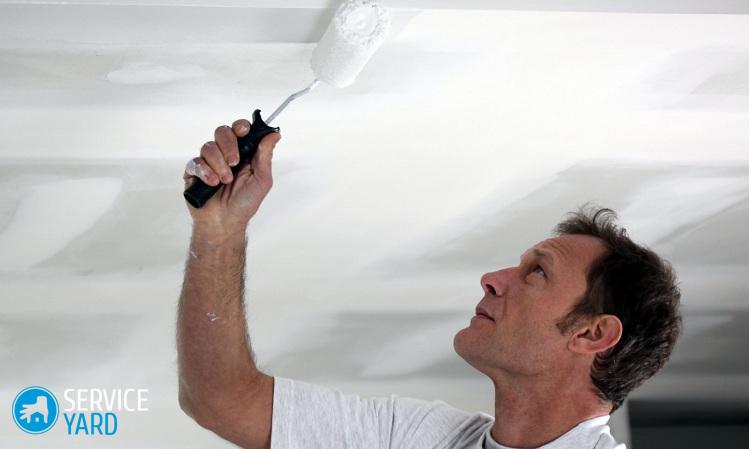
- For the first time, we begin to paint the ceiling with movements directed parallel to the rays of light from the window.
- The next layer is applied after a couple of hours with movements directed perpendicular to the rays of light.
- The third, final layer of painting is done with movements directed towards the window.
- It is possible to facilitate the painting of the ceiling with a spray gun or a spray gun made from a vacuum cleaner.
to contents ↑Important! In the process of performing painting work in the room, any drafts should be excluded, since they can deform the applied layer. Also remember that the next coat of paint can only be applied after the previous one is completely dry.
Stock footage
After 10 minutes of carefully reading our article, you learned whether it is possible to paint the ceiling with water-based paint on whitewashing, and how to do it correctly. Using these instructions and observing safety requirements, you can realize your idea in 2 days - so much time will be needed for the process itself and for waiting for the paint to dry. This type of work is not particularly difficult, so you can do it yourself, without the help of professionals. Do not forget to periodically change the angle of view during staining and look at the surface from different points of the room - this is necessary in order to see all the irregularities and eliminate them in time. Have a good repair!
- How to choose a vacuum cleaner taking into account the characteristics of the house and coatings?
- What to look for when choosing a water delivery
- How to quickly create comfort at home - tips for housewives
- How to choose the perfect TV - useful tips
- What to look for when choosing blinds
- What should be running shoes?
- What useful things can you buy in a hardware store
- Iphone 11 pro max review
- Than iPhone is better than Android smartphones
 (No ratings yet)