

How to clean the water cooler yourself?
Today, the cooler is widely used both at home and in the office, as more and more often in everyday life, preference is given to high-quality drinking water. Accordingly, it is necessary to properly care for the cooler and keep it clean. This can only be done if you know how to clean the water cooler yourself.
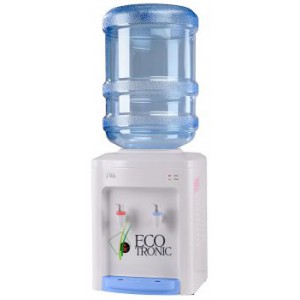
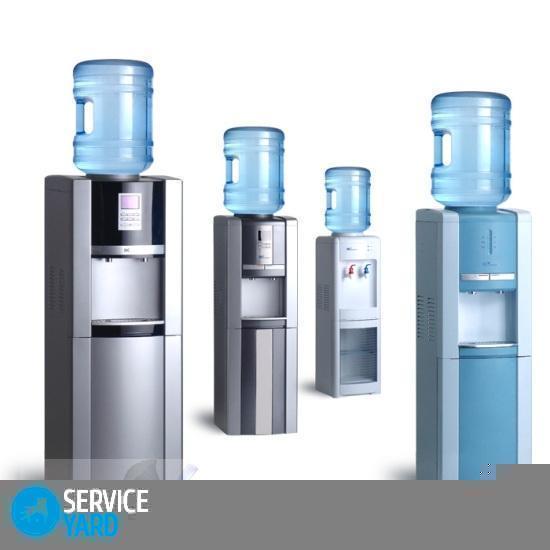
to contents ↑What is a cooler?
A water dispenser or cooler is a device through which clean, cold or hot water gets from a bottle to a person, therefore the quality of this device is directly related to our health.
to contents ↑On a note! According to sanitary standards, the dispenser needs to be processed at least 1 time in 6 months, even if it is rarely used, and the condenser - the rear grill of the device should be cleaned of dust at least 1 time per year. This is the case if the cooler is in your home. Office dispenser needs to be washed 2 times more often.
General rules for cleaning the cooler:
- Many experts recommend at home cleaning the cooler at least 1 time per month.
- When changing the bottle, it is always necessary to rinse the bottle receptacle with a needle, since it is there that the process of reproduction of bacteria goes, and dirt and dust from the external environment gets regularly.
- Before you put a new bottle of water, you need to wipe near the neck with a clean sponge, or use an alcohol towel for this purpose.
- Do not forget that while the water bottle drove from the factory to your home or office on our roads, streets and entrances, I did not become cleaner, so be sure to remove the hygienic sticker, protective thermo-ring and disposable bag from the bottle itself, because the manufacturer took care and protected the bottle for so that you enjoy clean water.
to contents ↑On a note! Before installing a new bottle in the cooler, be sure to read the instructions from the manufacturer and clearly follow it.
Cooler Cleaning Instructions
 Now we’ll directly consider how to clean the cooler at home. We offer you a small instruction for this procedure.
Step number 1. Preparatory stage
Clean up when changing the bottle:
- Unplug the dispenser.
- Wait for the hot water to cool, as it will need to be drained.
- Prepare the necessary materials for the sanitization of the device, in particular:
- latex gloves;
- cleaning solution;
- gel for washing dishes;
- brush;
- empty water tank;
- a pair of tissue wipes.
- To clean the water cooler on your own, prepare a solution: Add 100 g of citric acid to 5 l of water.
- Remove the empty bottle.
- Pour out hot water first into the prepared container and then cold water. If you drain the liquid simultaneously from two drains, then effective disinfection will not work.
- Locate the drain valve (located on the back or bottom).
- Open the cork.
- Drain all water from the system into the prepared container.
- Screw the plug back.
Step number 2. Cooler cleaning

- Remove all detachable parts from the cooler, but first remember the location of each.
- To clean the water cooler with your own hands, wash the faucets with a brush and detergent for dishes. Thoroughly wash all openings in the faucets, indentations, and any “hot spots” where microbes and other evil spirits can hide.
- Rinse thoroughly and wipe the taps dry.
- Put the taps in place: cold on the right is blue, hot on the left is red.
- Carefully remove the drip tray.
- Disassemble and wash thoroughly with warm water and detergent.
- Wipe dry.
- To remove the bottle collector, carefully turn it counterclockwise. Pour the prepared citric acid solution through the holes (see above).
Important! Pour the solution slowly so that the water has time to leave.
- Open taps of cold and hot water in turn to fill the system. If water flows in a continuous stream, it means the tanks are full. If the stream is weak - add another solution to the cooler.
- Plug the power cord into a power outlet.
- Preheat the hot water in the system by setting the hot water switch to the “On” or “1” position
- After the water in the system has heated up (the heating indicator turns off), set the switch to the “Off” or “0” position.
- Disconnect the cooler from the network.
- For 5-6 hours, the system will undergo disinfection, and at this time you can go about your own business, but do not forget to wash the bottle receptacle with a needle, as it is the favorite place for the settlement of insidious microbes.
- After time, drain the water from the faucets, opening them in turn, and drain the remaining solution through the valve to drain the water.
- Clean the valve tube from residual dirt with a brush.
- Rinse the device with clean water, pour about 4 liters of water into the system and drain them through the taps. Repeat if necessary.
- Check if the drain valve is closed (on the bottom or back panel) and screw the bottle collector into place.
Step number 3. We clean the case of the device
- Using a damp cloth, wipe the body of the unit. Add some detergent to disinfect.
- Wipe the back wall thoroughly, especially the grille. Remove all dirt from cobwebs and dust.
- Dry the entire unit dry with a clean cloth.
- Install a full bottle on the cooler.
- Plug in the dispenser.
- Make sure that the water in the right place is heated and, accordingly, cooled.
Everything, the cooler is ready for operation.
to contents ↑Helpful hints:
- When working, use rubber gloves to protect your skin.
- Rinse the casing of the apparatus, the back wall of the grill with the special cream detergent “Creamlin”.
- Do not use a hot water tank with disinfectant solutions, as this can lead to destruction of the tank and heating element.
- The surface of the taps can be cleaned using the “Antiklin” spray and brush;
- To get rid of traces of scale, treat the system with a solution of citric acid 3-4 times.
- Do not leave the appliance unattended during sanitization.
- For washing and disinfecting the system, you can use the special disinfectant “BIOR 1”. For the method of use, see the instructions that came with the tool.
- After washing, drain half a glass of water from each tap to avoid residues of detergent.
- Install the cooler so that direct sunlight does not get on it, otherwise the water may turn green, in other words, “bloom”. If there is no such place for a bottle, then cover it with thick paper.
Stock footage
Cleaning the cooler is a very important, but rather simple job. Importantly, do not forget about the regularity of such work, and you will always enjoy clean, fresh water.
- How to choose a vacuum cleaner taking into account the characteristics of the house and coatings?
- What to look for when choosing a water delivery
- How to quickly create comfort at home - tips for housewives
- How to choose the perfect TV - useful tips
- What to look for when choosing blinds
- What should be running shoes?
- What useful things can you buy in a hardware store
- Iphone 11 pro max review
- Than iPhone is better than Android smartphones
 (No ratings yet)