

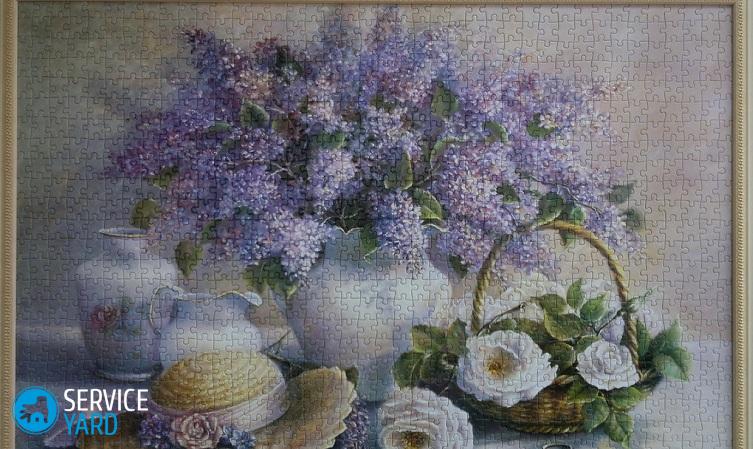
How to make a picture of puzzles in a frame?

Many children and adults love to assemble puzzles. This lesson develops children's imagination, horizons, logic and fine motor skills. It is not surprising that the popularity of such entertainment is growing every day. A puzzle is an intrigue, a secret that you want to solve, so many adults are happy to purchase puzzles and assemble them with their children. But after assembling the puzzle, the question arises: what to do next? It can be disassembled or glued and made from it a real picture. For example, if they depict painting, then paintings from puzzles with their own hands can decorate any modern interior. Children love to collect pictures with their favorite cartoon characters, so it’s very interesting to design it as a picture. But how to fix puzzles into a picture? In order for gluing puzzles to go well and not have to throw the assembled picture into the trash with great difficulty, you need to know some nuances. So, how to make a picture out of puzzles in a frame?
to contents ↑Methods for gluing a puzzle
First of all, it is necessary to solve the question of how to fix puzzles into a picture so that they do not fall apart, how to keep the craft? The easiest option is to glue them. How to glue puzzles into a picture with glue at home?
Gluing the puzzle from the front side
You can glue the puzzles on the front side with glue or tape. Before starting the gluing process, it is necessary to clean the picture of dust, hair and other impurities.
Important! To avoid staining the table with glue, place tracing paper or baking paper underneath.
Back gluing of the puzzle
If you do not want to apply glue on the front side, then you can glue it from the inside. But here the question arises, how to turn the puzzle face down. For this:
- If you plan to glue the puzzle in this way, then you initially need to assemble it on an easily moveable surface. It can be a fiberboard sheet, plexiglass or a special puzzle mat. In this case, you will have fewer problems with turning the puzzle over - just cover the assembled mosaic on top with strong material, for example, another fiberboard and flip the entire structure to the other side with a quick movement.
Important! If your picture is very large, then you can additionally fix the design with tape or stationery clips.
- You can use cling film. In this case, you need to assemble the mosaic on a substrate, which in size should be slightly larger than the puzzle itself in the assembled state. When the puzzle is assembled, wrap the whole picture along with the backing with cling film. To be sure, you can make several layers of cling film. Then, the entire structure must be carefully turned over and put face down, along the substrate, cut the cling film. We turn the edges of the film to the side and gently remove the substrate. Now you can glue puzzles, and cling film will protect the table from glue.
- If the mosaic was assembled on a table or on the floor, you need to carefully slide the finished drawing onto a dense surface.
- The most optimal way, especially for large paintings, is to stick first on the front, and then on the wrong side. First glue the front side with glue, wait for it to dry completely. Now flipping the mosaic is not a big deal. Flip gently and glue the wrong side.
The basis for gluing the puzzle
What to glue puzzles to make a picture? As a basis, you can use the following materials.
Fiberboard sheet
It must be cut exactly to the size of the picture. Trimming the edges after the puzzle is glued can damage it.
- Apply PVA glue in a thin layer so that there are no dry places.
- Excess glue must be removed immediately so that it does not leak onto the front side.
- Put the glued sheet on the inner surface of the assembled puzzle, press and immediately turn it face up.
- The glue that came after pressing must be removed with a clean cloth.
- Leave to dry completely.
Important! Such sheets are optimal for creating large paintings, their surface is flat, the puzzle easily glues, does not lose its appearance and does not deteriorate over time. But along with the pros, there are also disadvantages: these sheets need to be cut with special tools, in addition, the picture is quite heavy and requires special fastenings.
Styrofoam
A good alternative to fiberboard can be a thin foam, which can be bought at hardware stores. This is a lightweight material, which, moreover, is easy to cut, it is convenient to use. It does not deform from the glue and does not distort after it dries, as it has a thickness of about 15 mm. But such a thickness is rather a minus, since for the design of the picture with a frame you will have to look for a rather massive structure that will hide such a thickness.
Ceiling tile
Such tiles come in different thicknesses and sizes. They are easily cut, placed in thickness in standard frames and are quite affordable.
- For the base, you need to choose a tile without a relief pattern, about 4 mm thick.
- A puzzle consisting of 500 pieces is placed on one tile.
- If you have a large pattern, then you can glue several tiles with PVA glue to each other.
- Joints between tiles are best done with serrations.
- The puzzle is glued to the back of the tile.
- After gluing, you need to remove excess glue and put the picture under oppression. You can simply put the board on top. If this is not done, then during the drying of the glue the structure may become deformed.

Gauze, Tulle
It can be done very simply:
- Glue a regular piece of gauze or tulle of a suitable size and attach to the mosaic.
- Excess glue should be removed immediately with a rag or cloth.
- After the glue has dried, another layer can be applied on top to fix the result.
- The remaining edges of the gauze can be cut off or used to tension the frame or other surface.
Important! With this method, it is recommended to glue the puzzle on the front side, otherwise - the design will be fragile.
Adhesive or self-adhesive film
It is sold in rolls of different widths. The surface must be dry and clean without dust. The film size should be a couple of millimeters smaller than the size of the mosaic.
Farther:
- Cut the desired piece of film.
- Separate the paper from the film by approximately 5 cm.
- Apply self-adhesive film to the surface and glue the separated edge.
- Then slowly and gently pull the paper from the rest.
- With the other hand you need to smooth the film. You can use a towel, you can do it with your hands - at your convenience.
to contents ↑Important! To avoid bubbles, iron from the center to the edges. If nevertheless bubbles appeared, pierce them with a needle.
How to glue puzzles?
Now you need to figure out what to glue puzzles to make a picture.
PVA
PVA glue is used for gluing products from wood, paper, cardboard, glass, leather, fabrics, etc. It is perfect for gluing puzzles. It dries quickly and after drying it becomes transparent, so do not let white spots from glue bother you - they will soon disappear.
Important! Suitable for both the wrong side and the front side.
Step Puzzle
This is a special glue for gluing puzzles. It is often part of the kit. It is distributed over the entire surface with a piece of foam or a brush.
Powder adhesive from Clementini
This is glue from Italian puzzle manufacturers, which, as a rule, comes complete with the puzzles themselves.It must be diluted in water in a ratio of 1 to 3. The glue is quickly absorbed, with proper dilution it leaves no residue.
Silicate Office Glue
Despite the fact that it is not intended for such purposes, nevertheless, it copes well and gives the picture a glossy shine.
Scotch
The usual scotch tape was widely spread among puzzle lovers. They can easily glue the wrong side. First glue your picture vertically, then - horizontally.
to contents ↑What can frames be made of?
There are many ways to make a frame for a picture out of puzzles:
- The easiest way is to buy a finished frame of the right size.
- A simple, but very nice frame will turn out from not sharpened colored pencils. In this case, the basis for the picture should be larger than the picture itself. Colored pencils of the right size are glued around the edges. They can be glued to the “Moment” glue.
- A beautiful frame will turn out from a ceiling plinth. You need to cut it with a clerical knife and glue it to the base around the perimeter of the picture using glue “Moment” or “Liquid Nails”. Then you can paint your frame with acrylic paints.
- You can make a frame from a shoe box, but such a frame is limited by the size of the box. Cut a hole in the bottom of the box corresponding to the size of the puzzle. The mosaic itself needs to be glued to the cover from the box, put the cover into the box, and the frame is ready. You can decorate it at will or just paint it with paints.
Stock footage
In this article, you told you all the ways to make a picture out of puzzles in a frame. Save the results of your creativity, because it is in such pleasant moments that life lies! Share your photos online to motivate others! Good luck
- How to choose a vacuum cleaner taking into account the characteristics of the house and coatings?
- What to look for when choosing a water delivery
- How to quickly create comfort at home - tips for housewives
- How to choose the perfect TV - useful tips
- What to look for when choosing blinds
- What should be running shoes?
- What useful things can you buy in a hardware store
- Iphone 11 pro max review
- Than iPhone is better than Android smartphones
 (No ratings yet)