

How to make a heater in the garage with your own hands?
This article will help you save your family budget: motorists will draw a lot of useful information from it, they will be able to independently do something useful for arranging a garage, where they spend most of their time. One of the most necessary fixtures for this building is a heater. Of course, you can buy it in a store, but you will certainly enjoy the opportunity to learn how to make a heater in the garage with your own hands. Most of these structures are unheated, but in order to work there in winter, it is necessary to create comfortable conditions, maintain the temperature within acceptable limits.
to contents ↑What heaters are used in garages?
Today, motorists use a variety of devices as heat sources: electrically heaters, heat guns, gas burners, waste oil stoves, diesel or solid fuel boilers. All this can be done independently, and each option has its pros and cons.
Consider them in detail:
- Electrical devices. Their main advantage is ease of use. It is impossible not to mention the heating efficiency. The disadvantages include quite large bills for electricity consumed.
- Gas-burners. During operation, they emit carbon monoxide, which is hazardous to health.
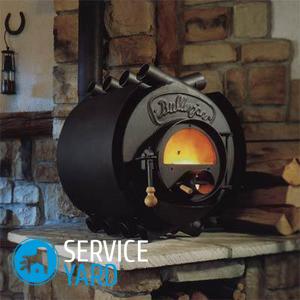
- Homemade or factory solid fuel and diesel boilers. They must always be refueled. Despite all their profitability, they cannot work completely independently. Diesel is quite expensive.
- Waste oil devices. Yes, they warm just fine, but they emit too much soot and are unsafe.
Basic requirements for heaters and safety measures
It does not matter, you decide to make a heater yourself for the garage or buy it, all of them must meet the following requirements:
- Security.
- Profitability.
- Easy operation and manufacturing.
- The rate of heating the room.
Important! Too complex a device for heating should not be, because there are a lot of ready-made inexpensive prefabricated models on sale. It is wiser to create something yourself from improvised materials or broken old devices that need minimal assembly costs.
When making a heater, all safety measures must be observed, it is imperative to equip the ventilation system in the room, regardless of the heating method. The presence of a large amount of combustion products and exhaust gases, insufficient oxygen can seriously affect health. You will also have to take safety measures to prevent a possible explosion or fire, therefore:
- It is recommended to install heaters away from flammable substances.
- Refuse to use open spirals, be sure to use protective nets and covers.
- Equip the garage with fire fighting equipment.
- Use the devices only under control, in no case do not leave them in working condition unattended.
to contents ↑Important! A home-made device should have a sufficient power level to quickly heat the room, while not exerting excessive load on the wiring. The device should justify all the costs associated with its maintenance.
How to make a homemade gas heater?
If you want to create a gas heater for the garage with your own hands, then check out the main recommendations from professionals:
- It should have a design as simple as possible, no complex parts and elements.
- Pay maximum attention to its safety, so buy gas supply and shut-off devices from the factory to be sure of their quality and reliability.
- Be sure to consider its efficiency.
- It is important that it is not bulky and activated as easily as possible.
- The amount spent on the purchase of everything necessary to create a heater should not exceed a third of the real cost of such a device in the store, otherwise there is no point in this undertaking.
Prepare such tools and improvised materials for work:
- Tin sheet.
- Scissors for metal.
- Rivets.
- Rivet tool.
- Fine metal mesh.
- Household sieve.
- Burner with valve.
- Collet gas canister 0.5 liter capacity.
Assembling a gas heating device is as follows:
- The heater must first be attached to the burner. Take a household sieve for this, attach it to a galvanized sheet and circle with a marker. Draw to the circle parallel and perpendicular to the rectangular ears. Cut the resulting pattern with scissors for metal, try to do it as evenly as possible.
- Now you need to fasten the parts together. Take the burner, screw it to the tin circle with bolts. Using the ears wrapped in the opposite direction, attach the sieve. It will help heat dissipate around.
- Mesh fixing. Again cut the same circle out of tin using metal scissors. Bend the ears, drill ten holes in the cavity of the circle. Take the net, attach it to the ears of both circles. First fix the bottom, then only the top. It is recommended that fasteners be made with rivets and a riveting device. As a result, you get a mesh cylinder.
- Start a homemade gas heater.
to contents ↑Important! Although it will turn out to be small in size, the heat emanating from it is enough to warm the garage room and create a comfortable temperature for staying in it.
How to assemble an oil heater yourself?
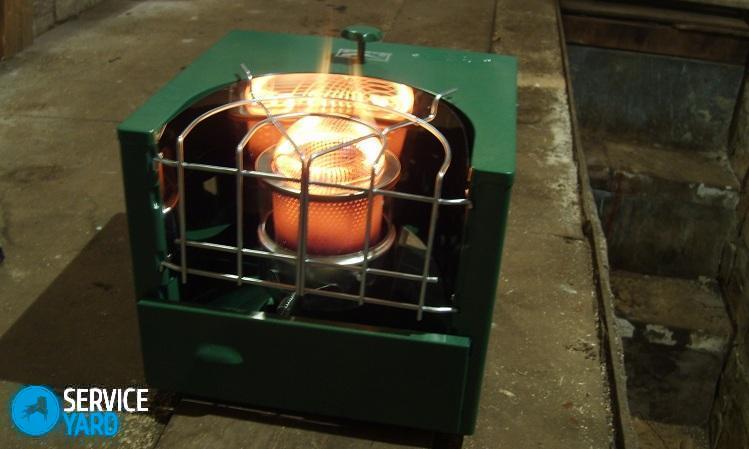
Why do many decide to create an oil cooler with their own hands in the garage? They gained their popularity due to their impeccable functionality, efficiency and excellent performance. They are completely safe, compact, easy to use, have a sufficiently high efficiency. The device of such devices is very simple: a sealed housing, inside of which there is oil, tubular electric heaters wrapped around it.
To build such a device, you need such tools and materials:
- Absolutely sealed capacity - it can be a car radiator, aluminum or metal battery.
- Four TENA.
- Technical or transformer oil.
- Small power pump or electric motor.
- Drill, set of drills, welding machine, switches, electrodes.
An oil heater is made according to this scenario:
- Frame installation. It is important to make it convenient to use and transportable. It is also necessary to consider the way it is stored in the summer. Using a welding machine, the corners are connected to each other.
- A hole for the installation of heating elements. You can make them by welding or grinder.
- Motor or pump mount. You can install a pump or motor on the heater body itself or its frame. The main thing is to make sure that it does not come into contact with the heating elements.
- Installation of heating elements.Install them in an already prepared place using bolted connections.
- Tightness. It is necessary to weld all the holes in order to achieve tightness. For ease of use and unexpected oil drainage, it is better to mount a cover that can be screwed to the housing.
- Connection of heating elements. This should be done in parallel to work more efficiently. It is convenient to select the temperature using the regulator.
- The heater is almost ready, it remains only to assemble everything directly on the frame and ground it.
to contents ↑Important! This is a great option for a garage heater. The only drawback of such a device is its dependence on the mains and a sufficiently large electricity consumption.
Stock footage
Now you understand the difference between the models of heaters, you can choose the best device for yourself, and if you have some technical skills, you can assemble an effective system for the garage so that it is always warm and convenient to do routine car maintenance tasks.
- How to choose a vacuum cleaner taking into account the characteristics of the house and coatings?
- What to look for when choosing a water delivery
- How to quickly create comfort at home - tips for housewives
- How to choose the perfect TV - useful tips
- What to look for when choosing blinds
- What should be running shoes?
- What useful things can you buy in a hardware store
- Iphone 11 pro max review
- Than iPhone is better than Android smartphones
 (No ratings yet)