How to sew a jumpsuit for a dog?

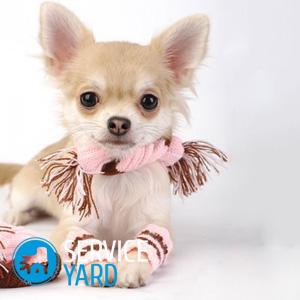
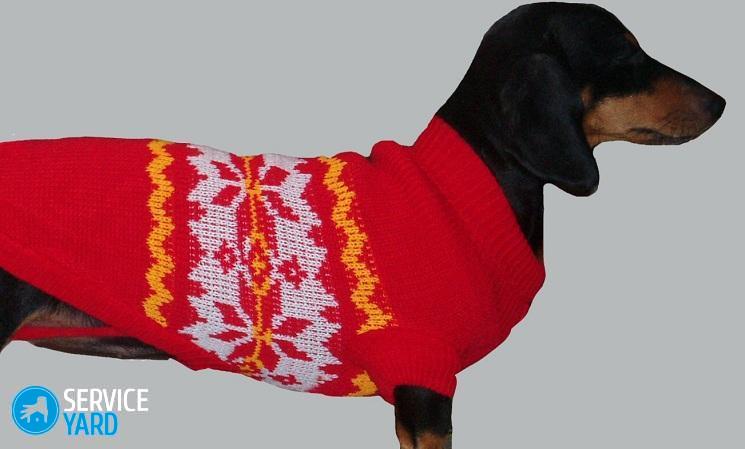
Dog clothes have long ceased to be perceived as something exotic, a kind of whim of millionaires ready to feed their pets from a golden bowl and order them costumes in the best Parisian fashion houses. A dog with short hair in winter in clothes is much better than without it, and even a novice needlewoman, who took up the needle for the first time, can sew something suitable. How to sew a jumpsuit for a dog? You will learn about this from our article.
to contents ↑Does everyone need a jumpsuit?
There are a great many dog breeds. This is a huge world in which:
- there are gentle indoor dogs, even in a room that cannot do without a vest;
- there are severe dogs with warm thick coat, which are not afraid of the most severe frosts;
- there are those who have wool, but protects very poorly.
With the shorthair pets, everything is clear - they definitely need clothes, but what about hardy northerners? Husky or Karelian husky obviously will not want to wear a down jacket, so the question of how to sew a warm jumpsuit for a dog should not worry owners of such dogs at all. But for a light blanket or thin jacket with panties, which reliably protect from the rain, even pets accustomed to a cold climate will certainly say their canine “thank you”. So everyone needs clothes, only different.
to contents ↑What to sew from?
Of course, it’s nice to see your pet in a bright elegant ass with lace. But is it so good for him in clothes made of capron or other similar material, even beautiful? Unfortunately no.
Real dog tissue must meet a number of requirements. She must be:
- waterproof;
- “Breathable”;
- non-wrinkling;
- easy to handle and maintain.
The range of materials that meet these requirements is large enough, there is plenty to choose from. Most suitable:
- Bologna;
- raincoat fabric;
- dense microfiber.
to contents ↑Important! It is not necessary to buy a new fabric. If you have an old but durable jacket that you don’t wear anymore, what prevents you from making a comfortable jumpsuit or a reliable booty for your pet?
What else will you need?
A long-haired dog is quite satisfied with a waterproof single-layer jumpsuit, which she will wear in the rain. But the pet, not endowed with dense dense protection from the cold, will need clothes consisting of at least two more layers:
- insulation;
- lining.
Insulation
As a heater, sheet sintepon is most suitable:
- he is cheap;
- holds heat well;
- it’s easy to work with;
- dries quickly.
You can, of course, use other materials:
- holofiber;
- sintepuh;
- foam rubber.
They all retain heat pretty well, but:
- Hollofiber, despite the fact that it is a very high-quality filler, will cost a little more.
- Foam rubber breaks up over time, becomes soft and viscous, and besides, it releases harmful substances.
- Sintepuh is not very convenient to work with, especially if this is your first time to get down to business.
- As for natural fluff, then there will be too much fuss with him during sewing, and then.
Lining
Any soft cloth that holds heat well is suitable for lining:
- It is best to make it out of flannel.
- You can use thin microfiber, parachute silk or fabric, which is called lining.
By the way, if you decide to part with your old jacket in favor of your pet, you don’t have to buy fabric and insulation at all - you can take the lining and filler from a product that has expired.
to contents ↑Important! Thin cotton and linen fabrics for lining are not suitable - they, of course, let in air, but lose shape too quickly and sit down.
Take measurements
For any clothes you need a pattern. Dog outfits in this sense are no exception. You will have to build it yourself.
Important! Of course, the pattern can also be found on the Internet, but the trouble is that dogs in their structure differ even more than people, and it is incredibly difficult to make a pattern that would suit all representatives of even any particular breed. You can download the general contour, but you will have to drive the pattern according to the size of your pet.
Therefore, before you sew a jumpsuit for your dog with your own hands, carefully measure your “model”. You need to know:
- the length of the back from the place where the collar is worn to the base of the tail;
- the side of the cell on which the pattern will be built - for this, divide the resulting measurement into 8;
- girth of the neck (where the collar);
- distance from the base of the tail to the narrowest part of the dog's body;
- girth of the “waist”, that is, the narrowest part;
- girth of the “chest”;
- sleeve length:
- the width of the “sleeve”;
- the length of the "leg";
- the width of the "leg".
to contents ↑Important! If you are building a pattern on graph paper, you do not need to draw additional cells - that is, you do not need to divide the neck circumference by 8.
We are building a pattern
For the pattern you need:
- a large sheet of paper;
- ruler;
- pencil;
- compass.
Further actions will be as follows:
- Draw a sheet of whatman paper (or old wallpaper) on the cells with the side the size of which you received.
- Draw a long straight line.
- Set aside a length equal to the length of the back.
- Mark the points - “collar” and “tail” (you can just put serifs or crosses).
- Neck circumference divided by 6.28.
- Set aside a segment of this length from the point “collar” - this will be the center of the arc.
- From the center, drag down the perpendicular.
- From the same point, draw a circle of a given radius to the intersection with the perpendicular - put the point “sleeve”.
- Put down the length of the “sleeve”, put the mark “sleeve 1”.
- From it is a line parallel to the middle of the back (that is, the original line).
- Set aside the width of the “sleeve”.
- Drag the perpendicular up to the intersection with the original line.
- From the intersection, lay down (to the bottom of the “sleeve”) a distance equal to the circumference of the “chest” divided by 2, put the point “chest”.
- From the “tail” point, set aside the initial line the distance equal to the distance from the tail to the waist, put the “waist” point.
- From the point “waist”, draw down the perpendicular, set aside the half-circumference of the waist on it, put the point “waist 1”.
- From the point “waist 1”, lay down the length of the “leg”, mark it “leg”.
- From the “leg” point, draw a line parallel to the original, towards the tail.
- On this line, set aside the width of the “leg”, name the mark “leg 1”.
- From “trouser leg 1” up, draw a line perpendicular to the original, and set aside the length of the “trouser leg”.
- Connect this mark to the “tail” point with a smooth line.
- Also connect the “waist 1” and “chest” dots with a smooth line.
- Cut the pattern along the contour.
Cut
This is a fairly simple process - you only need to circle the pattern on the fabric for the outer layer, lining and insulation. This can be done with chalk, pencil or sharpened bar of soap.
Important! True, it’s inconvenient to draw on the synthetic winterizer, but you can pin a pattern and simply cut it along the contour.
If you are interested in the question of how to sew a jumpsuit on a large dog, you may need additional adjustment of the pattern. If it turns out that the jumpsuit is too tight, make a chest insert - sew an additional triangle, determining its contours according to the figure of the animal.
The overalls should not be small, but they should not be allowed to hang out. And do not forget that for all sections you must leave allowances of 1 cm, and 2.5 cm on the bottom of the “sleeves” and “trouser-legs”.
to contents ↑Important! Do not forget to try on at least one blank (best lining) for your pet and adjust it, paying special attention to the notch for the tail.
Assembly
If you did the right pattern, the assembly of labor is not. You need:
- sewing supplies;
- typewriter;
- threads for sweeping;
- threads for sewing by color and quality of fabric;
- Velcro or long zipper;
- linen gum;
- elastic band or trim trim.
Operating procedure:
- Spread the lining face down.
- Put on it several layers of sheet padding polyester.
- Take a heater.
- Stitch the details.
- Quilting the lining together with the insulation - it is more convenient to do this if you mark it out first with squares or rhombs.
- Lay the workpiece with padding polyester up.
- Apply the outer layer face up on it.
- Sweep the details.
- Sew them along the contour.
- Sew the Velcro so that it starts from the collar and ends between the “legs”, but does not go behind them.
- Sew the “trousers” and “sleeves” by bending to the wrong side by 0.5 and 2.5 cm.
- Make holes in the hem from the wrong side of the elastic band and overlay them with a buttonhole.
- Sew the neckline and recess for the tail with a trimmed trim, elastic trim or a wide braid (it must be folded in half, aligning the edges, and sewn close to the edge).
to contents ↑Important! Overalls for dogs with thick wool are even easier to sew, because you only need to process the edges, insert an elastic band and sew Velcro.
Stock footage
Now you can easily make a costume for your pet so that no dampness and cold will spoil his mood and health!
- How to choose a vacuum cleaner taking into account the characteristics of the house and coatings?
- What to look for when choosing a water delivery
- How to quickly create comfort at home - tips for housewives
- How to choose the perfect TV - useful tips
- What to look for when choosing blinds
- What should be running shoes?
- What useful things can you buy in a hardware store
- Iphone 11 pro max review
- Than iPhone is better than Android smartphones


