

How to sew a textile doll?
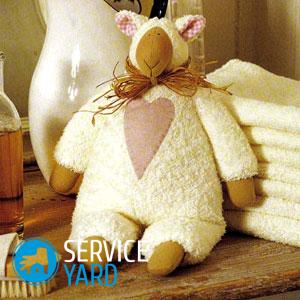
Are your children fed up with familiar plastic dolls? Then we propose to make a doll from textiles with your own hands. Even an ordinary toy made from long-forgotten shreds can be a real work of your creativity. Such dolls are mainly made from natural and safe materials - linen, cotton, wool, nylon, felt, lace and others. In such a toy, you can express your imagination to the maximum, decorating it at your discretion and the wish of the child. Thanks to your efforts, you can pleasantly surprise people close to you, because such a doll is considered a strong amulet for both a child and an adult. So, let's figure out how to sew a textile doll.
to contents ↑Types of textile dolls
Mostly textile dolls are not designed for games, as they cannot be washed. Many of them are painted with acrylics, and some even consist of various cereals inside the product. It is better to give such a fragile toy to an older child, with the understanding that, if mistreated, it can break and become worthless - and my mother tried so hard.
Such a textile toy can please not only the baby, but also cool to decorate the interior of your apartment. Now we will help you understand the variety of textile dolls. Before you make a textile doll with your own hands, we advise you to know what they are:
- Charms with enhanced protection (Column, Pelenashka, in the name of textile dolls describe their purpose).
- Ritual (Fire, Shrovetide, Zernovushka, Lidea).
- Theatrical (can be used at home or in the children's puppet theater).
- Interior (to decorate the home).
- Finger-type (develop fine motor skills and children's imagination).
- Pumpkin heads (have a large oval-shaped head that looks like a pumpkin).
- Waldorf (ordinary form, with a hard head and soft body).
How to sew a textile doll with your own hands? Patterns
Fabric dolls can be either voluminous (with filler) or flat. For the body, it is necessary to use a fabric similar to the color of human skin: light, beige, golden tones.
Important! Do not rush to be upset if you do not have the right color, because there are many ways to stain white fabric. For example, strong brewed tea will give the necessary beige shade to the canvas.
Below we will share a step-by-step master class on making shredded dolls.
Materials needed for the doll:
- Pattern (front and back of the head, trunk, leg, arm).
- Natural cotton fabric for the body of the toy (calico, linen, chintz).
- Any fabric on the dress.
- Wool for felting (on hair).
- Holofiber, cotton wool or synthetic winterizer.
- Lace.
- Satin ribbons.
- Acrylic paints.
- Beads.
- Threads in tone of a body and clothes.
- Needle.
- Iron.
- Sewing machine.
Working process:
- We find on the Internet a pattern for a textile doll, print it on a computer, and then cut it out, given the allowances for the seams.
- We put every detail on the fabric, outline, chip and cut.
- We flash all the elements of the doll on a sewing machine and twist.
- Now we need to fill the holofiber in the neck of the toy so that the neck is more stable. For these purposes, you can use a spool of thread.
- We fill with a heater all the details of the doll's body, with the exception of the upper part of the legs (leave 1 cm empty so that the toy can sit).
- Sew the body and legs with a hidden seam.
- Now we draw stockings on the legs of the doll using acrylic paints. At this point, the doll’s body is ready.
- We begin to make the head of our heroine. Carefully sew the front and back patterns of the doll’s head together, leaving a small hole for the insulation. We turn our head around, very densely fill the empty space with a holofiber. Close the hole with a hidden seam.
- We are engaged in decorating the body of the doll. We assemble the satin ribbon in the assembly, sew it with a hand seam to the lower part of the body.
- The upper part of the stocking is also made out with a assembled ribbon with a narrow colored ribbon in the form of a bow.
- Now we need to make a dress for our beauty. The upper part of the dress should be of such magnitude: length 16 cm, width 40-60 cm. The lower part - length 14 cm, width 31 cm. We make a pattern with small curves at the lower corners of the fabric.
- We take a lace ribbon, fold it in half and, doing the assembly, sew it on a typewriter. Sew to the bottom of the skirt.
- Sew the upper part of the skirt to the waist.
- We cut out the lower part of the skirt and frill for decoration (4 cm wide and 90 cm long).
- We assemble the fabric trim with an accordion, sew on a typewriter.
- Iron the frill with an iron, forming well-visible folds.
- Sew ruffles to the bottom of the skirt using the back seam.
- Decorate the bottom seam with a satin ribbon.
- So that the skirt fits well around the waist of our doll, we collect a little fabric, pulling the shared thread to the desired effect.
- Now you can sew a skirt to the body.
- Sew the toys to the body with a neat seam.
- At our discretion, we decorate the doll’s dress with ribbons, beads, lace. Do not forget to decorate the cuffs of our beauty.
- Cutting a small triangle in the center of a bright satin ribbon, we get shoes that we will decorate with lace afterwards.
- It's time to sew the head to the neck of the craft.
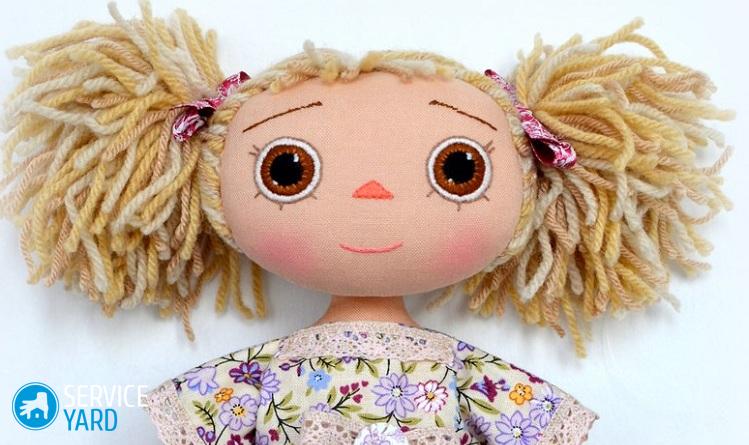
- Draw a pencil with your eyes and draw a line of hair growth.
- We form hair from wool. Alternately, we add each strand to the hair line and sew it manually.
- In order for the hair to be neatly styled, we collect it in a bob, wrapping the circumference with a satin ribbon with a bead.
- We are engaged in the eyes. With a thin brush, draw black dots in previously marked places.
- Taking a little paint, we draw pink cheeks to our beauty.
- Using a hand seam, we form the doll’s fingers using beige threads.
Stuffing can be formed, leaving space on the legs, arms and torso. So you can get a more realistic doll.
to contents ↑Important! You can create facial features in two ways: by pulling together a fabric with a needle and thread and by tightening a flesh-colored capron. Using these simple methods, you can radically change the facial expressions, and even the age of the doll.
How to sew a textile doll? Master Class
Charm dolls are sewn for different purposes: for good health, for financial well-being, for protection against everything visible and invisible, and conservation of vital energy. Traditions of folk style are skillfully used in our days, when needlewomen make such wonderful amulets with their own hands to decorate the house and at the same time protect their home and relatives. Such a doll needs to be sewn with a white face, filling the sewing process only with good thoughts. This is how you can make an original craft, which will be an excellent charm from misfortunes.
For work, we take the following materials:
- White cotton fabric measuring 15 by 15.
- Bright linen fabric measuring 80 by 20 cm.
- Narrow satin ribbon (matching the tone of the fabric or contrasting).
- Thread floss.
- Needle.
- Filler (buckwheat, herbs, cotton wool).
Step-by-step algorithm of actions:
- We take a square section of white fabric, we stuff it with cotton, turn it, forming the shape of the head, and fasten it with a red thread at the very bottom.
- Using the above technology, we make handles made of linen fabric, gradually filling the empty space with cotton.We form brushes with a tied red thread.
- Now we need to tie a thin ribbon around the base of the head to the body, where there is already a red thread. Sew the ends of the tape behind the doll’s head.
- We cut a circle with a diameter of 15 cm. This will be the lower part of our amulet doll.
- Inside the cut we put grass and cotton, ram with our fingers, forming a large ball.
- Sew the bottom to the top, select the border with a red ribbon.
to contents ↑Important! On such a doll, it is impractical to draw facial features, since she already fulfills her special purpose. It can be decorated with other well-known methods - beads, a scarf or apron, which will be well suited to the basis of a textile toy.
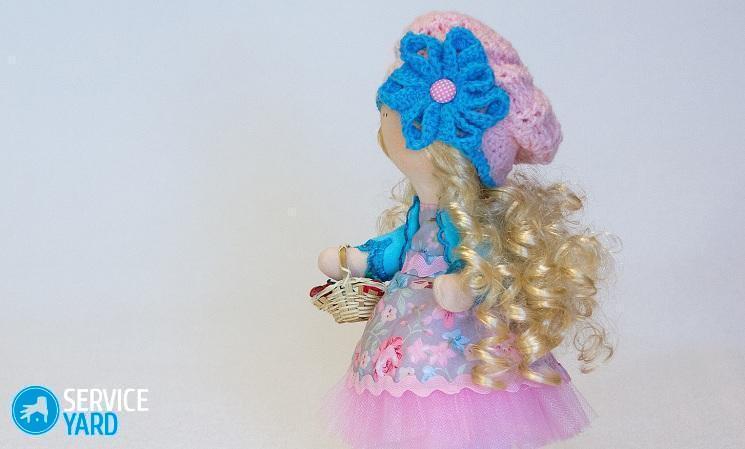
Original version
Handicrafts carry positive energy, therefore, creating a cozy atmosphere in your home, try to transform the interior with such a nice craft. You can involve your little needlewoman in the process of creating a textile doll, helping to master new skills in cutting and sewing.
Take the necessary materials and tools:
- Pattern pattern.
- Fabric shreds.
- A little multi-colored felt for hair, mouth, eyes, hands.
- Thread floss.
- Scissors.
- Needle.
- Chipping pins.
- A simple pencil.
- Filler.
- Glue.
We sew a textile doll - master class
Step-by-step instructions for sewing a textile doll with your own hands:
- We print out the scheme, lay out the paper on the fabric, fix it with pins, draw a outline with a simple pencil.
- Using scissors, we cut out all the details, given the allowances for the seams.
- Turn on the iron and iron all the blanks to make the fabric smooth.
- Now we need to fold the pieces of felt to cut our arms, legs, eyes and body.
- With a needle and thread, we sew two parts of the body using a manual blind stitch. Do not sew this part from the bottom - we will do it a little further.
- Using the same technology, we sew felt legs, toy handles.
- We fill all previously sewn parts with filler, pushing it with a toothpick or knitting needle. Leave some space in the upper arms and legs so that you can sew on to the torso.
- Now we turn on all our creative imagination and begin to do hairstyle, eyes, mouth, nose, gluing felt details on the fabric.
That's all! A beautiful interior doll is ready to effectively decorate the living room or children's room.
to contents ↑Secrets of craftsmanship for making textile dolls
There are several tricks that you need to know about when sewing toys with your own hands. Now we will share with you the necessary tips that will help you in sewing a textile doll:
- Eyes, nose and mouth can not only be painted with paints or felt-tip pens. For these purposes, other accessories are also perfect - threads, beads, buttons, beads, ready-made eyes for making DIY crafts. All this can be purchased at sewing accessories for cutting and sewing.
- Hair can be from ordinary threads, pieces of unnecessary fabric - use what your imagination is capable of.
- To create, for example, a doll’s smile, you can use the technique of tightening the fabric with kapron thread. So you can give absolutely any facial expression to your hand-made article.
- Handles can be made from ordinary wire. To do this, she needs to give the shape of a hand with a brush and fingers, and after that - tighten with knitted fabric for greater realism.
- To complete the image of the toy, try to sew various accessories - a handbag, a hat, a wreath.
Stock footage
Now you know how to sew a textile doll with your own hands. All methods are quite easy and do not take much time, and the result will please both you and your little princess. A new doll made with good mother’s hands is so cool and incredibly nice! Such designer dolls are a genre of whole art, where a puppet master is you yourself! We wish you success and peace in your home!
- How to choose a vacuum cleaner taking into account the characteristics of the house and coatings?
- What to look for when choosing a water delivery
- How to quickly create comfort at home - tips for housewives
- How to choose the perfect TV - useful tips
- What to look for when choosing blinds
- What should be running shoes?
- What useful things can you buy in a hardware store
- Iphone 11 pro max review
- Than iPhone is better than Android smartphones
 (No ratings yet)