

DIY key keeper
- Varieties and characteristics of wall key holders
- How to make a housekeeper from a saw cut tree?
- How to make a housekeeper from a branch?
- How to make a housekeeper from a picture frame?
- How to make a housekeeper from a piece of plywood or chipboard?
- How to make a key holder from leather?
- How to make a decorative key holder?
- Decor and decoration of key holders
- Stock footage
Many of you are familiar with the situation when, at the most inopportune moment, the keys to the apartment are lost and you have to look for them under the sofa, on shelves, near the hanger or in the pockets of clothes. You can solve the problem quite simply if you make an unusual and original product on your own, on which you can place all the keys in the house. Find a place for such a housekeeper in the hallway and attach it to the wall. Having done this procedure, you don’t have to worry about the safety of your keys to the garage, apartment, car or office, and you can easily find them at any time. In this article we will look at how a housekeeper is made with her own hands.
to contents ↑Varieties and characteristics of wall key holders
Depending on the types of keys used, the design features of the key holders have changed:
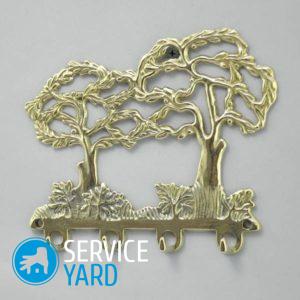
- When the spring and level locks were popular, the key storage products were large. Key holders were made of various shapes and woodcarving, forging, and painting were used for decoration. Home key holders were made in the form of wall linings so that the metal key could not damage the surface finish.
- The simplest and most popular option is a key holder in the form of a tablet, which has a simple design. It does not take up much space and fits into any room without any problems. For the manufacture of such a product, a conventional edged board can be used. In this case, it is recommended to use such boards that have oblique grooves. Then the key fasteners are installed. Basically, fasteners use self-tapping screws or nails. After that, the housekeeper is decorated, adhering to the style of the interior.
- The compact size, ease of use, ease of self-production also distinguishes products for storing keys made in the form of small shelves. To construct the simplest version of a housekeeper, it is enough to prepare plywood or wood. Such a product can also be used to store small items, such as glasses.
- If you live in a private house, which has a large number of rooms, outbuildings, sheds, garages, which are locked, then in this case the construction of a large key holder will be justified. Basically, a board is used for such a product, on each fragment of which there is a certain type of key. As a rule, such a key keeper is installed near the kitchen or in the utility room. The standard set of keys that is used when locking the front door is usually located in the entrance room on a small key holder.
- In case of limited access to the key keeper, it is recommended to use the option of a lockable cabinet, which can be installed in a secluded place and can be additionally locked with a key or a special combination lock.
- Another option for designing a key holder from improvised materials with your own hands is a made frame. Such a product goes well with the wall, while creating originality and unusual interior.For this, it is necessary to build a frame structure from wood or other similar materials, and attach hooks to it on which keys will be hung. Such a frame can function as a highlighted image on a wall. To fix such a design, glue or additional fasteners are used.
- In order for our design to combine several useful properties, you can make a key holder-organizer. Such a capacious shelf allows you to place not only keys, but also various papers for notes and reminders.
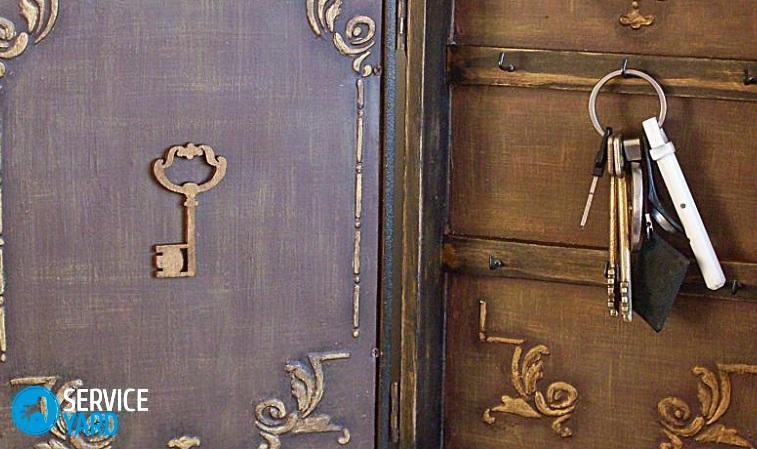
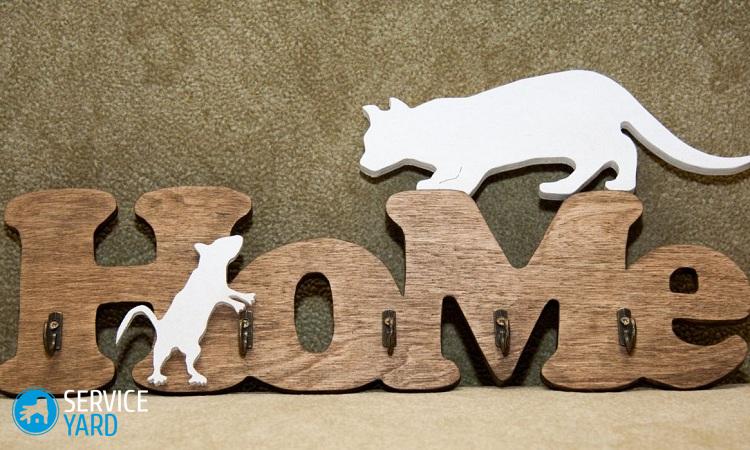
- Wallets, made in the form of a cabinet, are sometimes made in the form of a house. To design such a product, wood is most often used. The front door can be decorated with interesting carvings, original patterns or decoupage.
How to make a housekeeper from a saw cut tree?
Having the necessary tools, you can make a house key holder out of wood with your own hands in the hallway. The main thing here is the preliminary preparation of materials and the choice of place for the product on the wall.
Materials for work:
- sawed any tree in the shape of an oval, you can apply a birch, which looks very beautiful;
- varnish or stain;
- set of hooks;
- sandpaper;
- oval photograph or napkin used for decoupage;
- drill.
Assembly workshop
How to make a housekeeper from a saw cut tree with your own hands:
- We process a saw cut of a tree, using sandpaper.
- We cover it with stain or dark varnish.
- We dry the surface of the future product.
- We polish with sandpaper.
- We process the seamy side of the photo with glue and glue it to the saw surface.
Important! Our product can also be decorated by decoupage, using napkins.
- Apply a second coat of varnish. In this case, it should be already transparent.
- We attach hooks for keys along the saw, while making a hole for a screw or nail.
How to make a housekeeper from a branch?
A craft made from a branch will look very original and unusual on the wall.
Important! Walking in the forest, you need to find a thick curved branch, on which all knots should be cut. A dry stick with an interesting shape is also suitable for this option.
Materials
For work it is necessary to prepare the following materials:
- the branch itself;
- acrylic paints;
- set of hooks;
- drill for drilling holes.
Making a key holder
Consider the manufacturing process of a similar product:
- Based on personal preferences, we color the branch using acrylic paints. You can use multi-colored patterns and stripes.
- Using a drill, we design holes for hooks, while placing them on a straight line.
- We insert hooks into the holes.
- We drill holes to hang our product at the door on the wall.
- If the source material is sufficiently thick and massive, then our snags or branches can be decorated with decoupage or pieces of eggshell.
The key holder in the shape of a branch is ready!
to contents ↑How to make a housekeeper from a picture frame?
If you have a beautiful, but unnecessary frame from the picture, you can use it for crafts. The more gilding left on it, the more original and chic the key holder made by himself will look.
Materials
For work it is necessary to prepare the following materials:
- A frame made of wood, corresponding to 13 by 18 cm, but a larger format can also be used. The width of the baguette should be about 2.5-3 cm. It is very good if this frame is equipped with its suspension on the rings, and not with a regular photo backdrop.
Important! When using a plastic frame, the width of the baguette profile should correspond to 3 cm, and it can not be heavily overloaded with keys. If you do not have the source material, then you can use the baguette workshop or a hobby shop in which the frames of interest to you are acquired.
- A picture with an interesting image, a beautiful napkin or a finished version of a decoupage card.
- Standard set of materials for decoupage equipment, consisting of glue, white primer, acrylic varnish, brush.
- A set of hooks for keys that are purchased at a hardware store.
- Drill or awl.
- Screwdriver.
- A simple pencil.
- Ruler.
- Knife.
- Several screws with dimensions of 3.5x16 cm.
Workshop for the production of key holders
How to make a wall key holder with your own hands:
- We disassemble the frame, remove the backdrop from it and process it with a white primer in 2 layers.
- We are waiting for the part to dry. If necessary, blow dry.
- Glue the fragment of the decoupage card of your choice on the processed backdrop.
- After the drying procedure, the part is varnished 2 times.
- After some time, when drying has completely occurred, we insert the backdrop into the frame.
- Go to the hooks:
- If the frame has a wooden base, then using an awl or a simple pencil, right on it we mark the places of attachment for screws. We drill and fasten the hooks.
- In the case of a plastic frame, you can attach the hooks on the baguette from the sides.
Important! For strength, a more robust construction can be made. In this case, we collect the wooden subframe inside. It can be purchased ready-made in a framing workshop or made independently from a beam having a width of about 2-3 cm. Using a mounting tape, we attach this part to the frame.
- If there is no desire to bother with a stretcher, then you can use another option. To do this, at the very beginning of the process, remove the backdrop from the frame, measure with a ruler and cut out the exact same part from particleboard or a piece of plywood. We perform decoupage on our workpiece, and then insert it into the frame. We fix the hooks directly to the plywood.
- We fix 2 self-tapping screws on the wall, which serve to dress the rings of the frame. Do not use a rope or cable, as the key keeper will hang out and your keys will fall off.
The key holder in the shape of a frame is ready!
to contents ↑How to make a housekeeper from a piece of plywood or chipboard?
If you have a piece of plywood available, then you can construct a key holder of any shape and size with your own hands. Also, for this process, you can also apply a chipboard sheet. Using a jigsaw, you can cut the part in both rectangular, square, and oval shapes.
Materials
The following materials and tools should be prepared:
- plywood or chipboard sheet for the manufacture of a workpiece;
- set of hooks;
- napkins with interesting pictures for decoupage;
- drill;
- varnish and acrylic white paint;
- PVA glue.
Workshop on manufacturing
To make a wall key holder from plywood with your own hands:
- We cover the blank with white acrylic paint, preferably 2 layers.
- Dry it.
- Choose a suitable picture on a napkin, tear off the edges with your hands.
- Remove the top layer from the napkin, lubricate the part with PVA glue.
- Glue the picture on the part and dry it.
- The blank is covered with acrylic varnish.
- Next, screw the hooks and use a drill to drill a hole so that you can hang the key holder on the wall.
How to make a key holder from leather?
If you constantly carry a heavy bunch of keys in your pocket or purse, you can sew a small key holder yourself from the skin, which would look like a case. In this case, the keys are always intact and do not break through the lining fabric with their sharp corners.
Materials
To sew this product, you must first prepare the following tools and materials:
- a fairly dense piece of leather - an old leather bag or jacket is suitable for this purpose;
- leather lace;
- a piece suedeto be used for lining;
- needle with thread;
- scissors;
- button;
- glue.
Sewing instruction
Consider the process of manufacturing a leather key holder:
- Given the required number of keys on the bunch, we cut and cut from the suede and leather blanks.
- We coat the inside of the part with PVA glue, gently glue a piece of suede to the workpiece.
- Scissors align the edges, cut off all the excess.
- We make holes along the edge of the part at the same distance.
- Through the holes we stretch a cord of leather.
- We carefully sew the side edges with a thread and a needle.
- We attach a button and a hook for fastening the keychain for the fastener.
- If desired, our product can be decorated with a chain.
The key case is ready!
to contents ↑How to make a decorative key holder?
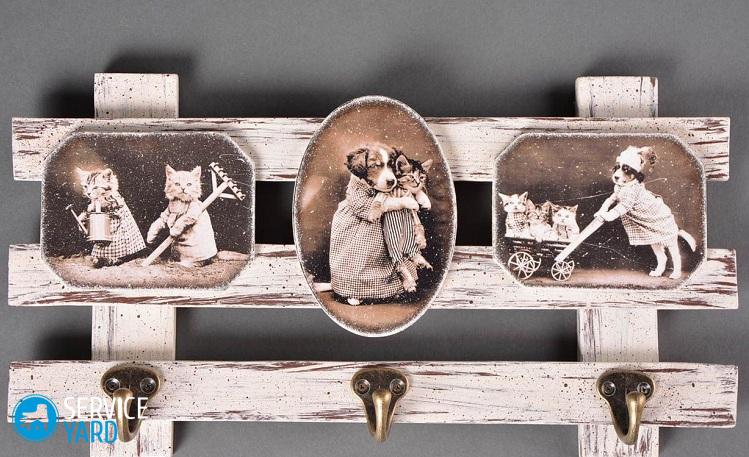
A shelf with hooks for storing keys can be not only useful, but also decorative, decorating the wall and room. You can use decoupage with napkins, choose pictures and photos from magazines for decoupage yourself, decorate with artificial flowers, old keys and other decor elements.
Materials
To make a volume key holder, it is necessary to prepare the following tools and materials:
- a piece of plywood or a sheet of chipboard in the shape of a rectangle;
- white putty;
- dried flowers, twigs with leaves on them, small-sized artificial flowers;
- acrylic paint;
- a small plastic flower pot;
- a piece of nylon-based pantyhose;
- glue;
- knife;
- hooks;
- various beads, sparkles.
Making a beautiful housekeeper
To make a decorative key holder on the wall with your own hands:
- We put a thick layer of white putty on our workpiece and with our fingertip we carefully draw an imitation of brickwork.
- We dry our drawing, paint bricks with acrylic paint.
- We cut the plastic pot with a knife in half and glue it on our part.
- Kapron stocking, pre-soaked in glue, decorate the workpiece, and then dry.
- We paint the pots with acrylic paint, glue the sparkles, beads.
- At the bottom of our part we screw the key hooks.
- We design the composition with artificial flowers, leaves, twigs, dried flowers. At the request of our housekeeper we decorate with ladybirds, butterflies, flowers.
Decorative key holder is ready!
to contents ↑Decor and decoration of key holders
The design of a key holder will require much more imagination and skill than the manufacture of the product itself. It is the incredible design that will give the housekeeper an original look that will fit perfectly into the home interior. There are so many options for decoration and decoration. Consider the most popular.
Plastic
For volumetric decor, polymer clay is used, or it is also called plastic. Such material is sold in various colors in plastic bags. After drying, the plastic becomes hard and moisture resistant. But under the influence of mechanical processing, polymer clay crumbles, becomes less durable, therefore, plastic is not recommended for basic parts, but for additional elements, for example, hooks, it is ideal. Ready-made modules painted with acrylic paint of a suitable color look like solid.
How to decorate a product with plastic:
- Before sculpting, polymer clay must be thoroughly kneaded. Sometimes you have to add a few drops of vegetable oil.
- The finished part is baked in the oven at 120-130 degrees.
- When a brown crust appears, the gas is turned off and, without opening the door of the stove, allow the workpiece to cool completely.
- The baked squared plate sticks perfectly to the wood with PVA glue, looks good when painted, and withstands varnishing with water-based paints and varnishes.
Decoupage
The most common decor items is decoupage. It consists in applying a finished picture to the prepared surface, from which the protective film is removed and the image is fixed with varnish.
Decoupage is of two types:
- With a direct surface, they are treated with special primer, then glue is applied for decoupage and a drawing is applied.
- Reverse decoupage is a variant of decals.
Important! In the manufacture of key holders from improvised materials, do-it-yourself direct decoupage is used.
Finish
The finished key holder should be painted, varnished, as an option - age. Currently, acrylic paints that have a water base are most often used for the staining procedure. The full drying time is about 5 hours. You can mix acrylic paints as you like.
Important! The color scheme of such paints is very diverse: in addition to all the colors of the spectrum, there are all kinds of metallic, antique gold, blackened silver, various gloss, sparkles and many other shades.
When applied, acrylic paints have a thin, elastic and durable layer. In this case, there is the possibility of multi-layer painting to produce aging of the surface or apply decor in the style of Provence. Wiping is done on not completely dried paint, using a hard brush, or after drying, they are passed over the surface with an abrasive.
When decorating the details of the key holder with your own hands with acrylic paints, consider the following tips:
- glossy, textured and smooth varnishes can give the surface a very strong shine;
- 3D varnishes are able to create a very thick film that has optical properties and is able to blend color transitions, as a result - the picture looks slightly convex;
- after drying the textured pastes, an imitation of wood, silk, scales, embossed leather and other textures is created;
- Craquelure varnishes can artificially age an image, since as a result of drying a grid of small cracks is created, as in the old paintings.
Stock footage
From this article, you got a few ideas from which you can choose your own version of a key holder for making it yourself. We hope that you will proceed step by step according to our instructions, and the final result will delight you!
- How to choose a vacuum cleaner taking into account the characteristics of the house and coatings?
- What to look for when choosing a water delivery
- How to quickly create comfort at home - tips for housewives
- How to choose the perfect TV - useful tips
- What to look for when choosing blinds
- What should be running shoes?
- What useful things can you buy in a hardware store
- Iphone 11 pro max review
- Than iPhone is better than Android smartphones
 (No ratings yet)