DIY cupboard
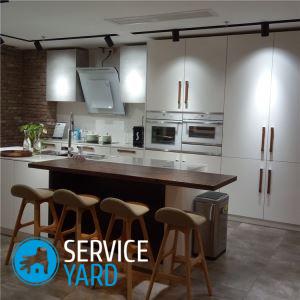
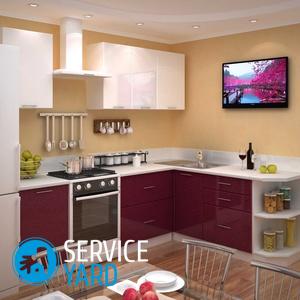
The kitchen is the face of every self-respecting housewife, a reflection of not only order and cleanliness, but also its quality, convenience and aesthetics. In a well-equipped room, any cleaning is fun, fast and easy. This approach is explained by the presence of the necessary set of household appliances and the minimum amount of furniture, where each element takes its place, and the headset fits into the space of the room.
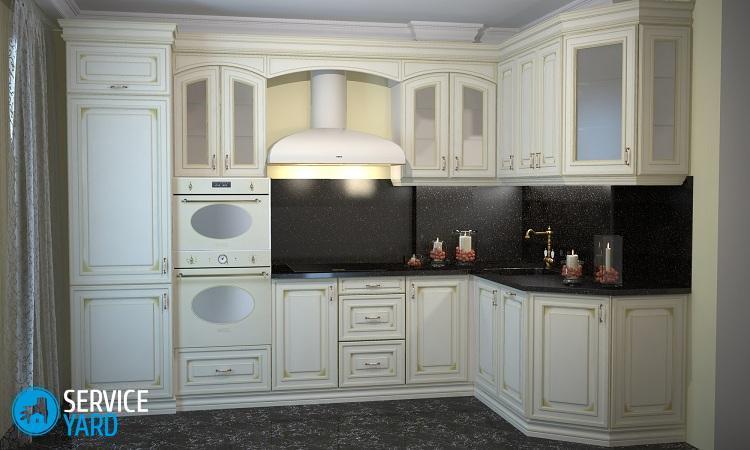
Starting to equip the kitchen, many people choose built-in types of designs. But such kits can be quite expensive, and do not always perfectly fit the area of the room. There is a solution - a kitchen cabinet with your own hands will save the situation. Let’s look at everything you need to know to make it.
to contents ↑What is worth knowing before starting work?
Depending on the external characteristics, all kitchen cabinets can be divided into floor and wall. Moreover, the latter options may have a corner or normal location, closed or open view. Regardless of the type of design, the principle of assembly of products remains approximately the same.
Important! Before setting to work, carefully consider your room layout. It will be much easier to imagine the final result, if done previously kitchen project on a computer in different versions.
Some recommendations of experts will tell you how to carry out the installation correctly, in order to avoid common mistakes:
- A fully equipped kitchen, which needed a corner cabinet, needs an accurate door selection. Its dimensions should clearly coincide with the dimensions of structures located nearby. The shutter is made of a similar material or another that matches the overall facade.
- To avoid unnecessary expenses, you can restore the appearance of the furniture by replacing external elements - such as doors, countertops, lower cabinets. Such repairs will cost much less.
- Upper hanging cabinets are ideal for masking ugly parts, such as compact boilers, counters, hoods. The interior space can be used most rationally: shelves or compartments for tools can be made.
to contents ↑Important! At home, it is unlikely to get the perfect cut of the material, so it is better to seek help from a carpentry shop or a construction store.
Optimum material selection
Assembling a cabinet in the kitchen with your own hands involves the use of one of the following materials:
- Particleboard with the most moisture resistant coating for the manufacture of countertops. Under the condition of processing the end parts and filling the surface with a washing base, the life of the piece of furniture increases markedly. Such a material with a thickness of 16 mm is considered the best option for a kitchen cabinet - it has an attractive appearance, is easy to clean and relatively inexpensive.
Important! Any kind of chipboard needs edge processing.
- Finishing facades and doors requires the use of any type of veneer, melamine or laminate.
- Different types of MDF with varnish, matte or laminate.
- External elements of cabinet doors can be finished with natural wood. To reduce the cost of coverage, it will be possible to install a frame in the middle of which a veneer or decorative plywood will be inserted.
Important! Wood needs protection with the help of special impregnations and water-repellent varnish.
- Multiplex is a strong multilayer coating that does not swell and does not warp.
- For the manufacture of internal shelves, you can use one of the cheapest materials - plywood.
- The cabinet doors are finished with toughened glass with pre-finished edges. It must be inserted into a plastic or wooden frame.
- Elements from acrylic and PVC are used as an additional decorating principle.
- Exterior veneer or wood finishes give the product a noble and solid look. To tint the coating will help stain or special varnish, which will be applied in several layers.
to contents ↑Important! If you are ready to make a cabinet yourself, then the creation of many other necessary pieces of furniture will also not be a problem for you. We suggest you use our ideas and master classes:
Preparatory work
One of the most important points in the manufacture of a kitchen cabinet with your own hands is the creation of a project. At this stage, everything should be carefully thought out to avoid inaccuracies and errors, which can lead to additional costs of time and money. In addition, the cabinet is made with the expectation that it will serve for a long time, so it is necessary to approach the design with special responsibility:
- Carefully calculate the dimensions of all individual structural elements, as well as the overall dimensions of the future product.
Important! Take into account not only such basic parameters as the width and length of the cabinet, but also the number of shelves in it, the distance between them.
- Prepare a drawing indicating all sizes. As a basis, you can take ready-made drawings on the network or create them yourself.
- After the drawing is ready, select the place where the product will be installed. There are no specific recommendations - arrange it in such a way that it is convenient to use and it does not interfere with you while working in the kitchen.
To assemble a kitchen cabinet, you will need a lot of tools and materials. Since the dimensions of the structure can vary, the dimensions of the materials for work can be different. In our case, we consider the procedure for manufacturing a cabinet 28.6 cm wide, 75.2 cm high and 27.9 cm deep - this is one of the most convenient and common models.
Important! Both chipboard and plywood can be used for assembly.
To work, you need to prepare the following:
- 2 boards for the side walls - 19 by 286 by 762 mm.
- 1 roof board - 19 by 286 by 438 mm.
- 1 boards for shelves - 19 by 260 by 413 mm.
- 1 bottom board - 19 by 279 by 438 mm.
- 1 board for the back wall - 6 by 286 by 752 mm.
- two racks - 19 by 38 by 279 mm.
- 2 fixing strips - 19 by 38 by 413 mm.
- 2 overlays for the edges of the shelves - 19 by 19 by 413 mm.
- 2 crossbars - 19 by 57 by 318 mm.
- 1 door - 19 by 387 by 413 mm.
Important! In the finished design, the cabinet door will be superimposed on the opening of 10 mm on each side.
Also, to make a cabinet for the kitchen with your own hands, you will need the following tools and accessories:
- Overhead loops.
- Door handles.
- Pins for shelves.
- Finishing and finishing nails.
- Sandpaper.
- Edge for decoration.
- Jigsaw.
- Drill.
- Stationery knife.
- Iron.
- Level.
- Yardstick.
- Self-tapping screws.
- Drill.
- Euroscrews.
- Suspensions.
Assembly assembly
After the drawing is completely ready, all materials and tools will be laid out, you can proceed to the direct assembly of the structure:
- Cut all of the above items, according to size, from a solid sheet. If it is difficult for you to do this yourself, contact the nearest furniture workshop for help.
- After you have prepared all the necessary elements, proceed with the assembly. Drill holes for Euroscrews in the walls of the future locker. The holes should be located at a distance of 4 cm.Drill through with 7 mm diameter drills.
- Drill holes in the shelves at the ends, using a drill with a diameter of 4.5 mm to a depth of 4 cm.
- Using the same drill, prepare the holes in the sides - where the shelf will be mounted.
- Paste the visible ends of the cabinet parts with a special edge. To do this, turn on the iron at 75% of its capacity or turn on the wool mode, then attach the edge to the surface, draw the iron over the film several times and firmly press it with a dry cloth. Cut off excess film with a clerical knife.
- Take the Euroscrews and use them to screw the upper and lower shelves to the side elements of the cabinet.
- Using the same Euroscrews, secure the shelf inside the cabinet.
- Attach the back of the cabinet to the cabinet.
Installation and decor
So we came to the final stage of making a kitchen cabinet with our own hands:
- Screw the suspensions to the back of the product. Then, using the building level, mark the places of fastenings on the surface of the wall, drill holes according to the marks.
- Insert dowels into the holes obtained, wrap self-tapping screws inside them and hang the cabinet on the wall.
If you do not like the look of your product, you can change it. To do this, you can use different tricks and decor elements:
- One of the easiest and most beautiful is decorating the cabinet with mirror paper. This material makes it possible to achieve a very spectacular look.
- You can paint the cabinet with paint of the desired color. Only better for this purpose choose high-qualityodorless furniture paint.
- Make out decoupage cabinets.
- You can also glue the kitchen cabinet with stickers featuring flowers, fruits, or coffee beans.
- Consider a more functional decor option - LED cabinet lighting.
to contents ↑Important! When working, it is worth considering the fact that the cabinet should not be located too close to the source of water or the hob. If necessary, it can be treated with a special waterproof paint.
Stock footage
Now you know how to make a kitchen cabinet with your own hands. The total cost of such a product will be much lower in comparison with the cost of finished factory furniture. In addition, you can make it exclusively for your kitchen and to your taste.
 (No ratings yet)