DIY doll doll clothes

On the shelves of children's toy stores you can find a huge assortment of dolls, among which there are also millipedes. Such dolls have exaggeratedly large heads and legs, they look completely defenseless from this. In this article, we will consider how to make clothes for a doll-millipede with your own hands.
to contents ↑What to make a doll with a leggy?
If you want not to buy such a toy, and do it yourself, for the manufacture you must first prepare the following material and tools:
- sewing machine;
- scissors;
- chalk for cutting or a simple pencil;
- special flesh-colored knitted fabric that should not stretch much;
- filler;
- sewing pins;
- needle with thread;
- threads of the corresponding color;
- knitting needles;
- a foam ball having a diameter of 6 cm;
- fabric for sewing a snood and a skirt;
- dense fabric for making shoes;
- cardboard of suitable size;
- transparent glue “Moment”;
- knitting hook;
- threads for hair styling;
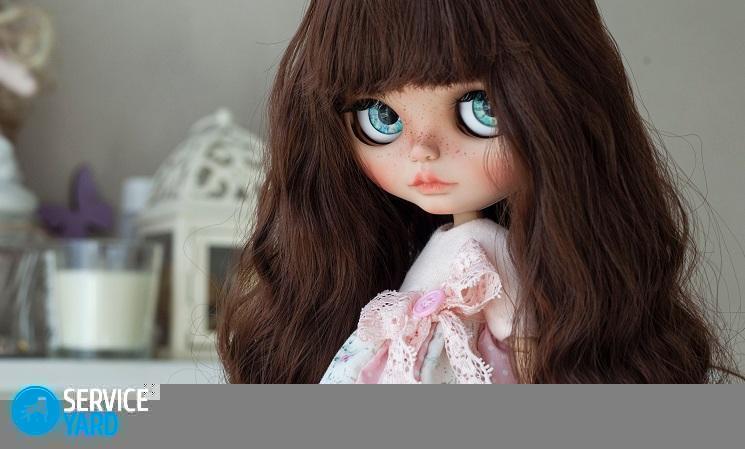
- black acrylic paint or small beads for eyes;
- knitting threads for the manufacture of a blouse and sweater;
- safety pin for spout;
- Buttons for creating product legs;
- various decorative elements;
- elastic lace for sewing linen.
Material Guidelines
When making a doll, you should use the following recommendations that will help you choose the right material to create the toy.
In the store you can buy a finished knitted fabric, which is already painted in flesh color. Such fabric is available in two types:
- Thin and soft knitwear is used to decorate the head.
- More dense - for the manufacture of the body.
Some needlewomen to create a toy choose flannel, fleece or linen:
- Flannel fabric is characterized by one drawback - it has the ability to fall off.
- Fleece is soft to the touch material, toys from it turn out to be very tender and romantic.
- When using flax, it should be borne in mind that after washing, the fabric shrinks. Therefore, before opening the pupae from this fabric, the material is first washed, ironed, and only then cut.
Filler Recommendations
For shaping the parts of the doll stuffed with filler. There are several types of filler, among which there is natural and artificial:
- As a natural material, wool can be used. When stuffing a toy, the fibers should be fluffed correctly, and then distributed in the corresponding part of the pupa. A part of the doll’s body is filled through a small hole that is not sewn up. The stuffing should be tight, and care must be taken not to overdo it or pull the fabric.
Important! After making the toy and handing it to the baby, you need to follow his reaction, since allergy can occur on the filler as wool.
- Sintepuh or sintepon is not allergenic, in addition, it is convenient to work with it. That is why most needlewomen make the choice of filler in favor of these materials.
to contents ↑Important! In order for the manufactured product to be stable, the doll’s legs are filled with sea pebbles or some small grains.
Cut
How to make a pattern for clothes for a millipede? Before making a toy, you need to cut the product. There are several methods for cutting pupae:
- Assembling toys from individual parts.
Important! In this case, it is necessary to pay special attention to the sewing of the head to the body, which must be attached with great care.
- A variant of cutting with a whole-cut head, in which the doll is cut out immediately with the head, which is attached to the body.
First, we draw the details of the doll on paper, then transfer them to the material. The finished patterns are marked with the number of parts, the dimensions of the body parts, and the connection points of the parts are indicated. If you did not find a suitable pattern, then you can make a product from several parts. The doll, made according to a self-developed sketch, will present an original and unique version. In addition, you have the opportunity to design your arms, legs and head, both larger and smaller. The most important thing is to maintain the necessary proportions and at the same time leave your head and feet large.
to contents ↑Important! This method is used by beginner needlewomen, since there is no hanging out of the sewn head, which looks very nice.
How to make a big doll
Consider the process of making a big-doll doll step by step:
- We print on the printer the natural size of the pattern of the toy-millipede.
- Scissors cut the workpiece.
- We choose a smooth, two-sided knit material in flesh color.
- Fold a piece of tight knitwear in half.
- We lay out the carved details of the doll on the fabric.
- Pinned with safety pins.
- Circle with chalk or a simple pencil.
- Using a needle with a thread, we sweep away the details.
- On the contour we sew the blanks on a sewing machine, while not forgetting to fix the seams and leaving the sections that are marked on the pattern not stitched.
- We cut out the details of the pupa, taking into account the small allowances for the seams.
- We make notches in the places of fillets.
- We turn out the details.
- We form the head of the future doll using a foam ball with a diameter of 6 cm.
- From the synthetic winterizer we cut out a rectangle with which we wrap the foam ball twice.
- Fasten the synthetic winterizer with small stitches.
- We decorate the doll with the big-nose, for this we use an English safety pin.
- On a cut a small piece of padding polyester drip a little transparent glue “Moment”, wrap a pin in it.
- We wrap the thread, so we get a tiny nose.
- We tighten the synthetic winterizer with a thread around the edges, as a result - a ball has formed, which is covered with a synthetic winterizer.
- We put the ball in the head, to add density, you can add a little more synthetic winterizer.
- We turn off the detail of the head.
- At the desired height, we stick a pin with a nose into a foam ball.
- After this, we turn the part back.
- We stuff the body very tightly with the filler, for this, air duct, holofiber, surround sintepon, which can be torn into pieces, are suitable.
- The crown of the head of the future pupa is pulled together with threads, it should be dense and round and keep its shape well.
- We turn out the details of the legs and handles and fill them with filler.
- With secret stitches, gently sew un sewn sections.
- We mark the place of attachment of the legs and sew them with a strong thread.
- Sew on the top of the legs a flat button, thanks to which the pupa should stand freely on a horizontal surface.
How to make hair a doll-leggy?
Before you sew clothes for a millipede with your own hands, you need to make her hair. For hair styling, ordinary knitting threads are used. To make them, you must perform the following actions:
- We wrap threads of suitable color on a book or cardboard, the length of which corresponds to the selected hair length.
- We cut the threads in one place.
Important! If each thread is divided into two parts, then wavy hair is obtained.
- We use cotton threads for hair color or use “Iris” threads.
- We make a knitting crochet air loop, then grab a few threads in the middle, knit a crochet post, after which we make an air loop.
- Gradually we attach new strands of hair with columns without a crochet, between which we knit 1 or 2 air loops, so that hair strands of the future doll are formed from threads.
- On the head of the future product, we outline the hair sewing line.
- With inconspicuous stitches, along the marked line, sew the tresses so that the entire space of the head is filled to the very crown.
Now our big-doll doll has beautiful hair.
to contents ↑How to sew clothes for a doll with a leggy?
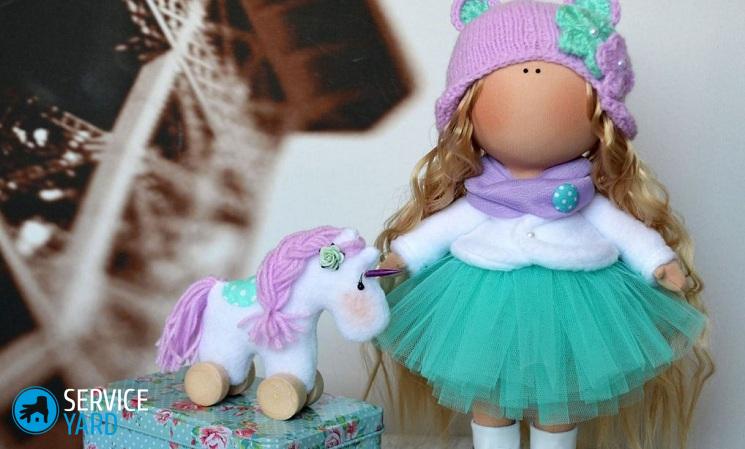
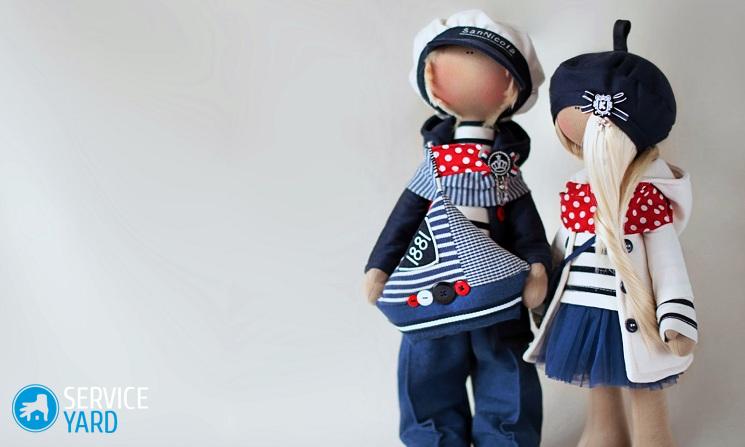
We have already sewed a doll and even made a hairstyle for it, now we should make original clothes. Moreover, here each needlewoman can independently choose a style. As a result, you can get a romantic Frenchwoman in a nice little beret, a sultry Spanish woman with a flower in her hair, or a nice little girl from cold edges. It all depends on the imagination.
How to sew clothes for a doll doll:
- We make doll panties from elastic lace.
- Cut the lace with a length corresponding to the doll’s hips.
- On the bottom we sew a special rubber band.
- We fold the lace in half, sew, through both layers we make an incision to about half the mid-height of the lace.
- Sew a rectangular gusset of small size.
- We put panties on the legs and sew them with inconspicuous stitches.
- Now we finally sew the doll's legs.
- We knit a blouse with knitting needles from bright threads.
- Put on the doll.
- Using a light knit fabric, we sew a snood, which has the shape of a double ring.
- Using colored bows, colorful hair clips and flowers, we decorate the hair of the doll.
- If desired, we sew a handbag on a small chain.
- Blush draw cheeks on the face of the doll made.
Footwear
For the manufacture of shoes, you can use upholstery for upholstered furniture. Consider the process of making shoes:
- From the prepared fabric, we cut out the details of the shoes for the doll.
- We fold the blanks in half, sew and cut the material at the fillet points.
- We put on the stitched part of the doll’s leg.
- From cardboard or from dense fabric, cut out the sole of the shoes.
- We put a piece of cardboard, along the entire sole with strong threads in the form of stitches we tighten the upper part.
- Glue the sole made of fabric on top.
- Glue a pre-cut narrow strip along the edge of the shoes.
- Tuck the top of the shoes, stitch them with inconspicuous stitches.
You can decorate shoes by gluing small buttons.
Important! It is better to sew the legs of the future doll later, at the time of making clothes.
Socks
In addition to shoes, the toy can be sewn and cute little socks. To do this, you can use a striped children's sock in bright colors.
How to sew socks for a doll-millipede:
- From the baby sock we cut a rectangle.
- Stitch the workpiece.
- We put the doll on the leg.
- Tuck the sock.
- Fasten with inconspicuous stitches.
That's all, socks flaunt on the legs of our doll!
Skirt
The top of the doll is already dressed. Now you need to arrange and the bottom. To do this, you can make a beautiful skirt.
How to sew clothes for a doll-millipede:
- From the prepared fabric, cut a blank in the shape of a rectangle.
- Tuck and stitch the bottom of the skirt.
- Stitch the side seam.
- Iron the skirt.
- With pins, we pin the skirt to the body of the doll.
- Sew the skirt with inconspicuous stitches, while laying small folds.
Now our doll is fully dressed!
Panties
In addition to the skirt, pants or shorts are also suitable for the design of the lower part. For the manufacture of panties we use a soft knitted fabric of any color you like and perform the following actions:
- On the prepared paper, draw a large letter P of the appropriate size.Vertical sticks and the upper shelf correspond to 4 cm, while the leg thickness is 3 cm. Be sure to add 1 cm to a loose fit and seam allowance.
- We transfer the constructed pattern to the fabric, which we fold in half, so we get two letters P.
- We sew letters from the wrong side.
- We do a top up.
- Leave a small hole and sew.
- In order to keep the panties, we insert an elastic band or lace into a small hole.
- At the bottom we tuck panties and hem them.
- We turn out the pants and smooth them.
Important! If you make such panties shorter, you get summer shorts.
Dress
If there is no desire to separately manufacture the top and bottom of clothes, you can sew a dress.
How to make a pattern for clothes for a millipede:
- We take the prepared material and cut out the part in the shape of a rectangle. The smaller side of the rectangle is the height of the dress, the width corresponds to splendor.
- We process the bottom of the dress, while you can sew decorative elements, crochet, lace up.
- On the wrong side of the narrow part, we sew the blanks in pairs.
- We process the raw part as a neck.
- Using sewing pins, fold the folds.
- Sew the folds, leaving two or three folds so that a dress can be put on the doll through the head.
- We decorate the remaining folds and sew a dress directly on the doll.
- To process the neckline, we turn the edge of the dress inward, sew it with a needle and thread.
The dress is ready, now it can be decorated!
The dress can be sewn using ready-made patterns. To make clothes, we transfer the patterns to the fabric, and at the same time we adjust them to the size of the big-doll doll. If there are no sizes on the pattern, then by default you need to understand that the increase will be made on all sides proportionally. To do this, you need to perform actions in this order:
- On the prepared paper, set aside the original size.
- Then on each side we add the required number of centimeters and re-draw the pattern.
- After that, transfer the pattern to the fabric.
Accessories and appearance
A mandatory attribute of making a doll is the use of various accessories that help create the appearance of the doll.
First of all, we arrange the face of the toy:
- To do this, the threads need to embroider the eyes, nose, mouth.
- For eyes, you can use black beads or purchase ready-made eyes in the store.
- Some needlewomen, artists, using acrylic paints, paint the nose, mouth and eyes on the fabric.
- You can also buy a doll wig at the store.
Stock footage
The finished doll is dressed in any outfit made, which they sew at their discretion - knickers, panties, overalls, shorts, dresses, skirts, socks, boots. The range of clothes can be large, show your imagination and create interesting toys!
 (No ratings yet)