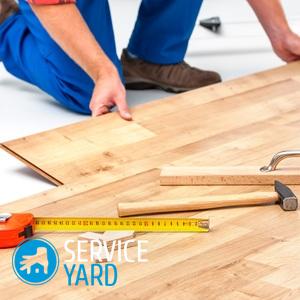
Do-it-yourself floor preparation for laminate flooring

Laminate is a floor covering made of fiberboard. Despite all the advantages of this material, even with slight deviations from the accepted laying technology, all its disadvantages are manifested. In order for the laminate to serve for a long time, the floor must be carefully prepared. The topic of today's article is the preparation of floors for a laminate with your own hands.
Important! Even at the stage of thinking about future repairs, many begin to wonder what kind of floor to put at home. Of course, I would like to do everything from natural wood, but the prices for this material bite. A cheaper analogue is laminate, but is it as safe as it seems to us? Is laminate flooring harmful?
What is laminate flooring afraid of?
The main enemy of the laminate is high humidity. This also applies to moisture-resistant grades of material, since this affects the side part, which is not protected by anything:
- If you store the dies in a room with excess humidity, this leads to an increase in the fragility of the laminate, its expansion.
- The castle joint completely loses strength.
- If the concrete is not dry enough, it is impossible to lay such a coating.
The second factor is lateral deformations:
- The massive part of the laminated boards is strong enough, but if they are empty, they can break.
- The material is vulnerable in the castle part, where the thickness of the boards is less. This "weak spot" makes itself felt if the coating is laid on an uneven floor. When moving, it bends.
Important! Even before the stage of preparing the surfaces for laying the laminate, it is worth deciding on the most important, namely, exactly where and what kind of coating you plan to lay. To make the decision easier, study the types and types of coatings collected in our archive:
The quality of the flooring and tubercles on the base is deteriorating. They slip through the entire thickness of the board, and the top coating is erased. Subsequently, the moisture resistance of the material decreases.
Important! To make the flooring last longer, it is laid on a flat surface devoid of volume defects, and completely dry.
Since the floors covered with the laminate are soft, a substrate of soundproofing material with a thickness of about 3 mm is spread under the material. At the same time, one should not think that the substrate is able to smooth out the unevenness of the floor. The only thing that can be noted is that the material closes cracks in the concrete floor.
to contents ↑Important! Before laying the laminate, make sure that the floor surface is horizontal. The maximum difference for every 2 m is 3 mm. Visible “waves” on the surface are unacceptable; there should be no inclusions of crushed stone in the screed. If you think about it in advance, you can save money on replacing the material.
Assessment of the complexity of work
This is the first stage. As always, you need to start with planning. First of all, you need to evaluate the following factors:
- The height of the room.
- The condition of the floor surface.
- The need for the use of insulation and soundproof materials.
- Financial opportunities.
- Possible time costs.
Each of these factors is important in its own way and makes its own adjustments to the choice of preparation technology. For example:
- If there is a significant difference in height, then pouring a concrete screed in two layers can not do.But this is associated with additional costs and a longer drying time, about a month and a half.
- There is a faster option - laying the floor on the logs or using a dry screed, however, the floor becomes higher. This can not be done with low ceilings. In this case, an alternative option will help - leveling the floor with plywood without using a lag.
All this needs to be analyzed before starting work, so as not to create additional difficulties.
to contents ↑
Preparation methods
There are several options for preparing the floor for laying the laminate.
Wet screed
It can be used where the floor is able to withstand the load of a concrete floor. In old houses this method cannot be used. Wet screed is performed according to this algorithm:
- Height difference check. With a difference of more than 2 cm, it is impossible to do without pouring with a cement-sand mixture.
- Concrete works.
- Primer or waterproofing of the floor, in the absence of cracks in the base.
The solution is kneaded in accordance with the instructions. Using a long rule, level the beacons. Lighthouses are removed after a few days, not forgetting to fill the holes with a solution. The floor is left for a month for the cement mortar to gain 50% strength. If the deviation from the horizontal is small, then a coarse screed is not needed, you can do only by using a self-leveling mixture.
Important! The floor can only be laid if the concrete is completely dry. You can control drying in this way. On the floor, a three-liter jar is set upside down and left overnight. If moisture appeared on the inner surface of the can in the morning, the mixture has not dried sufficiently. If you neglect this and start laying the floor, it will not benefit either the people or the floor. Under the laminate dies, mold will start, and this is hazardous to health.
Dry screed
It can be laid on concrete or on an old wooden floor. This method has several advantages. And here are the features here:
- As a rule, expanded clay is expanded clay - a material with a small mass and a small degree of thermal conductivity. If there is no expanded clay, it can be replaced with coarse dry sand. However, the insulating characteristics of sand are worse, and the mass is quite large. For this reason, a dry sand cushion can be used to slightly correct height differences.
- A vapor barrier or regular polyethylene is placed under the dry screed.
- The shock absorber and sound absorber for the space between the wall and the screed is an isolon gasket.
- Horizontal align rule.
- Plasterboard is laid on top in 2 layers with an overlap, connecting the layers with self-tapping screws.
Important! You can replace drywall sheets with plywood or chipboard. To protect themselves and family members from formaldehyde emissions from particleboard, the plates are painted.
The disadvantage of a dry screed is its fragility. Expanded clay or sand shrinks over time, and the geometry of the floor is disturbed. To smooth out uneven floors, additional materials are laid in 2 layers.
Important! If you want to save money, but not to the detriment of the quality of the flooring, you can make the bottom layer drywall, and the top - plywood.
How to prepare a wooden floor for a laminate with your own hands?
If there is a strong and fairly even wooden floor, it can also be used as a base for a laminate. To do this, it is enough to cover it with OSB or plywood sheets. The order of work is as follows:
- Inspection of the floor. Identify floorboards with a creak. Pulling them to the lags with the help of screws.
- Replacing boards that are most worn on the front. A more economical option is to flip boards with the most significant damage.
- Sealing cracks and bumps with putty.
- Removing bulging nail caps.
- Laying on the surface of the plywood or OSB floor so that the edges are overlapped.
Important! Between plywood and wooden boards lay a substrate for heat and sound insulation.
A more difficult situation is when the logs are not strong enough, because of which part of the floor drops significantly. In this case, a more thorough audit of the floor, laying under the logs of gaskets, additional insulation is required. The boards are put in place, fixed with screws. Next - the same procedure for leveling the floor with sheet materials.
Sometimes you need a flooring of a new floor with laying thermal insulation material. The order of work is as follows:
- Laying out soundproofing material under the logs.
- Tying the perimeter of the room with bars in the horizon.
- Installation of lags, leveling them by level. The direction of the lag is perpendicular to the movement. At the same time, there must be a gap between the lags and the base. It is needed for ventilation and to protect wood from decay.
- Installation of bars, perpendicular to the lags. These bars will serve as a direct support for sheets of OSB or plywood.
Important! So that the bars do not “eat up” the height of the room, they are made flush with the height of the log, using the corners. The distance between the bars is chosen so that it is commensurate with the size of the sheet.
- Laying in the space between the lags of the insulating material.
- Flooring sheets, fixing them with screws. Laying sheets near the walls should not be done closely. A clearance of about 2 cm is quite acceptable. To mask it with a plinth is quite real.
to contents ↑Important! So, everything is almost ready for the most important stage of work, for styling. Check out all the intricacies of the process in our workshops:
Protective materials for laminate flooring
So, a solid and even foundation is prepared. Now you can lay materials that improve the performance of the laminate floor. This is the backing and vapor barrier:
- Do not ignore the vapor barrier. It prevents moisture from accumulating and protects the laminate from premature wear. The vapor barrier strips are overlapped with 150 mm of allowance. If the standard substrate contains a vapor barrier layer, then it is not necessary to lay out the vapor barrier separately.
- The substrate under the laminate can be used cork or from synthetic material. Cork is more expensive, but it is more stable, significantly superior to synthetics in terms of heat and sound insulation characteristics. The substrate is laid end-to-end, fastening the seams with masking tape.
to contents ↑Important! Do not forget that the laminate is a very multifunctional coating. For this reason, it is worth considering other options for its use in the interior of your home. We have plenty of examples:
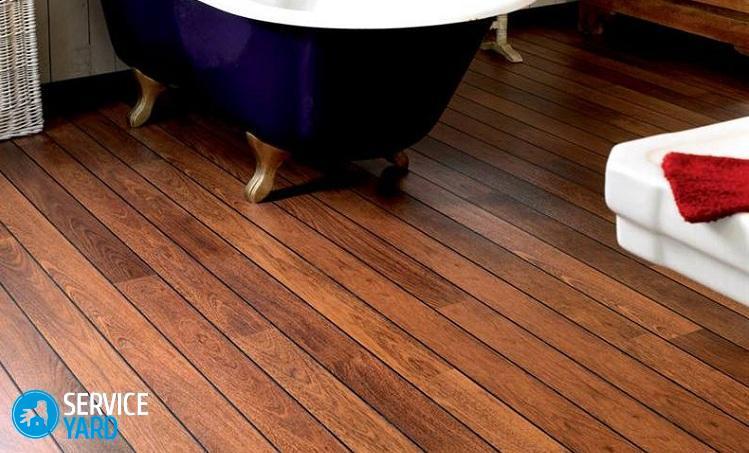
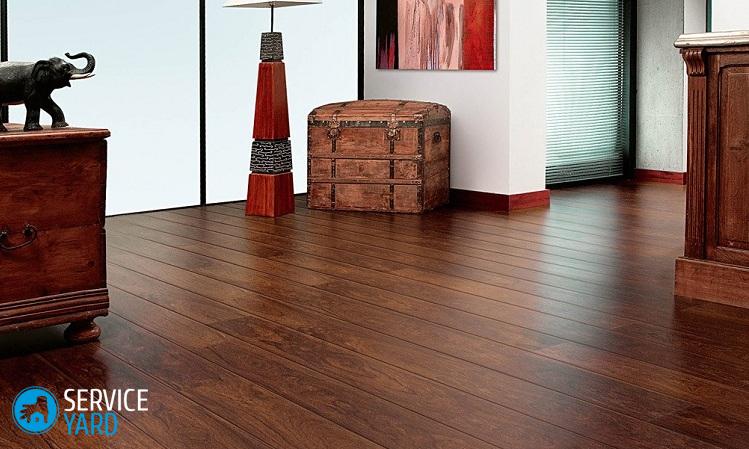
Stock footage
The base for the laminate is ready! As you can see, there are many options for how to prepare the floor under the laminate with your own hands. What exactly to choose - you decide for yourself, based on specific circumstances.
- Laminate for a warm water floor - which one to choose?
- Laminate for the kitchen - which one to choose?
- Laminate - how to choose which class?
- Laminate thickness - which is better?
- Laminate on the wall in the interior
- Laminate kitchen apron
- Laminate rating for the right purchase choice
- Is laminate flooring harmful?
- Laminate sealant - which is better?
- Laminate installation
 (No ratings yet)