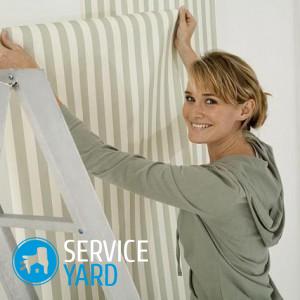
Preparing the walls for wallpapering yourself
Despite the huge number of new finishing materials for walls, wallpapering remains one of the most common methods of repair. They are easy to install and maintain, the cost is quite affordable. However, in order for the wallpaper to hold well and not deform, it is necessary to prepare the surface. How is the preparation of the walls for wallpapering done with your own hands? This will be discussed in the article.
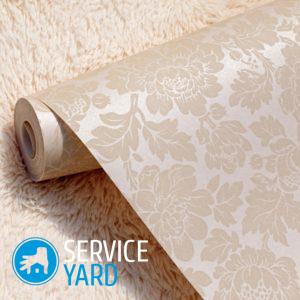
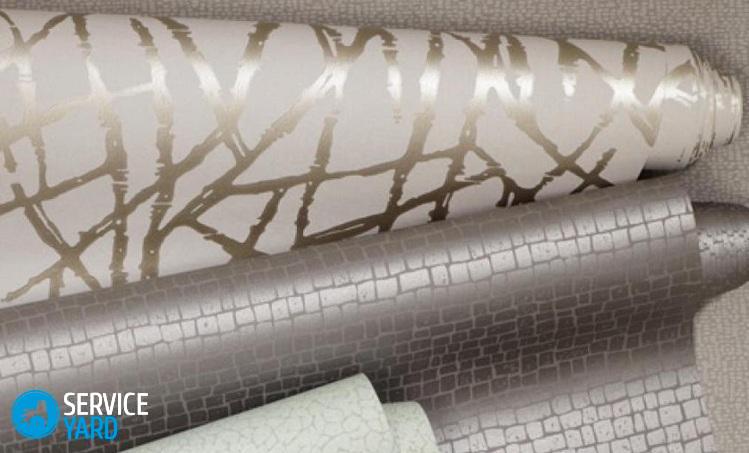
to contents ↑Important! In order not to bite later, after repair, the elbows with all the variety of wallpapers on the market are better to familiarize themselves in advance. It is also not bad to see design projects that will help you navigate modern design trends.
Stages
In most cases, the surface intended for gluing with tapestries is far from ideal. These are irregularities, protruding fittings, the remains of old wallpaper glue and many other flaws. To make the wall suitable for decoration, you need to work hard on it.
Here are the work to be done.
General preparation
Rather, it is a whole collection of works, the essence of which boils down to the following: remove all foreign objects that may interfere with work. This is the removal of old wallpaper and glue residue, nails, etc.
Puttying
Puttying helps to level the wall and hide all uneven areas. In the future, gluing wallpaper paintings will be much easier. To apply glue on a flat surface is much easier than on “waves”.
Important! Putty gives the walls a light shade. If you are going to glue light wallpapers, then a dark, non-puttyed wall will shine through the canvas.
Primer
This event provides a good grip between the wall and the wallpaper. In addition, applying a primer layer is a prevention against mold. If the irregularities are minor, the wall can be leveled with a thick primer. Therefore, special attention should be paid choosing a primer for wallpaper.
The preparatory work itself is more complicated than, in fact, pasting. For this reason, special attention must be paid to them.
to contents ↑Preparation of walls for wallpaper for painting - processing
It does not matter what type of wallpaper you are going to use. Coating the wall with a primer and putty is a must. The most common type of putty mixes is acrylic. It is universal, suitable for all types of surfaces. In addition, it provides good adhesion between the surface to be glued and the wallpaper. Therefore, you save time on subsequent repairs.
Putty is applied in the following sequence:
- Apply a layer of starting (larger) putty. Apply it with a wide spatula.
Important! If the surface of the wall is absorbent, putty is applied to a special plaster grid.
- After the starting putty has dried, apply the finishing composition.
- After the mixture has completely dried, prime the wall.
Important! Primer, like putty, it is better to choose acrylic. It is devoid of unpleasant odor, dries quickly (in just a few hours).Acrylic is universal. The only material with which it is not used is metal.
For priming wooden surfaces, it is best to use an alkyd composition. Unlike the acrylic mixture, it dries longer - about 15 hours. To properly use these materials, you must first familiarize yourself with the instructions.
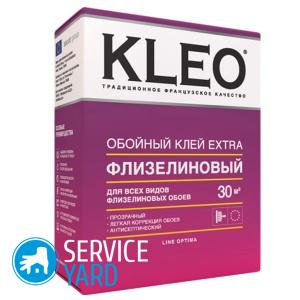
to contents ↑Important! Next, you need to deal with the glue, which, in fact, will hold your wallpaper, because a third of the success in this matter is precisely his merit. Learn how to choose the right composition from other materials on our website:
Do wallpaper glue in front of flooring?
Many people ask this question, but there is no definite answer. It all depends on the type of flooring. For example:
- If you plan to use a laminate, then it is advisable to glue the wallpaper before installing the floor covering. Otherwise, the floor will be dirty and will have to be cleaned (and this work is not easy).
- With parquet the situation is "exactly the opposite." First, a parquet board is laid, and then the wallpaper is mounted. The reason is that laying parquet is much more difficult than laying laminate, so the risk of spoiling pre-glued canvases is much higher.
How to prepare the walls for the wallpaper with your own hands? Painted surface
Wallpaper does not hold well on a painted surface. Therefore, cleaning the walls of paint, no matter how laborious this work, is an objective necessity. The work is not easy, and requires a fairly significant investment of time.
Important! Smearing a wall with a primer mixture or notches made with a sharp tool do not help. Wallpaper can peel off every minute.
There are several ways to remove old paint from the wall.
Building hair dryer
This method is quite effective, but far from safe. Heat a section of the wall with a hair dryer. After the dye has softened, remove it using a spatula. Be sure to take care of ventilating the room, since inhalation of chemical vapors is dangerous.
Grinder machine
It can be replaced by a grinder equipped with a metal brush. The method is not bad, but very dusty. In this case, close the door and open the window. In addition, make sure that dust does not penetrate into rooms nearby. Only then proceed with the removal of paint.
Flushing
This is the most effective method. But at the same time, you need to remember that they work with a wash, as with all aggressive chemicals, in glasses, a respirator and protective gloves.
to contents ↑Important! Only a radical paint removal can give a really good effect. But, if the dye turned out to be too "stubborn", you can try these methods:
- Installation of paintings using special glue for vinyl wallpaper.
- Wall pretreatment with concrete-contact primer.
- Sanding the wall.
Wall decoration for wallpaper - drywall construction
The use of putty to level the walls is only possible if the surface is not too curved. If the difference is too large, it is advisable to level the walls using plasterboard sheets. Drywall preparation for wallpaper can not be called laborious work. Moreover, in comparison with the methods already described, this is a real pleasure:
- Prime the surface and wait for the composition to dry completely.
- Glue the joints of the drywall sheets with a special tape, and put a thin layer of putty on top of it.
- Apply putty on the drywall surface, and then sandpaper the surface. First use a large sandpaper, and then use a smaller one. The surface is perfectly smooth.
- Apply a primer to the surface.
The wall is ready for wallpapering after the primer mixture has dried.
Important! It is impossible to glue wallpaper on untreated drywall.Even with a slight mechanical impact on the wall, dents will remain on it. Dismantling the panels also does not work, because they will be glued tightly.
to contents ↑Important! Well, and another important fact, for beginners to repair, different types of wallpapers require different technologies for pasting. Unfortunately, failure to comply with these rules subsequently leads to disappointment of the owners. How to avoid this? The answers are here:
Stock footage
As you can see, there are many ways to prepare walls for different types of trellis. But the most important thing is a serious and responsible approach. If you think that your skills in wall decoration for wallpaper will not be enough, it is not too late to turn to the “pros”.
- How to glue non-woven wallpaper?
- How to glue paper wallpapers?
- What is the best primer for wallpaper walls?
- How to apply glue to the wallpaper?
- Wallpaper glue
- Wallpaper glue consumption per 1 m2
- How to glue textile wallpaper?
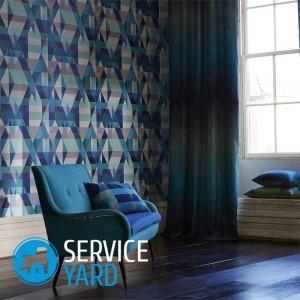
- Liquid wallpaper design combinations and interesting ideas
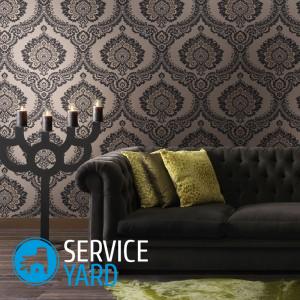
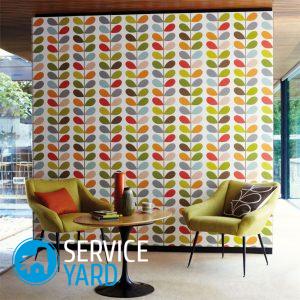
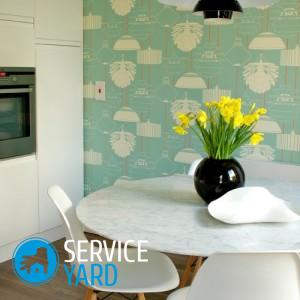
- Kitchen Wallpaper Design
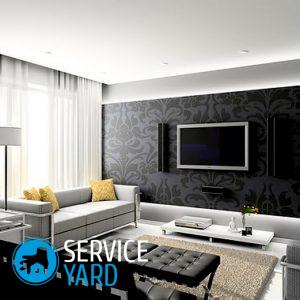
- Wallpaper for the living room - design
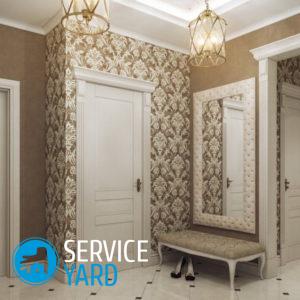
- Wallpaper in the hallway - design
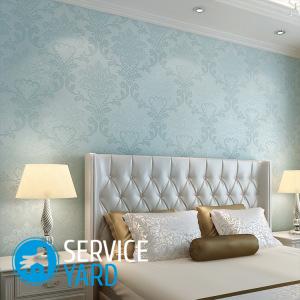
- Wallpaper design for two types of wallpaper in the bedroom
 (No ratings yet)