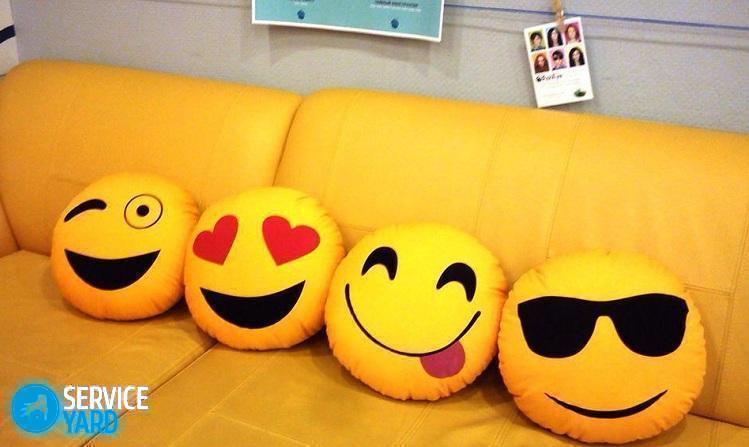
DIY Smiley Pillows
Today on the Internet you can find a large number of decorative products made by experienced craftsmen. Of course, you can pay a professional, and he will perform a thing that is fully consistent with your requirements and ideas. But it’s much more interesting to do it yourself. For example, you can make yourself pillows-smiles. In this article we will tell you how to do this using different techniques and materials.
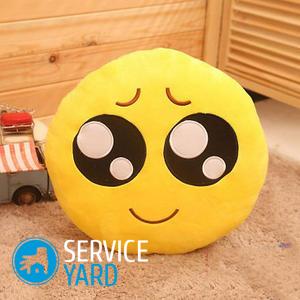
to contents ↑Original do-it-yourself emoticon pillow
Before you sew an emoticon pillow with your own hands, prepare all the tools and materials that may be useful to you:
- The fabric is black, white and orange. It is advisable to use microfleece.
- Scissors.
- A piece of chalk.
- Ruler.
- Tailor pins.
- Black cord.
- Threads of the necessary shades.
- Padding for pillows.
Important! It's no secret that much depends on the stuffing. The first is her appearance, in fact, everything was started for him. How to fill your own pillow? - find out from our archives.
Sew pillows according to this pattern:
- First, cut the material. Decide what size pillow you need. To get started, use the standard sizes of 40 by 40 cm. Cut a square from the orange fabric a little larger, adding 2 cm to the seam allowances on each side.
- Cut two ovals of the same size from a white cloth to create a peephole. Use the pattern or draw them yourself by eye. You can make them of different sizes. Then cut two circles out of black fabric to make the pupils out of them.
- On one of the orange squares on the front side, place all the details of the emoticon. Fix with tailor pins first eyes, then pupils. Draw a brow over the eyes with chalk, and a smile below them.
Important! Try to keep proportions, remember that the pillow itself will be slightly smaller in size than a piece of fabric. Therefore, leave around the perimeter of the material 5 cm free from the picture.
- Pick up the threads and the needle. Sew carefully to the base of the eye pillow. Then replace the thread and sew the pupils.
- Now emphasize all the details with a black cord trim. Measure how much cord you will need to frame each eye, cut a fragment of the desired length with scissors, burn the ends with fire so that they do not open.
- Use several stitches to fasten the cord around each eye. Sew it should be small, practical inconspicuous stitches.
Important! Make sure that the cord does not twist, it runs perfectly exactly along the edge. If he moves away from the eye somewhere, carefully return it back. If you do everything right, then in the end - the ends of the cord are joined. Press them together and sew to the base.
- Try on a cord for a smile and eyebrows, cut off the necessary pieces, sew them to the base with small stitches. Singe the ends of the cord with a lighter or matches.
- Fold both colored squares inward with the front side, secure with pins around the perimeter, then sew with a sewing machine or manually. Try to make the line even, focusing on the edges of the fabric. From the bottom, leave a small piece of the pillow unstitched so that you can then turn it out through this hole.
- Fill the pillow with holofiber or fluff through this hole.
DIY pillow in the shape of an emoticon is ready! If you wish, you can additionally decorate it with some interesting details or elements.
to contents ↑Smiley pillow with arms and legs
If you want to please your child, give him a beautiful, soft pillow with arms and legs in the form of an emoticon, then use the following workshop.
Important! Doing something for the baby, I want the thing to be not only beautiful, but also safe. Even more issues of quality and safety concern mom during the purchase of bedding for the child, how to choose a blanket for a child, we will tell in a separate article.
For work you will need:
- Yellow linen fabric.
- Acrylic paints for painting fabrics.
- Filler. Experts recommend the use of synthetic hollofiber packing (polyester balls), since it is elastic, keeps its shape perfectly.
Important! If this material was not at hand, you can use sintepon.
- Thick laces in black.
- Thread and needle or sewing machine.
- Non-woven for maintaining the shape of the pillow.
- Iron.
Sew the product using these instructions:
- From the yellow fabric, cut the base of the future emoticon. It is better to make it rectangular, measuring 29 by 70 cm.
Important! A round shape is not the most successful option, because folds are formed around the entire perimeter.
- Glue a non-woven fabric to the fabric to make it denser, and the product kept its shape well.
- Fold the cut pillow fabric in half, draw an emotional face on one half. It is better to first draw a sketch with a simple pencil, then circle it with acrylic paint and decorate. Even a child can draw a face for a smiley. You can also decorate the pillow with interesting inscriptions.
Important! Wait for the painted smiley to dry, bake the paint with an iron. How to do this is described in the instructions that are present on each package.
- Prepare your arms and legs for a pillow. Sew all parts, then sew on the lace.
- Sew the base of the pillow, then sew the arms and legs from the lace to it, stuff it with filler.
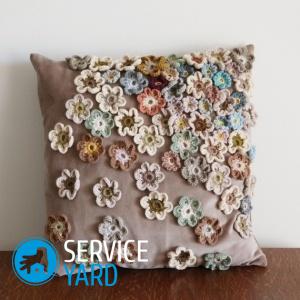
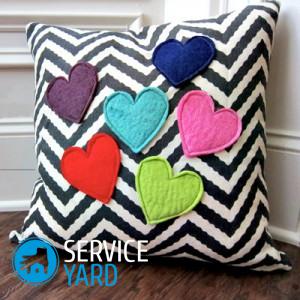
to contents ↑Important! There are a lot of options for sewing decorative elements of the interior, in particular pillows and bedspreads, and if you seriously decided to decorate your house with them, you should study other master classes on the topic:
Stock footage
Even a novice craftswoman will understand how to sew an emoticon pillow using this workshop. A loop can be sewn to the finished product to hang it on the wall. You can use such emoticons as a decorative decoration, an original children's toy, or even in a car. They will always cheer you and your loved ones.
 (No ratings yet)