

DIY picnic table
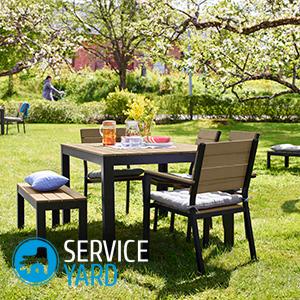
In the warm season, both children and adults want to stay longer in the fresh air. A picnic in nature is not just sports and outdoor games, swimming in ponds and other pleasures. Have a bite too. Today we will discuss how to make a folding picnic table with your own hands. The problem is that there are not so many well-equipped recreation areas. Therefore, if you do not want to spend money on a new table, you have to get down to business.
to contents ↑Types of structures
There are 2 varieties of camping tables:
- A little suitcase. It looks like a folding chessboard. The legs are inside the suitcase. If you need to spread out the table, the legs are attached to the countertop.
- Table with folding legs. The design is extremely simple: when folded, the legs are removed under the countertop. If necessary, they slide apart, and the design is completely ready.
to contents ↑Important! Each of the options has strengths and weaknesses. For example, it’s easier to make folding furniture for a picnic with your own hands, to operate such products is also easier at times. At the same time, the “suitcase” is more compact, more convenient for transportation. In addition, there is a place for camping dishes, skewers and other accessories necessary for a picnic.
Materials
What material to choose for self-construction? In principle, 3 options are possible:
- Metal.
- Wood.
- Plastic.
Home craftsmen argue that the easiest way to work with wood. If there is no skill in metalwork, it is better not to take on metal. In this case, one must not forget to treat the tree with a special varnish so that it does not deform, does not lose its attractive appearance and does not warp under the sun's rays or in the rain.
Plastic can be used to make both legs and countertops. But not everyone knows how to work with plastic. But the plastic product is literally eternal: neither ultraviolet radiation nor corrosion are not afraid of it.
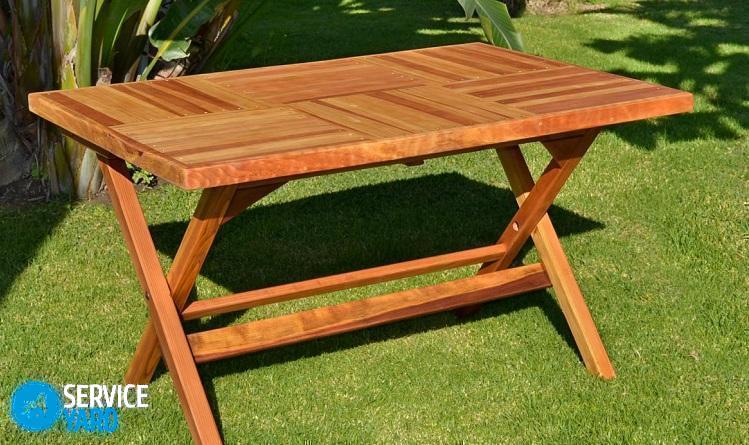
to contents ↑Folding picnic table
Consider the easiest DIY picnic table to make - a wooden one.
Set of tools
These tools are in the arsenal of any home master, not even too experienced:
- Electric jigsaw. If not, you can use a hacksaw for wood or a circular saw.
- Electric drill for drilling holes into which screws are screwed.
- Hammer.
- Phillips screwdriver.
- Building level.
- For marking - pencil, square, ruler.
Important! The listed cutting tools - a jigsaw or a circular saw - are tools with which work is associated with increased danger. Therefore, compliance with safety rules is mandatory.
Materials
For the tabletop, you will need wooden boards with a thickness of 2-4 cm.
Important! You can use not boards, but a sheet of MDF or chipboard, about a centimeter thick.
Also required:
- Self-tapping screws.
- Furniture bolts.
- Under bolts - wing nut type.
- 2 door handles for carrying the product.
- Hooks
To get started, cut a countertop of the right size from plywood, particleboard or boards. The further procedure is as follows.
Table frame manufacturing:
- Lay the boards intended for the frame on the countertop. The distance from the frame to the edge of the countertop is 20-30 mm.
- Using a jigsaw, cut the boards to the desired size, after checking if the layout corresponds to the drawing.
- Draw the contours of the frame with a pencil and make holes for screwing screws.
Intermediate bars:
Cut off the bars-supports on which the legs of the table will rest in the unfolded state, drill 4 holes for screws in them.
Important! To prevent the legs from colliding when unfolding, place wood substrates between the frame and the stop bars.
Assembly of countertops and frames:
- Gather all the elements together, do not forget to fix the wooden substrates and stops.
- Connect the countertop and frame to the same structure using screws.
Table legs
Transfer the corresponding drawing to the boards, then cut the legs. At the attachment point with the frame, the legs are rounded, at the bottom they cut at an angle of 15-20 degrees. Drill holes for the bolts.
Assembly assembly
- Connect the first 2 legs with the crossbar and fasten to the frame with a bolt and wing nut.
- Do the same with the second pair of legs.
- Check the table in action if the legs cling to each other when unfolding. Otherwise, treat them with emery in the place of friction.
The table is ready! Now it remains to fix the carrying handle and attach hooks for a towel or barbecue devices.
to contents ↑Suitcase table
Compared with a folding design, a few more materials are required:
- For countertops - a sheet of chipboard or MDF (can be replaced with ordinary boards).
- Wooden beam. It is useful for assembling the box and table legs.
- Hinges.
- Latches.
- Handle (suitcase or door).
- Self-tapping screws.
- Bolts with wing nuts.
The furniture manufacturing procedure is as follows:
- Saw 2 halves of the countertop from MDF or particleboard. She will be folding.
- Saw off the cuts from the beam according to the dimensions of the frame, in accordance with the drawing. Attach them to the halves of the countertop on all sides. Two halves - two frames.
- Fasten 2 halves together using loops.
- Cut 4 equal pieces from the beam, which will serve as the legs of the table. Make holes for the bolts in them. In this case, indent so that the legs and frame are freely connected to each other.
- Connect the legs to the frame using bolts and nuts.
- Attach a handle to the frame to carry the table.
- Equip the finished product with two latches so that the “suitcase” does not open when carried.
DIY folding picnic table is ready!
to contents ↑Important! Before you begin, make a drawing in different projections, calculate all sizes, make an accurate calculation of the consumption of materials. This way you can avoid mistakes.
How to protect a tree?
An unprotected wooden structure will not last for a long time, so you need to protect it from moisture and the sun:
- Stain or special antiseptic compounds protect the tree from decay.
- For finishing, paint or varnish is suitable, which will make the furniture more beautiful.
Stock footage
As you were convinced, to make furniture for a picnic is quite within the power of any home master “with hands”. You only need to have the desire, time, skills to work with the simplest tools and a little savvy!
- How to choose a vacuum cleaner taking into account the characteristics of the house and coatings?
- What to look for when choosing a water delivery
- How to quickly create comfort at home - tips for housewives
- How to choose the perfect TV - useful tips
- What to look for when choosing blinds
- What should be running shoes?
- What useful things can you buy in a hardware store
- Iphone 11 pro max review
- Than iPhone is better than Android smartphones
 (No ratings yet)