DIY pan handle
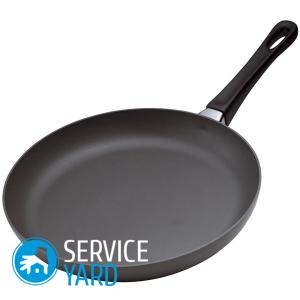
Pans are often used over an open fire, and often handles are fired. If the holder is made of heat-resistant plastic, this could result in the release of toxic gases and destruction of the plastic. In any case, urgent reconstruction of the kitchen item is required. There are several options for replacement, each chooses its own. However, the made handle for a cast-iron frying pan with your own hands will be as durable and budgetary as possible. How exactly to repair it or create side handles - we will describe in this article.
to contents ↑Repair Options
If you are puzzled by the question of how to make a handle for the pan with your own hands and whether it is removed, then you should pay attention to the following options:
- If the old pen has become unusable, it can be glued with heat-resistant glue.
- If the fixing bolt does not loosen, you can split the remainder of the handle with a chisel to free access to the screw and unscrew it using pliers.
- If the screw is very tight, use a grinder and a drill.
You can buy a similar pen and install it in place.
to contents ↑Important! An alternative is a grip or chapel, which was used in antiquity.
Step-by-step instruction
If you have the time, the possibilities, and most importantly the desire, you can do it yourself. A do-it-yourself handle for a frying pan is most easily made of wood, for example, from birch, hornbeam, dogwood, maple. The algorithm of actions is as follows:
- We select a stud with a diameter suitable for the bracket remaining after removing the broken handle. It can be purchased at any hardware store.
- We twist the hairpin into the bracket so that it does not scroll. To do this, drill a hole and splint with a suitable nail.
- At a distance of 5 cm, bend the hairpin at an angle of 30 degrees. This is necessary for ease of use and so that the handle does not stick.
- We cut 6 cm from the aluminum pipe, one side at the same time we cut at an angle of 30 degrees.
- We drill a longitudinal hole for the studs in a wooden holder and also cut one of the sides at an angle of 30 degrees.
- We put a handle and a sleeve on the hairpin.
- Trim the hairpin so that the tail for the nut remains.
Now you know how to make a handle for the pan. To fix it, you can use a nut with a washer, a lamb with ears or make a cap with a ringlet.
to contents ↑Important! Household hands can be applied not only to repair damaged kitchen utensils, but also to create a new one. Learn how to do this from our articles:
Pan holder repair
If you are faced with the problem of how to fix the handle of the pan, for example, when the holder has come off from it, then use the proven method. For this, a regular transparent ballpoint pen is useful:
- The holder will need to turn the hole up, and the handle, freed from the rod and cap, set fire.
- Hold the burning flame above the hole in the holder so that molten plastic drips onto it.
- Then you need to quickly put on the cover on the rod, turn it and press it a little.
- After 20 minutes, the lid can be fully used.
to contents ↑Important! Not only the broken handles of the pans lead the hostess to a state of gloom. Read more about solving kitchen problems in the materials:
Stock footage
As you can see, a broken holder is not a reason to part with your favorite dishes. Having been smart and using our tips, you can restore its functionality and use it further for your pleasure.
 (No ratings yet)