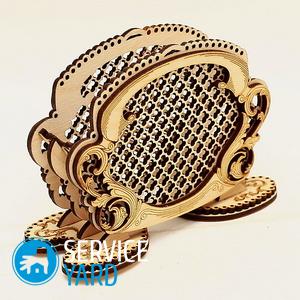
Plywood napkin holder - drawings
In almost every house on the table you can see napkin holders. A variety of materials are used for their manufacture, but it is not always possible to choose the option that suits the interior of the kitchen. But, fortunately, a home-made paper napkin holder, drawings of which are easy to find on the Internet, is not a problem for a real housewife! In addition to the fact that the product will perfectly complement the interior, it will also be unique.
to contents ↑Cooking Tools
For the manufacture of napkin holders, a variety of materials are used that can be found in any home:
- Cardboard;
- Newspapers
- Disks
- Paper;
- Plastic bottles;
- Plywood.
Important! The last option is the easiest and most convenient. The most important thing is that not so much material will be required, there will be enough scraps left after the repair.
Do-it-yourself napkin holder made of plywood begins with the preparation of the necessary materials and tools:
- Plywood of medium thickness;
- Pencil
- Rulers;
- Cardboard;
- Sandpaper;
- Varnish for wood;
- Tassels;
- Jigsaw;
- File;
- Wood glue;
- Acrylic or electric burner.
Choose material
It’s quite difficult to choose plywood:
- Many were faced with the fact that at the end the material is stratified. This indicates its low quality. When choosing, you need to be careful, pay attention to the defects of wood. The main difficulty lies in the fact that defects can be viewed, and even make a mistake with the shelf life.
- The thickness of this material can be different - from 3 to 20 mm.
- There are different grades of plywood: first, second, third and highest.
to contents ↑Important! When choosing a material, do not forget about hidden defects, for example, an air bubble between the inner layers, which are sticky and invisible from the outside. To determine the damage, the plywood sheet is tapped: if there is a problem, the sound will be deaf.
We clean the material
After choosing plywood, it is necessary to clean it using sandpaper. Coarse plywood is processed with coarse-grained sandpaper, which has defects and chips. Then, medium-grained is applied, followed by fine-grained. Thanks to this, the material becomes smooth.
Important! Grinding is carried out not across the layers, but along them.
Processing is carried out until the surface turns into a smooth, completely smooth, glossy and silky touch. If there are no visible defects in the end, you can transfer the drawing of the napkin holder.
to contents ↑We translate the drawing
If a do-it-yourself napkin holder is made of plywood, drawings can be searched on the Internet - there are many specialized sites. Or maybe in the attic somewhere there are magazines with drawings that were previously sold with might and main? In any case, after searching for a picture, you need to transfer it to plywood.
To do this, use:
- Carbon paper;
- Ruler;
- With a sharp pencil;
- Not a pen.
Initially, it is necessary to check whether the dimensions of the drawing are suitable for the size of plywood. After that we proceed as follows:
- We fix the drawing using the buttons.
- We put a carbon paper under it.
- Using a non-writing pen and a ruler, we translate the drawing.
We cut the details
There are many rules for cutting parts, but as a basis you need to take the most common:
- Initially, the internal parts are cut out, only after that - the external pattern.
- The jigsaw is held straight, at an angle of 90 degrees.
- When cutting, all marked lines must be clearly observed.
- The jigsaw movements are smooth, up and down.
to contents ↑Important! Do not worry if you accidentally cut off the line when cutting. Subsequently, to remove bevels and bumps, you can use a flat file or coarse sandpaper.
We clean the details
This process must be performed very carefully:
- With the help of a medium-grained skin, the ribs of the parts and the back of the plywood are cleaned.
- Fine skin is used to process the front of the parts.
to contents ↑Important! During processing, you can use a rounded file, which is convenient to handle the inside of the holes. As a result, bumps and burrs should not remain on the details.
We collect and glue a napkin holder
We practically know how to make a napkin holder from plywood, it remains only to assemble all the details together. In this case, you need to use the drawing. After the craft is assembled, it must be glued.
Important! Make sure that there is not too much glue. It is better to get rid of surpluses right away.
After gluing, the product is bonded with a strong thread, tightened and sent to dry.
to contents ↑Apply varnish
In order for the napkin holder to look beautiful and last longer, varnish is applied to it. A special brush is used. In this case, do not rush - there should not be visible stains and scratches on the product.
to contents ↑Important! Varnish is applied to all parts of the product, and not just those that are visible.
Stock footage
As you can see, making a beautiful and stylish napkin holder is not such a difficult task. The most important thing is the desire to create a quality product to complement the interior. In addition, such an item can be a wonderful gift, which is very highly appreciated for its handmade work and unique design.
- DIY home decor
- Decor clay polymer clay - master class
- Wall decor in the kitchen
- DIY inscription on a circle
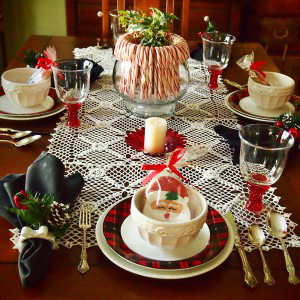
- Table setting at home
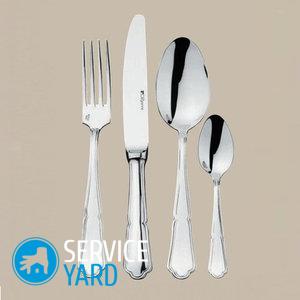
- How to lay out cutlery?
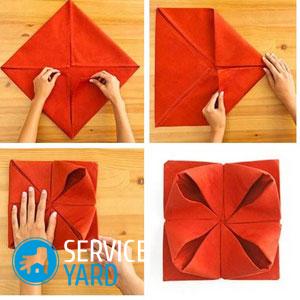
- How to fold tissue paper napkins?
- DIY plate painting
- How to clean spoons and forks from stainless steel at home?
- Decoupage plates with do-it-yourself napkins - for beginners, step by step
 (No ratings yet)