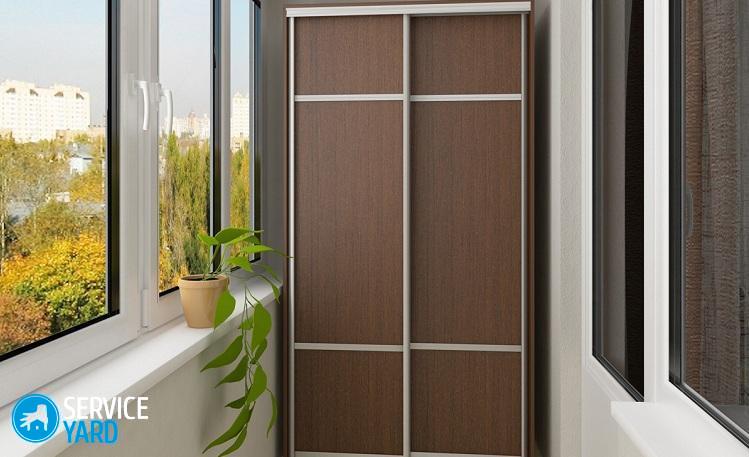
Do-it-yourself wardrobe to the balcony

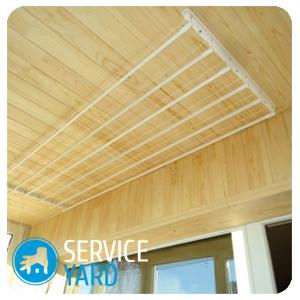
Most people have long used balconies as small “warehouses,” since in each house you can find a huge number of things only for certain cases: a fan, a box with tools, repair parts, and empty pots. In order to ensure the most comfortable arrangement of all “needs”, you should get a convenient closet. Unfortunately, prices for quality products are more scary than interesting. It is for this reason that today we will make a cabinet on the balcony with our own hands.
to contents ↑Wardrobe for a balcony - highlights
How to create furniture with your own hands? To do this, take into account many parameters. Before you get to work, you should decide on the goals of using this item. Please note that balcony cabinets should be comfortable, have relatively small dimensions and decent capacity.
Important! Also, do not lose sight of the fact that sunlight and air enter through the balcony when necessary. Arrange the furniture so as not to block access.
Materials for the construction should be selected in such a way that it calmly transfers the temperature effects and humidity, which “hosts” during rains.
And yet, how to make a wardrobe on the balcony? First, prepare a little.
to contents ↑What might be required?
To create furniture, you should pay attention to the following tips and tricks:
- First you need to pay attention to a detailed inspection of your balcony. This room must necessarily have insulation, since any structures tend to deform under the influence of temperatures. If you want to keep the functionality of your “building”, then resort to urgent glossing over all the cracks that open access to the street. Any furniture will dampen when exposed to moisture, which will adversely affect the appearance and reliability. It is worth making sure that the windows are tight.
Important! You can choose the materials for insulation yourself, but ordinary linoleum, tile and laminate are best suited. The most important thing is to ensure a flat surface and dryness around.
- The second step is to determine the dimensions of the future design. It is best if the furniture repeats all dimensions of the room. In other words, the cabinet will occupy all the space from the floor to the ceiling. This is very convenient, because in the built-in design you can put many shelves and sections. It remains only to get a tape measure, and you can proceed with the measurements that will be needed when drawing up a drawing.
Important! You can use a cardboard layout in order to prevent yourself from unwanted moments during the assembly of this cabinet.
- If you coped with the drawing, then you can proceed to the choice of materials. The most widespread are laminated particleboard and moisture-proof plywood. The last type of material can be covered with lining, plastic, or even wallpaper. To create sashes, any solid, lightweight material may be preferred. Natural wood or simple plastic is perfect.
- When all materials are purchased, you need to transfer your drawing to them. Using a tape measure, dimensional marks are applied along which the material is sawn.
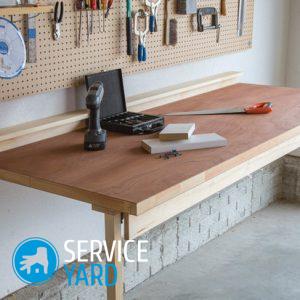
If the overall picture is clear and you are ready, you can look for the following tools:
- Selected components.
- Doors with hinges.
- Sheathing materials.
- Wood screws.
- Drills for concrete and wood.
- Drill or hammer drill.
- A few pieces of magnet.
- Hammer.
- Hacksaw.
- A screwdriver or a simple screwdriver.
to contents ↑Important! How to make a cabinet on the balcony with your own hands? To create such furniture, you can use blanks from the store. So you save more power during assembly. In this case, there will be only one caveat - this is the selection of the necessary sizes.
Working process
The creation instructions will look like this:
- Take measurements in the place where the installation will be carried out.
- Fix the similarity of fastenings in the form of bars of wood. Form a square and fix it with a punch and dowels.
- Use a screwdriver to screw the screws to the bars. Create a sturdy box that does not yet have shelves and sashes. Create a back wall of furniture, if necessary.
- Determine the required number of shelves. Choose components that have plenty of space.
Important! As a durable shelf, you can use the most ordinary countertop.
- Install the shelves and fix them on the screws. Note that the screws must not stick out of the cabinet.
- Use regular hinges to create doors. Just buy about three components in the store. They will be accompanied by understandable installation instructions. Make sure that the shutters open and close, and only then proceed to fixation.
Important! Do not forget to install handles on the door.
- Use the furniture roller shutters as an alternative component. This option will save you some space.
- If you wish, install a lamp inside the structure. Drill a hole for the cable and place the light bulb.
to contents ↑Important! If the structure is made of wood, do not forget to completely cover it with a protective varnish.
Stock footage
Doing a wardrobe on a balcony with your own hands is a guarantee of quality, since the result entirely depends on you. Inside this furniture your outerwear, canned goods, shoes and many, many other things can “settle”. The best part is that the entire assembly and installation does not require any special knowledge and experience, and the result will make every member of the family or friend happy.
 (No ratings yet)