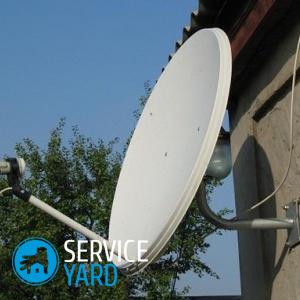
DIY satellite dish
A satellite dish is a common but expensive treat. Many of us often thought about the question: is it possible to independently make such a multifunctional antenna? Of course, this is entirely possible! Most often, people make the question of making a satellite dish with their own hands in order to save money or those who like to conduct experiments. Making a homemade TV dish is not as easy as it sounds. When installing it, you need to take into account not only the features of a particular model, but also even the smallest nuances: tuning available satellites, angle of reflection, and others. Today we will tell you how to make a satellite dish with your own hands from completely available means at hand. Let's look at the most common ways to make such a device.
to contents ↑The method of gluing with a concrete base
When making a homemade satellite dish, do not forget to draw a detailed drawing of the device, taking into account all the measurements and calculations of the consumables, to get the desired result. It is thanks to your accurate calculations and values that you will save yourself from the risk of getting an irregular shape and similar unforeseen troubles.
The entire manufacturing process of such equipment is as follows:
- We draw a parabola in the drawing, which is later transferred to a 0.05 cm thick steel sheet.
- Using a welding machine, we make a frame of metal rods with a diameter of 10 mm. We bend the steel ribs along the knife, and then weld the bearing to the top of the structure.
- Install the frame on a flat surface. We vertically mount the pipe in the center under the mounted bearing. After fixing the parts, install the knife on the bearing of the large washer.
- Fill the plate with thick concrete mortar.
- Dry the resulting matrix for 4-5 days (preferably in the open air).
- Now we do the sticking of the antenna. We divide the finished structure into several parts. We got 8 sectors.
Important! This is necessary in order to slightly facilitate the further process of work. Do not forget to follow the same interval between the elements of the matrix.
- We use a special fiberglass, cut into equal strips, and an epoxy primer for the pattern. We apply ordinary engine oil to the surface of the already dry matrix, and then put the washer in the installed pipe. Lubricate the matrix with resin, on which we apply a strip of fiberglass. Smooth the applied component with your hands so that bubbles do not appear on the surface of the glued matrix.
- We glue the reflector with aluminum foil.
That's all the work. Such a satellite dish can be used for its intended purpose.
to contents ↑DIY satellite dish at home made of foil
It so happens that the location of the house does not allow the use of a parabolic plate, so you can build such an antenna with your own hands. It is extremely important to consider such basic requirements for this home-made device:
- The need for remoteness of the TV tower 30-50 km from your home.
- The signal must have sufficient reception of at least several satellites.
- It is advisable to have a tall structure near your home - it will be easier to cope with the task.
Materials and tools:
- Old umbrella.
- A roll of plain foil.
- Antenna cable (preferably copper).
- Can.
- Amplifier with integrated power supply.
Manufacture:
- We make a satellite grating. We measure the interval between all the spokes of the umbrella, the central angle of their attachment and the height of the segment we need.
- We cut out all the details from the foil, apply them to the triangular parts of the umbrella and sew them with nylon threads to the existing fabric. By such manipulations we foil the entire inner part of the umbrella.
- We proceed to the assembly of the signal receiver. Set it in the focus of the satellite array. To do this, you can use the purchased amplifier, or you can do it yourself. To do this, remove 4 cm of the braid from the cable, cut the noise barrier layer and leave one central copper core, which will transmit the television signal.
- Cut an oval detail from the beer can, in the center of which we make a small hole. We insert the finished cable core into it and solder this contact. We close the joints with ordinary plasticine to avoid oxidation and corrosion during the operation of the device.
- We attach the resulting receiving device to the handle of the umbrella with ordinary tape, we wind the cable 10-15 cm, so that in the future you can adjust the focus of the mirror.
Important! Make sure that the receiver does not come into contact with the metal handle of the umbrella, as this can lead to large noise interference. To protect the device from such troubles, we put clay in a zone of possible contact, which will serve as a kind of insulator.
- We have a homemade power supply near the TV, as the power of our amplifier device will be through an antenna cable.
- We fix the plate with kapron thread or the upper central tip of the umbrella. We direct it to the nearest source (tower), and then select the focus with the receiver, which came as a signal to our TV.
Do-it-yourself satellite dish at home from a thin metal sheet
It’s easy to make such a satellite dish with your own hands, it is only important to follow the instructions and purchase one sheet of thin galvanized metal, the thickness of which should be a maximum of 1.5 mm, and dimensions - 100x100 mm. From such a sheet, you can make a homemade plate with a diameter of 80 mm.
Step-by-step algorithm of actions:
- We pick up the cardboard of the size we need, and then divide it into 16 identical round parts.
Important! Note that each sector should be offset from the previous one by about 22 mm.
- We draw 4 circles with such radii: 75, 254, 400, 538 mm. Due to the fact that the last circle goes beyond the cardboard blanks, we simply cut off all the excess parts. On the resulting circles, we will continue to bend our pattern.
- We make cuts along 16 rays, keeping the same distance - C1, C2, C3 and C4. Size C1 - 0 mm, C 2 - 11 mm, C 3 - 29 mm, C4 - 50 mm.
- We transfer the cuts made to the metal sheet using a metal ruler and a sharp scriber.
- Next, we cut out the previously made blank of the future plate with scissors for metal.
- We connect together all the metal petals. So we got a finished mirror for our satellite dish.
How to make a satellite dish at home from wire?
To make such home-made equipment, you will need a large inflatable ball, which will serve as a model for the frame of our future wire antenna.
The manufacturing technique is as follows:
- We mark the largest radius of our satellite dish on the ball with a pencil. The curved surface will be that part of the ball that is separated by a circle.
- We take in our hands a coil of copper (preferably) wire with a diameter of 3 mm (can be taken from an old transformer), and then we make circle No. 1 from it, which we put on our ball.
- Now we make wire circle No. 2 a little larger in size so that the interval between it and the previous one is about 20 mm. So we gradually get to the desired maximum diameter.
- We connect the finished circles with the rays so that their intersections are twisted with a thick wire and soldered in a tin way.
- Leave the space inside the smallest circle empty. This is where the antenna stand will be attached.
- We fit the finished frame with an aluminum mesh (can be foil), observing the rear curvature of the reflective structure.
Plexiglass do-it-yourself satellite dish
Plexiglass is great for making a homemade satellite dish, since with moderate heating this material has excellent ductility, so it can take absolutely any shape. For work, we took one sheet of Plexiglas 3 mm thick and with a larger diameter than the diameter of the factory satellite device.
Step-by-step master class on making a satellite dish with your own hands from plexiglass:
- After softening the material under the influence of heat, we level it on a blank, giving the plexiglass a round shape. Now we are waiting for the cooling of the material.
- We glue evenly with thin foil the concave surface of the material used. In our case, the foil will be a reflective element.
Do-it-yourself satellite dish is ready! Now you can customize the channels!
to contents ↑Important! This method has its drawbacks - it is the high cost of plexiglass and the purchase of a heating chamber with a capacious internal volume.
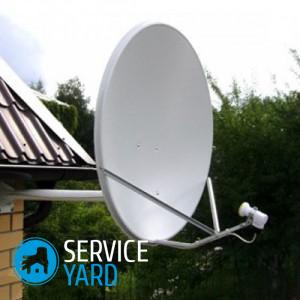
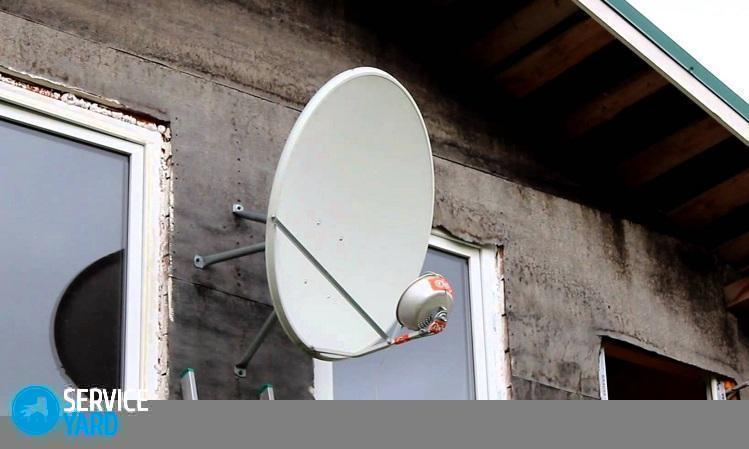
Set up and install a homemade satellite dish
These recommendations will help you properly configure and install a homemade satellite dish:
- Find the correct azimuth angle.
Important! For a tricolor TV, you will not need to turn the converter in different directions, since in this case there is circular polarization. To receive foreign channels, connect a linearly polarized converter.
- Find out the angle using your provider’s online calculator.
- We install a satellite device away from metal gratings and reinforced concrete structures. The most ideal place is the highest part of your home.
Stock footage
If you decide to try your hand at making a homemade satellite dish, then do not forget to take into account all the nuances of the methods of manufacturing this equipment. In this matter, the most important thing is to calculate your strengths and the possibilities of locating your home to build your own antenna. We wish you a successful creative breakthrough, which will result in access to a large number of channels with minimal investment in equipment!
 (No ratings yet)