DIY glass table
Do you want to diversify the interior at no extra cost? Do-it-yourself glass table is a great idea. A unique product will allow you to update the interior of the room. Of course, the independent manufacture of furniture cannot be called a simple affair, but the result is worth it. Yes, and such a product will cost much cheaper than purchased. Today's article is a detailed description of the manufacturing process of a table with a glass top.
to contents ↑Design features
The most popular are products with a monolithic countertop. But there are also transforming tables, with the possibility of lengthening the countertops. The shape may be different:
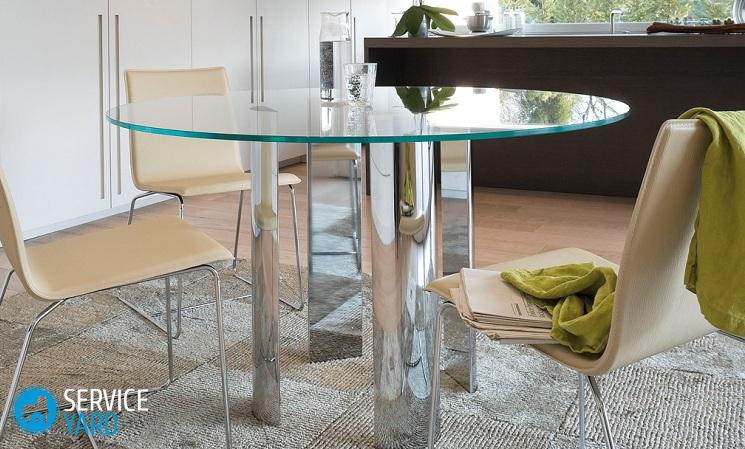
- Round.
- Oval.
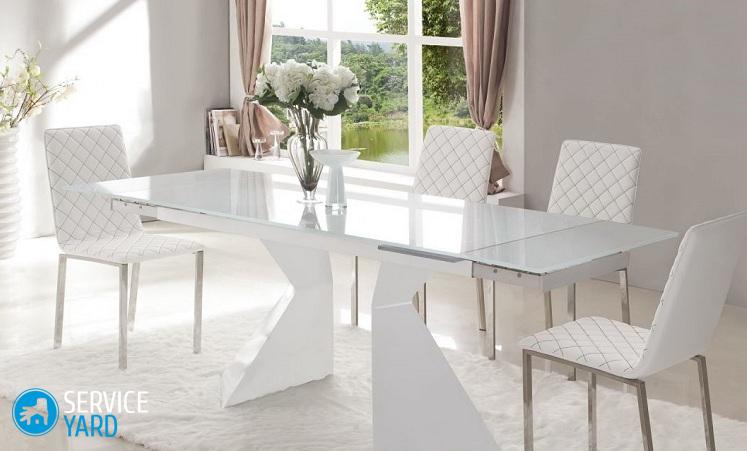
- Rectangular
- Square.
Glass can be ordinary, transparent, as well as frosted or tinted:
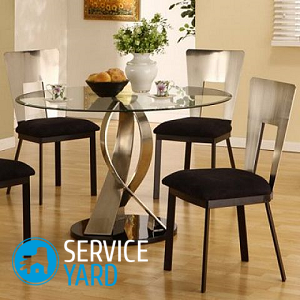
- Transparent construction - the perfect solution for small spaces. She gives the impression of soaring, grace and lightness.
- Matte countertops often have a greenish tint. This is the natural color of glass.
Important! Colored material attracts attention primarily due to its unusual and non-standard. For example, black glass is a great addition to the Gothic or modern style. It will look great with chairs made of white metal or plastic.
For the manufacture of underframes, most often, use chromed metal or wood. The wicker tabletop, forged metal or durable high-quality plastic looks good. If the countertop is made with a frame, then the frame should be made of the same material as the underframe.
to contents ↑Do-it-yourself glass table - advantages and disadvantages
The advantages of glass tables include:
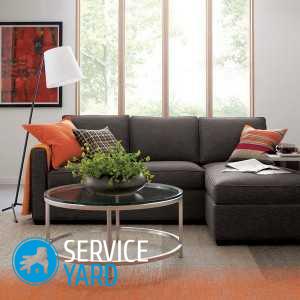
- Beautiful appearance. Such a product looks stylish and transforms the interior profitably.
Important! Especially organically glass fits into the concept of modern styles - Hi-tech and Minimalism.
- Practicality. Thanks to modern technology, there are high-strength grades of glass. Furniture is also safe, where the glass is covered with a special film. Even after breaking, the countertop does not crumble to smithereens. Shards are firmly glued to the film.
- Durability. The material is resistant to high humidity and significant temperature differences. It is chemically neutral with respect to aggressive substances. Glass does not absorb grease and dyes. This compares favorably with the usual wood worktops, MDF and particleboard.

However, there are disadvantages:
- Fingerprints and traces of dirt are clearly visible on the surface.
- If you put the dishes on it, then a rather strong noise occurs.
to contents ↑Important! Compared to the advantages, these disadvantages are not critical at all:
- Fingerprints are invisible on the matte surface.
- The use of special caring compositions allows you to maintain the product in perfect condition.
- The noise problem is also completely solvable. It is enough to purchase special stands for dishes.
DIY manufacturing technology
Consider how you can make a beautiful glass table yourself.
Training
First decide where the new piece of furniture will stand, how you intend to operate it. For example, as a coffee table or for eating. Make all the necessary measurements, draw the product in scale, indicating the location of the legs and the size of the countertop.
To make a glass table with your own hands you will need:
- Glass cutter - roller or diamond.
- The line is metal long.
- Hammer with a striker of rubber.
- Pliers equipped with rubber pads (for breaking glass).
- Bulgarian.
- File or emery bar.
- Turpentine or kerosene.
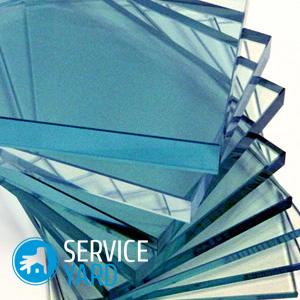
- The glass itself. Which option to choose - transparent, textured, tinted or mirrored, you decide.
Important! It is advisable to use high-strength hardened material with a thickness of 0.6 to 1.2 cm for the manufacture of countertops.
The main thing is that the glass is dry and clean. It is best to dedust it with soft textiles and soda solution. Such preparation will not be superfluous, because dirty glass can break apart from the notch, and the tool quickly fails.
Glass cutting:
- Put prepared glass on a table or plywood sheet.
Important! Make sure that the material is flat against the surface.
- Place a thin rod (about 3 mm in diameter) under the cut line.
- Put the ruler on the glass so that it is 2-3 mm from the cut line.
- The optimum pressure force on the glass is 2 kg - this can be easily checked with a conventional scale.
Cutting features
Cutting glass is best done with a thin metal ruler. Highly skilled craftsmen cut the material into the eye, according to the markings previously made by the marker or along the edge of the table.
Important! If you do not have much experience in cutting glass, it is better to pre-train on trimmings. It is not so difficult and will take a little time, but the chance to cut the material perfectly increases significantly. Try to draw only one cut line.
Glass is broken off by hands in protective gloves. At the same time, position the glass so that the cut line and the edge of the cutting table coincide. Press the glass with a sharp movement and it will break off along the cut line.
Important! If sharp edges or glass remains, remove them with rubber-lined pliers. For greater efficiency, place several layers of paper under the lips of the pliers.
If the glass is curvilinear, draw a marking on the stencil and go along the line with the glass cutter. Using the same principle, make a round cut. To make unnecessary glass easier to break off, make special “rays” and break off in parts.
Edge processing
Even if you worked with extreme accuracy, sharp “teeth” and protrusions remain on the edge of the edge, which must be removed. Of course, the best option for processing the glass edge is a special machine. But manual processing is also quite effective:
- Only work with cotton gloves.
- Use a file or abrasive block to file the edges.
- Be sure to wet the file with turpentine or kerosene.
- To make the edges smooth, evenly move the file or block along the edge.
- To grind and polish the edges, use a drill with nozzles or a grinder.
- The grinding speed should be small (1200-1700) revolutions per minute.
- Change the size of sandpaper from coarse to smallest.
- Polishing is the final step. Perform it with a felt circle, using a grinder or a drill.
Foot fixing
- To finally assemble the glass table and fix the legs:
Make one mounting hole in the end of each of them. - Using strong glue, fix suction cups in these places.
- Using a ruler and felt-tip pen, outline the installation locations of the legs. Degrease the material with gasoline or acetone.
Important! The glue must be used with the highest quality, with fast polymerization. Ideal options: glass-glass or glass-metal. The polymerization takes place in UV rays, with a wavelength of 300 to 400 nm.
- Be very careful and stick the legs strictly according to the marking. Tear them off and put them back will not work.
Stock footage
A beautiful and truly unique product is ready. You can enjoy the results of your own creativity.A do-it-yourself kitchen or coffee table with a glass worktop will delight your family for a long time.
 (No ratings yet)