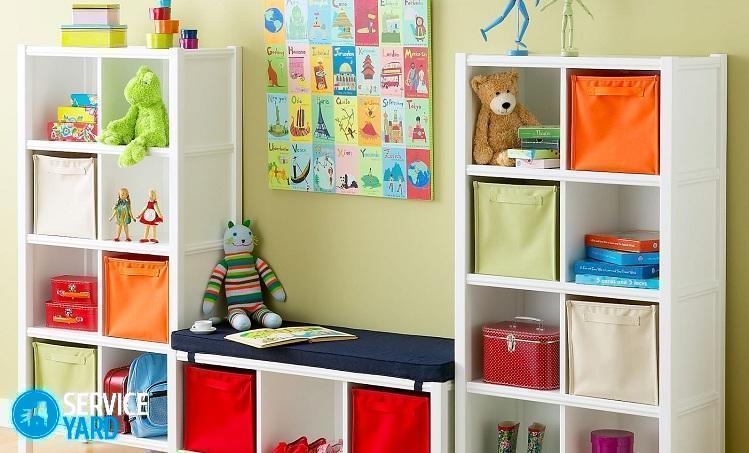
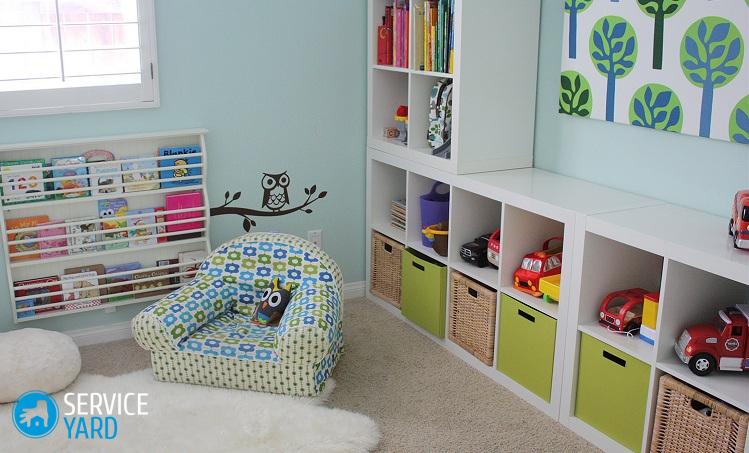
DIY Toy Rack
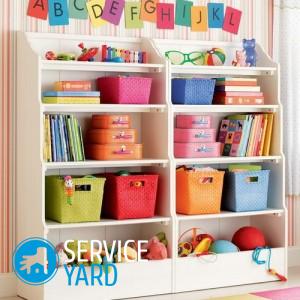
The most common occurrence in a children's room is toys scattered on the floor. Over time, funny rattles, cars, bears and dolls become more and more, and they just need a separate place, and the more, the better. From this article you will learn, not only how to make a rack for toys with your own hands, but also how to properly position it so as not to disturb the comfort and convenience of the room.
to contents ↑Rack making
All parents know that children are very careless with furniture, and many of them even like to hide in it. For this reason, the made shelves for toys must be of high quality and durable - it is better to make them from natural materials (for example, from wood).
For a rack for toys you will need a frame-box made of wood, which has corner joints “in the spike”. First you need to install the intermediate walls on the dowels, and only then cut the shelves into them. It is important that the depth of the groove is at least 12 mm, so that subsequently during compression its lower edge cannot crack and paint. Based on this, for sidewalls, the thickness of the material should be more than 2 cm, and for walls - 3 cm, especially if the shelves are placed at the same height.
Important! Such a rack will be much stronger if you think through it in advance of a back wall made of a whole piece of plywood. It must be attached to the parts using self-tapping screws, and additionally glue the joints.
Materials for work
In each rack for the nursery with your own hands should be:
- Walls (upper and lower, two lateral, back).
- Shelves - you must choose their number and size yourself.
- Separators for sections.
To make a rack yourself, you need to stock up on the following materials and tools:
- Drill.
- Electric jigsaw.
- Drills (diameter should be 5.8 mm and 35 mm).
- Finishing carnations.
- Baguettes for pictures.
- Miter box.
- Hacksaw.
We make frame parts:
- The first thing you need to do is external framing, that is, the walls. Both the side and upper and lower walls must be cut out of the board. The back wall is made of plywood.
- Cut shelves and dividers.
Important! Experts recommend marking each finished part differently so as not to confuse them with others.
- Cut the folds in the lateral edges of the upper and lower walls, as well as on all trailing edges of the inner walls.
- Cut the grooves in the right places.
To install the shelves and dividers of the rack for the children's room with your own hands, you need:
- Connect the shelves with dividers, fasten them using finishing nails (experts recommend using two cloves for each connection). Glue joints.
- Make intermediate nodes, install them, while applying glue to each intermediate groove, as well as the lower ends of the dividers, the rear edges of the nodes and the ends of the shelves.
- Next, you need to install the nodes in the frame and their fixing.
- At the end of this stage, you need to put the shelves in place.
Installation of baguettes:
- First, you need to cut a piece from the baguette to form the upper edge of the future rack. You can do this with a hacksaw and a miter box. To do this, the ends of the baguette need to be beveled at an angle of 45 degrees.
- Apply adhesive to the fold of the baguette.
- Install the baguette, then press it with clamps.
- Cut and install the rest of the baguettes.
- The last step is to strengthen the corner joints.
At the last stage of creating a rack for toys with your own hands, you need to drill holes for fastening fittings, and then perform finishing work: putty all the holes, clean the remaining glue and cover the finished rack with a protective varnish.
Important! Since the product is intended for children's toys, it can be decorated in accordance with the design of the room in which it is located.
Drawer Installation
Ready-made shelving can be supplemented with useful functions, for example, making neat drawers. In order to make them in the finished rack, you need to correctly determine their dimensions. The base of the drawers is also assembled from chipboard. The bottom of the drawers must be made of hardboard, which you can embed into the walls or simply nail with nails.
Important! So that future drawers can easily be pulled out of the cells, it is necessary to purchase special furniture rollers, which will also serve as an additional fastener for the bottom.
To glue the edge, you need to follow a simple algorithm:
- Attach the edge with the adhesive side to the end of the part, then warm it up well with an iron.
- Iron it with a rag for reliable adherence to the surface.
- Scrape excess edges with an emery cloth or blunt knife.
DIY shelf
For further work, it is necessary to prepare the following materials:
- Plywood (its thickness should be more than 15 mm).
- Durable raw wood brackets.
- Screws with dowels.
- Drill.
- Pencil, ruler.
- Clamps.
To make a shelf for cars with your own hands, you must follow the algorithm below:
- Draw the silhouette of mountains on one board, on the second - make markup for the cut.
- Secure the boards to the table using clamps.
Important! In order not to leave traces of clamps on the material, it is recommended to lay a fabric between the clamp and the board.
- Cut the drawn “mountains” with a jigsaw in pencil lines, and then cut the shelf itself.
- Thoroughly process the material with sandpaper at the ends and, if necessary, over the entire surface.
- Proceed to assembly of the structure. “Mountains” to attach to the shelf, using nails, screws or screws for this purpose.
Important! It is better to do this in such a way that the attachment points can later be hidden by the brackets.
- Paint the shelf for toys with your own hands with two layers of a coloring composition.
- While drying the workpiece, you can proceed to fasten the brackets. First you need to draw a marking on the wall using the building level, and then mark the location of the fasteners.
Important! Make sure that the wiring in the right place does not pass.
- Punch a hole punch at the point of attachment. This procedure is necessary to keep the drill centered at the beginning of work.
- Drill holes in the wall with a puncher. It is important to note that the diameter of the drill should be slightly larger than the diameter of the dowel. Drill the wall only horizontally.
- Insert dowels into the finished holes. After that, holding the brackets in place, tighten the screws.
- Attach the workpiece to the bracket. For this purpose, you just need to put it on the corners and screw on the bottom with screws.
The shelf is ready!
to contents ↑Stock footage
From this article, you learned how to make a rack for a children's room with your own hands, which means you now have an idea of how you can complement a children's room so that each toy in it is in its place. This thing will be very convenient and useful for you, in addition, it will help to save space in the room.
 (No ratings yet)