Do-it-yourself chair
If you are thinking about making furniture yourself, you should not start work with creating a stool, for example, because the economy of this venture is not entirely justified, but a home-made chair will cost really cheaper than a purchased model. Even if you work completely with purchased materials, you will still remain in the black. If you make an exclusive chair with your own hands, then the savings will reach incredible limits. Today we will tell you about all the intricacies of the independent manufacture of such furniture, knowing that you can do everything perfectly.
to contents ↑Chair device
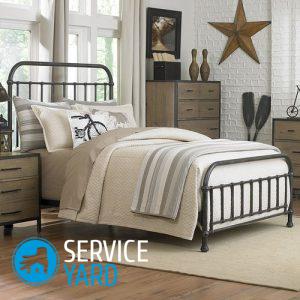
Naturally, before you make a chair with your own hands, you should analyze in detail how it is arranged. In general, all such furniture is divided into two classes - dining room and living room.
The difference is only in the seat, since the dining chairs have it a little higher and narrowed at the back. It was invented even in time immemorial, so that it was easier for ordinary servants to serve their masters, but they, in turn, were more comfortable sitting and absorbing various drinks and food. Dining chairs are structurally different from living rooms in that they have lower protrusions, due to safety and strength requirements.
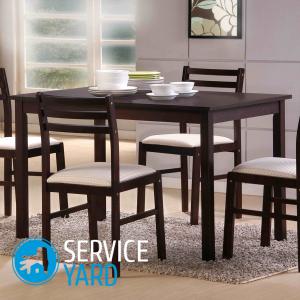
to contents ↑Dimensions and arrangement of chairs
Dining furniture today can not be attributed to basic necessities, many people just get by with seating chairs. Finding a drawing of a wooden chair with dimensions is easy on the Internet. Its main feature is straight rear legs, which undoubtedly simplifies work and saves consumables. Physiologically, it is arranged that the most acceptable posture for a seated person is a curved back. The home master will be able to independently drill down on it, and we will give the rest of the subtleties below.
to contents ↑Important! All blanks are assembled for batches of four chairs in packages for accuracy and ease of marking with the most common measuring device. This organization of work provides a quartet of four exactly the same pieces of furniture.
Why are chairs better than stools?
At first it may seem that the chair is the most ordinary stool with a back, but it is from the point of view of mechanics that makes it special. It is convenient to lean on the back and sit in the most comfortable position. If the stool is a one-piece item that works mainly on compression, shear and bending when rocking, then the load in the chairs is higher, completely different, while it spreads evenly throughout the structure. That is why chairs often do not have cross bars - they are considered extra material.
Chairs are decorated in the most famous ways in the furniture sphere:
- Stain.
- Tinted.
- Painting.
- Varnishing.
- Upholstery.
- Plywood.
In general, they differ from stools in such moments:
- The choice of wood.
- The nature of the compounds used.
- Soft seat device.
- Assembly method.
Spike joinery joints
To make a chair out of wood with your own hands, you will first have to figure out how the joist-groove joints join. In this section, we will mention the initial information that applies directly to the chair.
Connection Features:
- Open joints with through studs are rarely used in the manufacture of such furniture, as are joints supported by hardware, in particular self-tapping screws, bolts, and confirmations.
- Nails are not appropriate here at all, there is no sense in them, since they cannot reliably fasten such a structure.
- Chairs are assembled from the outside with the help of invisible deaf joints - groove spike. Such assembly is carried out with the help of glue, less often use tongue wedging, because nowadays furniture with removable legs is not made.
Important! How to make a blind hole under the spike - any master can figure it out. It is enough to have a manual milling cutter to select all the excess and drill the edges of the hole. In this case, the edges of the spikes are made rounded so that they are neat and durable.
Unfortunately, it is with the spikes that many people have problems, because it is quite difficult to saw a workpiece under it with a hacksaw, while not spoiling the base of the spike. That is why it is better to make furniture spikes with a milling cutter.
to contents ↑Wood for making a chair
Conifers, from which excellent stools are made, should not be used to make a chair, not even hard wood.
Important! Almost all coniferous trees are straight-layered, and in the chairs the load attributable to them is often quite strong - this often causes chips. The conifer in this case is only suitable for the manufacture of the base of the seat.
A wooden chair with your own hands is best made from one of the following materials:
- Beech.
- Oak.
- Nut.
- Hornbeam.
- Rowan.
- Elm.
Important! Birch is more suitable for the manufacture of children's furniture, and birch plywood for folding interior items.
Material should be prepared under the following conditions:
- Not chamber drying.
- Room dryness is 8-12%.
- Impregnation with harmless water-polymer emulsions, acrylic compounds or oil-wax compounds.
to contents ↑Important! Buying a tree will cost much cheaper if you take the tree not with an array, but sawn, and then dissolve it yourself using a circular saw or grinder. When choosing a material, it must be taken into account that even the slightest decorative defects are unacceptable here. Sagging, slanting, well-sitting knots can benefit only a stool or tabletop, as they result in a beautiful texture, with a chair the situation is more complicated.
Features of self-assembly of the chair
Do-it-yourself chair is assembled twice without a seat:
- first without wedges to dry;
- then after checking the configuration by measuring the pairs and the casing and fitting all the parts and finally with gluing and wedging.
And in that, and in another case, the base of the hind legs, longitudinal and rear tsar is assembled first, then the rest of the structure is already adjusted to it.
Important! Pay particular attention to how the studs will specifically bump into the front legs. Since in the stools the drawers of the chair with equal spikes do not cut into the legs, since it will not work to achieve the desired strength.
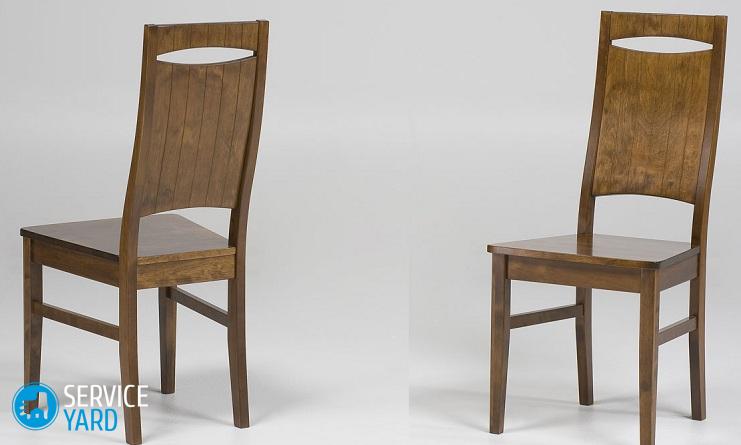
Frame
All component parts are made of solid wood. Many try to make the hind legs prefabricated, but this is not worth the risk - they will definitely break quickly enough. It is better to immediately take up the manufacture of the headset, mark the contours on the boards according to the template with a shift.
Important! If you want to make a dining chair, then make the longitudinal legs too curved or oblique. It will be easy to make them from a board with a thickness equal to the height of the drawer.
In this case, you do not need to mill the spikes using a frame with the desired angle, you must do the following:
- Remove the fold from the long sides.
- Shift package.
- Fold short sides.
- Separately round the corners of the spikes.
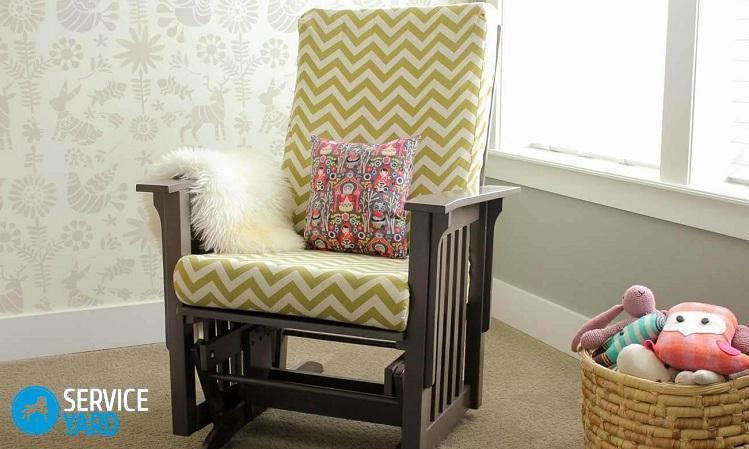
Back
If we already settled on the option of how to make a chair with a backrest with our own hands, then consider that it can be as follows:
- Whole tight. In fact, this is the most ordinary curved bar.It is cut out like a curved tsar, like all elements of typesetted hard backs. All parts are assembled through spikes.
- Typed soft. Here you will need a straight upper bar and an intermediate support. They make such a backrest from plywood 4-6 mm, sheathed it like a seat, only foam rubber is taken 7 mm or costed with felt and batting. The soft padding is placed on the glue, not reaching the edges of 1.5-2 cm. The decorative lining is sewn in the form of a pocket, then it is worn with the padding on the base and sewn below.
The assembly sequence looks like this:
- First, the right (left) part of the apron is assembled with the rear crib, the run and the upper bar to dry.
- Then the backrest is fitted.
- The apron ends with the installation of the missing rear leg with a longitudinal tsar.
- Next, the front part is attached to the apron.
- After checking the configuration and fitting, everything is moved to the glue in the correct sequence.
- At the last stage, a soft back insert is installed on a dry or finally with a minimum amount of glue, which is introduced into the grooves.
Seat
Considering further how to make a soft chair with your own hands, let us dwell in more detail on the manufacture of a seat. Since, unlike a stool, the upholstery on it will not stretch when fidgeting, then from the inside it does not need to be done.
The seat is fabricated in this way:
- The base is made of a solid board or plywood 1.2-3 cm thick.
- To make it easier to clean the chair, it is imperative to cover the packing with batting or felt that absorbs sweat.
- Next, the upholstery is fastened with paper clips using a furniture stapler.
- Then the pillow is covered with decorative fabric, the formed scars on the corners are cut.
Mounting jib
More often in the drawings there is mounting the seat to the rails, which are cut into the legs with longitudinal legs and attached with screws. This rather complex technological method is mainly used in industry. For the home foreman, laying the seat on the jibs is an ideal option, then the chair is more durable, the seat can be easily removed for cleaning and gets less dirty.
Seat Installation
The seat, simply mounted on a support frame, clearly loses all its advantages, and the frame is experiencing enormous loads. That is why, making a chair with your own hands, it is better to lay the seat in the lodgement, which form the czars.
It is not difficult to do this using this scheme:
- First of all, you need to put the jibs a little lower - on the thickness of the base, equal to the seat without a pillow.
- Then lower it to the same thickness so that the front czar does not interfere with the legs.
- Next, cut the front struts flush with the top of the seat into the front drawer.
Legs
If you want to make a screw chair with your own hands with curly legs, then feel free to get down to business.
You will need such materials for this:
- Thick bars for the front legs, taking into account the processing margin of 150 by 150 mm.
- Bars for the rear legs 250 to 250 mm.
to contents ↑Important! You will also need two identical patterns that converge with the heels and heads on the inner edge of the beam. In fact, the convergence of the heels is not a prerequisite - they simply then turn out to be wider, similar to hooves. The technology of their manufacture is simple - it is enough to remove the excess from the side of the inner rib, then alternately from the outer edges.
Stock footage
In this article, we examined in detail the entire procedure for how to make a chair with your own hands. Based on these tips, you can easily make original furniture for your home and use it for a long time at your pleasure.
 (No ratings yet)