

DIY cooler bag: step-by-step workshops
A refrigerator bag is a very convenient device that allows you to keep food fresh for a long time. This thing will become an indispensable assistant on a long journey, as well as, if necessary, transfer medicines that require special conditions.
However, for many, such an item may not be affordable, and then it will be useful to know how to make a cooler bag yourself without any special expenses.
Features of a thermobag
The main advantage of a homemade thermobag is that the cost of its manufacture is minimal, and free time for this master class will take no more than an hour. Such a product will be able to keep foods, drinks and medicines cold for 12-14 hours and thereby save all contents from the damaging effects of heat.
If you plan a long trip in a stuffy car or train, then, in addition to the bag, you will have to make a homemade battery. It will serve as an additional source of cold. But about him a little later.
To begin with, it is worth determining what material the heat capacity will be made of and for what purposes it will be used.
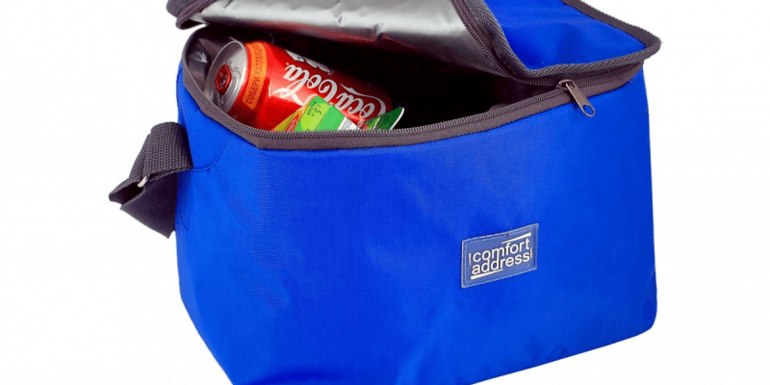
Miniature product
For hiking, cycling or a modest picnic, a small bag that can be easily thrown over your shoulders is an excellent option. It can be sewn independently according to the patterns.
For this you need:
- Bag of the required size - it will serve as the basis.
- Thermal layer: special insulation foilizolon.
- Fixing material: double-sided tape or furniture stapler.
- A synthetic winterizer, batting, holofiber, or pieces of an ordinary warm blanket to fill empty space.
- Marker or regular chalk.
- Scissors, threads, needles, fasteners and pieces of fabric to create additional pockets.
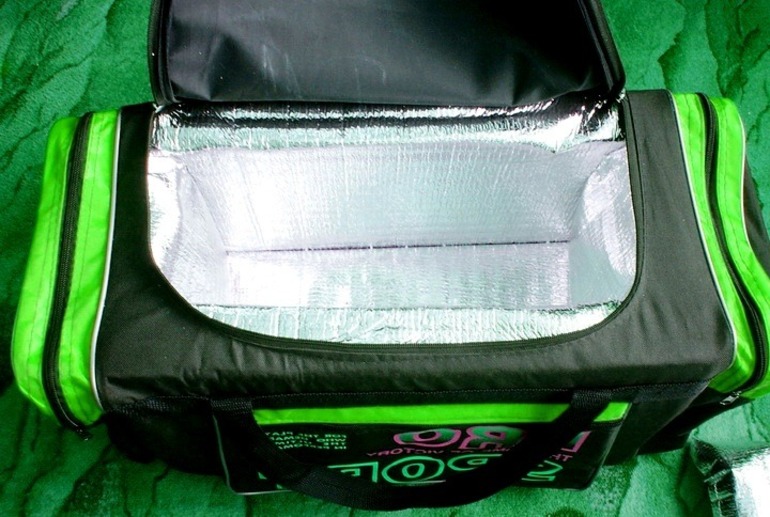
When choosing the basis, the masters recommend giving preference to travel or sports bags with a hinged lid and a zipper around the perimeter. The next step is to measure the bag. This will help to understand how much insulation is needed for the job. It is important to remember that on each side it is necessary to remove about a centimeter. Otherwise, the foil product will be too large and will not fit into the base.
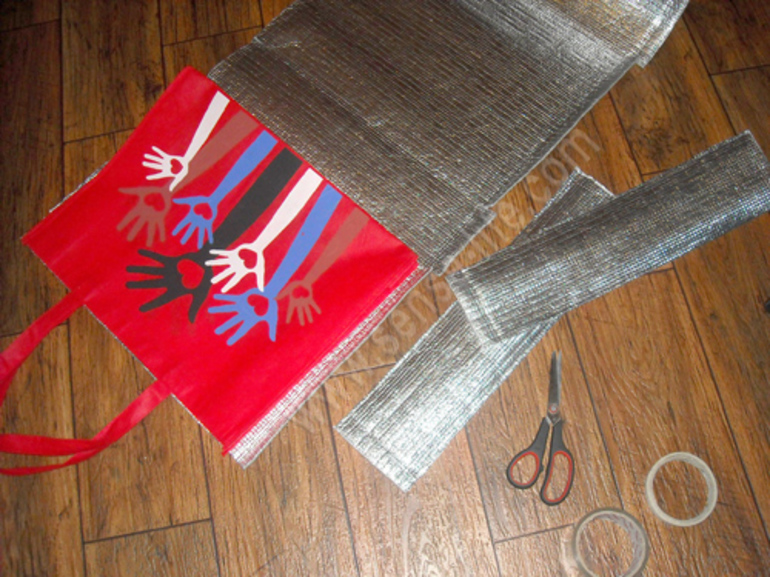
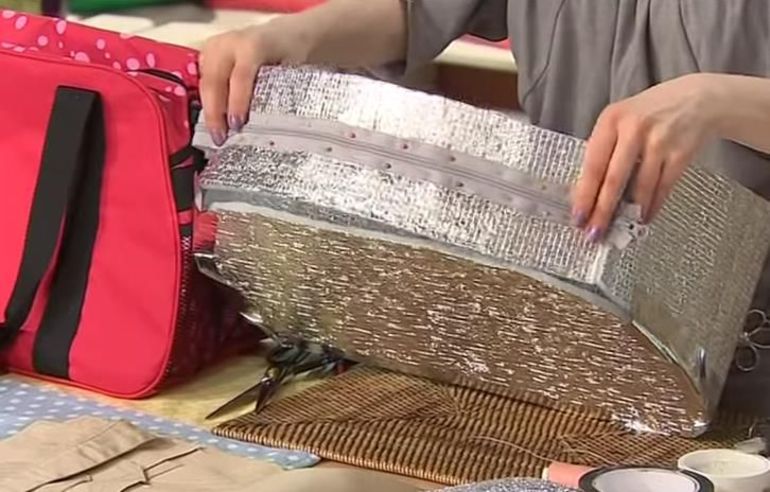
If you have a sewing machine at hand, then the basis can be done independently. Sewing a thermal bag with your own hands according to the patterns will not be difficult. Using a marker, the template is transferred to the material, and the finished parts are cut along the contour.
You can fasten them together using tape, thread, or even a regular stapler. The main thing is that there are no gaps and gaps. If there are doubts about the tightness of the product, then the joints are recommended to be glued again from the inside with foil isolone. The lid is made a centimeter more (when closing allowances, it will be possible to fill inside). This will increase the hermetic properties of the thermal bag. Zippers and Velcro fasten to the product for added reliability.
The foil bag is ready. It must be placed in the main product, and the empty space between them should be filled with shreds of the old blanket or any other filler.
In order for the thing to serve for a long time and properly, experienced craftswomen recommend stitching or gluing the foil product inside, and sew a special valve on the side of the lid (so when you open the chill will not go through the lock).
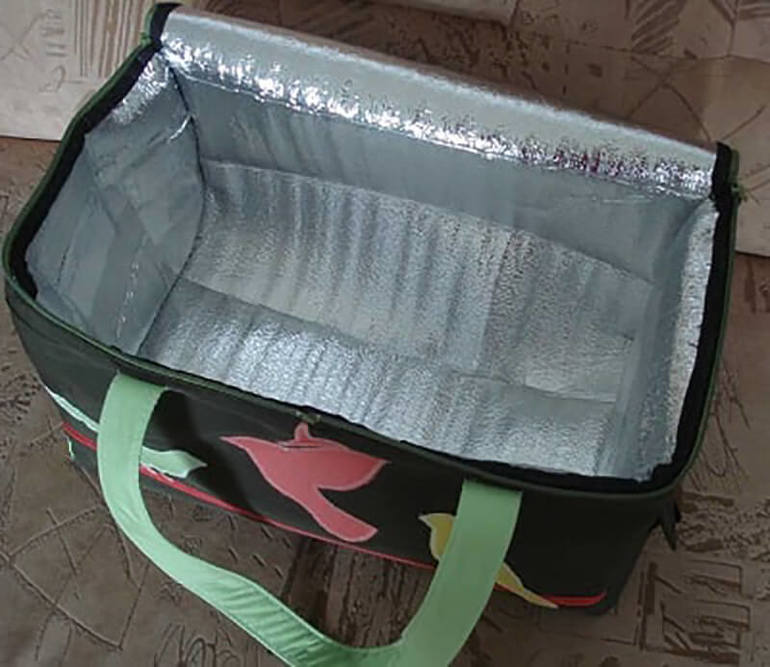
Roomy fridge
In the event of a long camping trip or a long trip in a car or on a train, keeping food fresh is not easy. A hand-made portable refrigerator comes to the rescue.
Making it is not so difficult. The main thing is to choose the right size. It can be small and used only for cooling drinks or large and roomy for carrying fruits, vegetables and any other products. Each craftswoman chooses for herself what purpose this device will serve.
So, for the manufacture of a portable refrigerator you will need:
- The basis. Experienced craftsmen recommend taking a box of chipboard or a regular rectangular plastic container.
- Penoplex or polystyrene. The first material is quite expensive, but unlike polystyrene, it will not crumble during cutting, and will also last much longer.
- Folgoizolon or any other thermo layer.
- A sharp knife or scissors.
- Furniture stapler.
- Special metallic tape.
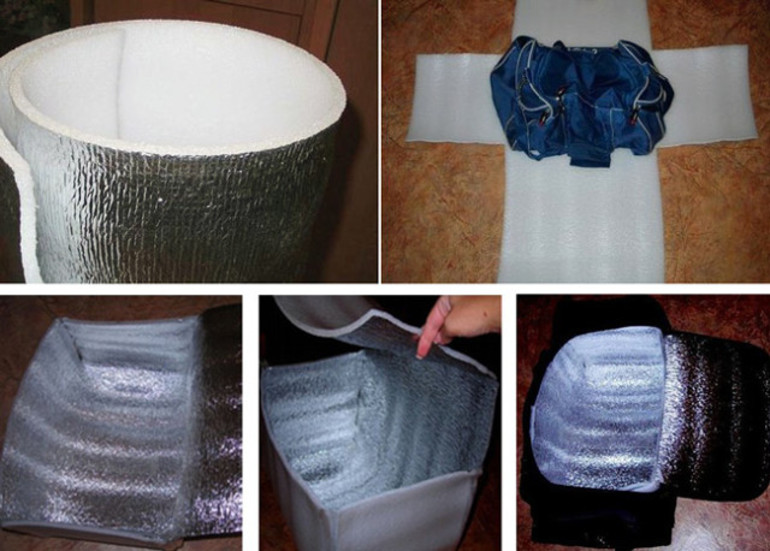
The basis, as already mentioned, can be taken ready-made or made independently. For this, boards of the right size are knocked together and removed from the resulting box. Then, four walls are cut out of the foam with a knife, the bottom and the cover are a little smaller. It should be borne in mind that the cut parts must fit snugly against the walls of the base. Clearances are not permitted.
If they are, the sides are carefully glued with tape. After this, the foam blank is insulated with foil isolone from the inside. You can fix the material using a furniture stapler or tape.
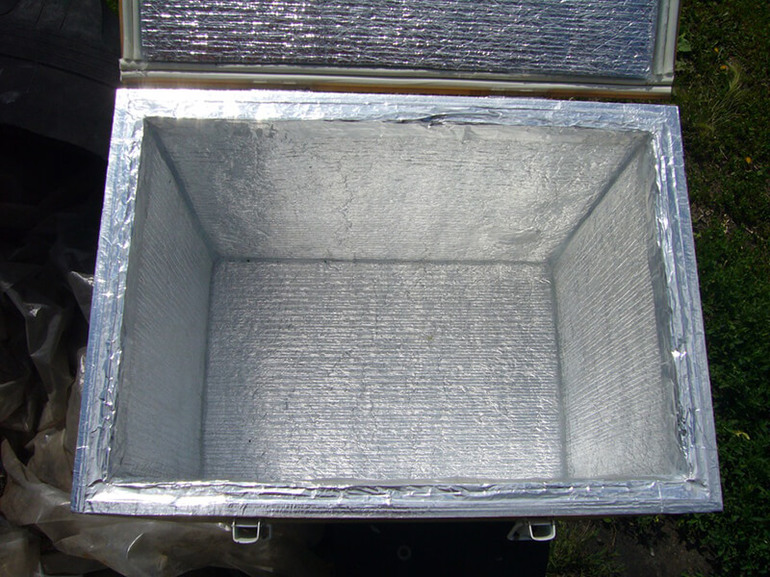
For longer cold preservation it is recommended to glue the box with foil isolone and outside. Next, the foam blank is placed in the main box. You can fasten them together using double-sided metallized adhesive tape, glue without acetone or a furniture stapler.
If the craftswoman is even a little familiar with sewing, then instead of a plywood box, you can make a cover of dense fabric with comfortable handles. It will be not only aesthetically beautiful, but also increase usability.
Battery manufacturing options
So, the portable refrigerator is ready. However, it will not cool the contents of the box by itself. For these purposes, a cold accumulator is used. It can be bought at a specialty store. There is such a battery in some older models of refrigerators. As a rule, it looks like a plastic vessel of a small size with a narrow neck and valve. If such a little thing is not at hand, then you can do it yourself. This is completely uncomplicated.
Several manufacturing options:
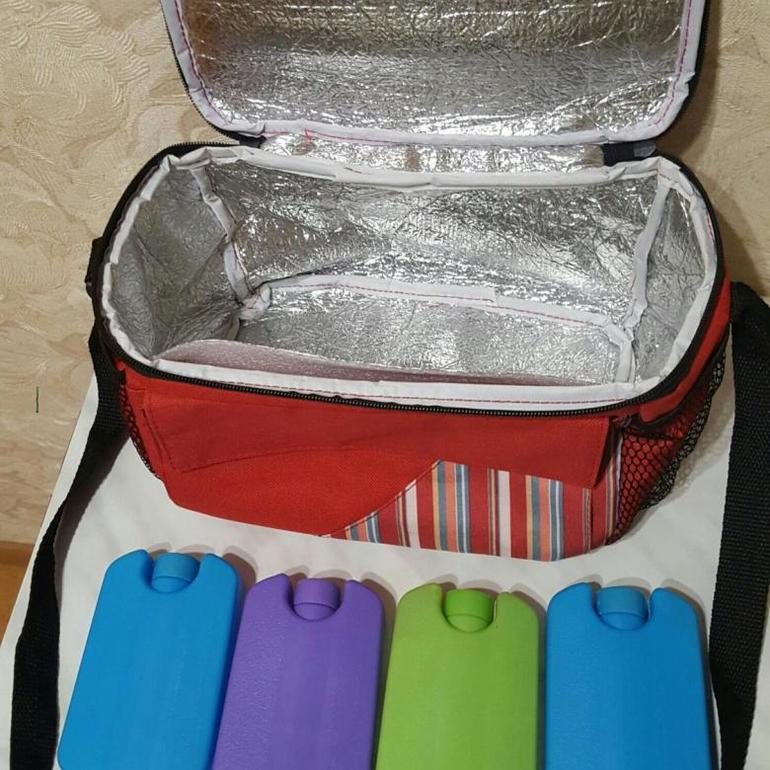
- Liquid (sealed bag with Zip Lock clasp filled with ice cubes). Replace the package with a rubber heating pad. The convenience of this option is that the battery takes up a minimum of space and is extremely easy to use.
- Bottle with ice. All that is needed is to take an empty bottle, pour water into it and put in the freezer for several hours. And to make the ice melt much longer, it is recommended to add a few tablespoons of salt before freezing in water.
- Gel. Unlike water-based batteries, gel batteries hold the temperature for much longer. To make them, they take a few clean baby diapers and pour water into them until the liquid no longer absorbs. Pampers leave for 3-5 minutes, so that the granules properly absorb moisture. Then, with a sharp knife, carefully cut the material, remove the swollen gel composition and transfer it to a bag with a reliable fastener. The battery is almost ready, it remains to put it in the freezer for 6-8 hours.
The diaper can be replaced with gelatin or ordinary wallpaper glue if desired. To do this, add 5-6 tablespoons of salt to one liter of water and mix thoroughly until crystals are completely dissolved, and then add another 4 liters of water. The resulting composition is mixed with glue or gelatin.The exact number of proportions can be specified directly on the package. The finished mass is poured into bags or bottles, and then frozen for 12 hours.
Useful tips and tricks
How to make a refrigerator bag at home is understandable, but it will be useful to know some useful tips on choosing a material, as well as how to effectively use a thermal bag and a portable refrigerator on the go.
Recommendations for choosing tools and materials for work:
- Thermal layer. When choosing foilizolone, you should pay attention to its density. The thicker the material, the longer the heat capacity will keep the cold. Optimum - 0.6−0.8 cm. Also, foil isolone can conditionally be divided into two-sided and one-sided. Naturally, in the first case, the material will be much better at maintaining a low temperature. You can buy it in almost any construction supermarket. On average, the cost is 100-150 rubles per square meter, and the cost per product is not more than 1.5 m.
- When choosing glue for assembling a product from foam or foam, you should carefully study the composition. It should not include acetone.
- If the choice is between ordinary or metallized tape, then the second is the choice. Such material will perfectly reflect heat. Do not forget that the special top layer should “look” inward.
- It is recommended to choose a bag as a basis from a durable water-repellent material, because such a product will be easier to wash off from dirt and serve longer. It will also be useful to check the fasteners and locks. The pockets should be tightly closed, and the handles must be sewn in high quality.
- Another important rule to remember: the empty space between the base and the foil product must be filled with pieces of any filler or an old blanket. Thus, the heat capacity will be much less heated.
Rules for Effective Use
These nuances will help significantly slow down the process of heating drinks, foods and medicines. If you follow all the recommendations exactly, the contents of the thermobag will remain cold for up to two days.
Useful tips for keeping the temperature low in the container:
- A portable refrigerator is best carried in the trunk with other things.
- Do not open it too often.
- Keep thermal capacity away from sunlight.
- It is necessary to take into account the possibility of condensation during thawing of improvised batteries. Moisture may spoil food. To avoid this, it is recommended to wrap them in newspaper sheets.
- There should be no empty space inside the container. Optionally pack ice packs between foods.
- Before use, the heat capacity is recommended to be previously cooled in the freezer.
Thus, to make a thermobag or even a large portable refrigerator with your own hands will not be difficult. It does not take much time and does not require special skills from the master. But an even greater advantage is that this will save a tidy sum, because in the store such a purchase will cost much more.
- How to choose a vacuum cleaner taking into account the characteristics of the house and coatings?
- What to look for when choosing a water delivery
- How to quickly create comfort at home - tips for housewives
- How to choose the perfect TV - useful tips
- What to look for when choosing blinds
- What should be running shoes?
- What useful things can you buy in a hardware store
- Iphone 11 pro max review
- Than iPhone is better than Android smartphones
 (No ratings yet)