DIY LED lighting
Every day, LED lighting more and more firmly enters into various spheres of human life. It covers new areas of industrial and domestic nature. It all started exclusively with local and emergency lighting. Nowadays, you can easily arrange LED lighting with your own hands, which in the future will be used as a decor or as the main light source.
to contents ↑Pros and Cons of LED Lamps
The popularity of LED lighting is growing, and there are a lot of reasons for this, its positive qualities that must be studied before installing LED lamps at home.
Benefits:
- At the moment, LEDs are considered the most economical and efficient lighting option.
- They do not contain substances harmful to health in comparison with fluorescent lamps, so there is nothing complicated in their disposal.
- LEDs last longer than energy-saving appliances and incandescent lamps - their service life reaches 11 years.
Important! Naturally, this applies only to high-quality devices. Cheap low-quality LEDs work for no more than a few months, then simply burn out.
- A person can independently adjust the intensity of lighting, if desired, change the colors of the diodes.
- Due to the fact that they do not have breakable particles, we can safely talk about their resistance to shock and vibration.
- The LEDs shine as brightly as the current allows, but not the voltage, as happens with ordinary bulbs, so they are not afraid of voltage drops, they do not blink.
- Such devices do not emit ultraviolet and infrared rays, which adversely affect the appearance of furniture upholstery and paint.
to contents ↑Important! There is only one drawback of LED lamps - the high price when compared with conventional and fluorescent lamps.
Features of the application of LED lighting
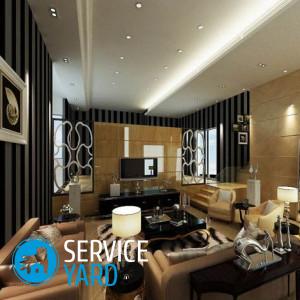
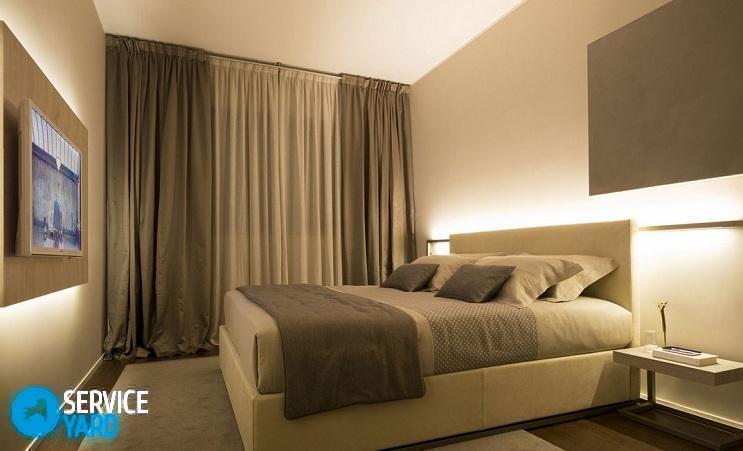
Do-it-yourself lighting of such a plan can be independently arranged in any room in the apartment, in the bedroom, in the kitchen and even in the bathroom. More often, of course, it is used as a decor to illuminate a wall or ceiling with all the colors of the rainbow. At least such lighting is used to visually expand a small room, while the tapes are simply laid along the perimeter of the ceiling. The main thing is not to overdo it when decorating the walls and ceiling, so as not to turn them into a Christmas tree burning with colorful lights.
to contents ↑Important! It is necessary to choose the right color of the tape so that it is not excessively bright, it matches the design of the room in color. Incredibly impressive look walls, slightly highlighted from below. In the kitchen, you can highlight the contour of the cabinet or an apron with an LED strip. In addition, it can trim cabinets inside so that the light comes on only when the doors are opened and immediately shuts off after closing.
How many LED lamps are needed?
To create DIY lighting in a room of 16-18 square meters. m., it is enough to purchase two incandescent lamps with a capacity of 100 watts, each of which will produce from 1200 to 1300 lumens. That is, as a result of simple calculations, we conclude that 2500 lumens are enough for normal lighting.
Important! As is known from the reference books, LEDs give 50-60 lumens per watt consumed, then we divide 2500 by 50 and we get 50 watts. It remains to choose the LEDs, the total power of which will be 50 watts. That is, you can take 10 lamps of 5 watts and distribute them evenly throughout the room, or do otherwise - take a few more powerful devices.
Now you know how to calculate the number of LEDs, it remains to deal with the LED strip, then choose the appropriate power supply for it.
to contents ↑How to choose a power supply for LED strip?
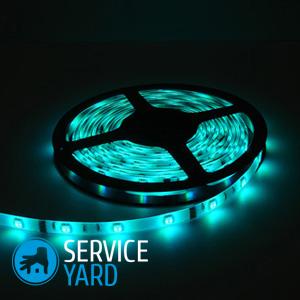
Mostly in home use tapes with a voltage of 12 and 24 V, a little less often with a voltage of 36 and 48 V. Any LED strip has a length of 5 meters.
Power supplies for them are as follows:
- Sealed. They are protected against moisture in the air.
- Leaking. Do not have moisture protection.
Let's take for example a 12-volt tape with a length of 5 m, while the number of diodes per meter is 60 pcs., The power of components per meter is 5 watts. Calculate the total power of the tape, simply multiplying its length by the power in one meter, as a result - you get a value of 25 watts.
Important! The power supply should be selected taking into account the power factor:
- If you plan to periodically turn the device on and off, and more so it will be in the off mode, then this ratio will be 1.3.
- For constantly running tapes, it is better to take a device with a power factor of 1.5.
Multiply the power of the existing tape by this number and get the following numbers:
- 1.3 to 25 watts get 33 watts.
- 1.5 to 25 watts get 38 watts.
Now, for these values, select the power supply, with which the LED lighting will be installed. They are presented in a wide variety on the market, so you will not have problems with the selection of a suitable option.
to contents ↑Important! To summarize: for a tape 5 m long with a voltage of 12V you will need a block with a voltage of 12 W and a power of 40 W.
Independent connection to the LED strip power supply
Let's get down to business, study carefully how to connect LED lighting in the apartment with your own hands. The first step is to connect the power supply, if, of course, you have chosen a tape 5 meters long. If you prefer a longer device, you will have to make a parallel connection.
Important! The current strength gradually decreases as the length of the tape increases, therefore, in long devices, the extreme diodes burn dimly.
Do the lighting of LED strip with your own hands according to the instructions:
- On the back of the tape there is an adhesive surface that is protected by a film. Immediately before attaching it, clean this surface from dirt and dust, then degrease with alcohol.
- If you want to install the tape on a metal surface, then insulate it from the metal with a special electrical insulating material.
Important! It can be accidentally damaged by static electricity, so you should be extremely careful. Do not bend the device too much, the bend radius can be no more than 2 cm, otherwise the contacts will be damaged and burn out.
- Cut the tape in special places - more often this is done every three diodes. Make sure it is operational by connecting and connecting all components.
- Connect the tape connectors or simply solder at both ends. To solder the two segments, it is necessary to combine their copper contacts with each other. Then remove the protective film from the tape. Next, apply a little solder to the copper contacts, fold the pieces, melt the solder with a soldering iron.
- Connect the controller or the tape itself to the power supply. With a plus wire, connect the tapes with the plus on the block and the minus on the device with the minus on the power supply. Do the same with the controller unit.
- Plug the unit into a power outlet, check if everything works, try playing some colors.
Stock footage
Having studied this article, you can create any diode lighting yourself in a private house or apartment without the help of professionals.
 (No ratings yet)