

Do-it-yourself flowers from napkins with sweets
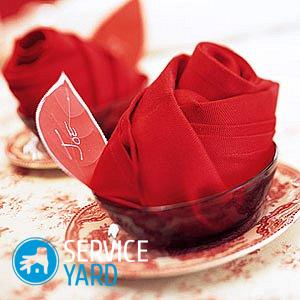
Now many are carried away by needlework. Hand-made things have become fashionable. One of the directions is “sweet design”, when they create different crafts, including flowers from napkins with do-it-yourself sweets. This, in fact, is the same box of chocolates, only non-standard design. A bouquet of sweets looks original, it combines a bouquet of flowers and a box of chocolates - a common addition to the main gift. Women of any age and children will always be happy with such an unusual present. It will not be financially expensive for you and will not take much time. Materials and tools are also not a big problem. So, we will begin a master class with the embodiment of various ideas on this topic.
to contents ↑Materials and Tools
If you decide only to try your hand at this type of needlework, then you can especially not bother and do the means at hand:
- Candies. Choose either those that the gifted person loves, or those that will be more convenient to arrange.
- Skewers (bamboo for kebabs) - for stems. You can replace it with toothpicks, if it is a small bouquet in a vase or topiary.
Important! You can also use tubules for cocktails or wire for these purposes.
- Corrugated paper of different colors (red, yellow, white, purple and other shades - for the head of a flower, green - for the stem and leaves).
Important! Corrugated paper can be replaced with ordinary table napkins.
- Adhesive tape (preferably narrow) and thread - to fix the elements.
Important! You can use a glue gun if it is on the farm.
- The teip tape (floristic ribbon) of green color is for the design of the stem, although you can simply wrap it with a narrow strip of paper of the desired color.
- Scissors are simple, sometimes - scissors with curly edges.
- Ruler, pencil.
- Stretch film (can be replaced with any thin polyethylene).
- The capacity that we will turn into a flowerpot, if necessary according to the plan, plus a piece of polystyrene for filling.
How to create a bouquet of sweets and napkins with your own hands?
Do-it-yourself bouquet of sweets and napkins is quick and easy to create. When you understand the basic principle of creating this original composition, you can then create bouquets yourself according to your fantasies and ideas. Such a cute and innocent hobby may well become not only a part-time job for mom on maternity leave, but also a small successful business.
Mix of candy and “stem”
There are several ways to do this:
- If you work with a small candy wrapper, with twisted ponytails on both sides, then simply attach one tail to the skewer or duct with tape.
- If the candy is round, wrapped in foil, then you need to cut a square from the stretch film, put the candy in the center, wrap it with film, and wrap the ends around the stem, then fix it with tape or thread.
Creating a flower head
For petals, it is advisable to use corrugated paper. It holds its shape well and imitates the structure of a real flower petal. But if you do not want to spend time searching for it in needlework stores, you can use ordinary table napkins that are suitable for the color scheme:
- If you need several round (oval) petals, then cut the paper (napkin) into strips, them, in turn, into squares, and cut out the desired shape of the petals from the squares.
- Then, in turn, lay them around the middle of the candy until you get a bud.
Important! You can not cut the strip into squares, but fold it with an accordion and cut out the petals.
- When laid out, they will be interconnected, like a Christmas garland, it remains only to wrap around candy.
Important! For cloves, you can cut a long strip to half “fringe”.
- Petals are fixed on the stem with threads or narrow tape, although sometimes it is more convenient to use a glue gun.
Shaping
To make the flower look more natural, the petals need to be given the desired shape. This can be done before attaching to the candy, if the shape is complex (curved center, wavy edge and more). Or after you have collected the bud - if you just need to twist or curl the edges of the petals a little.
When working, consider the following nuances:
- You need to bend the middle of the petal with your finger, and twist the edge with a toothpick or paste from the handle (just screw the paper on them a little).
- Scissors can make a scalloped or torn edge.
Sepal:
- If, by design, there should be a green sepals under the bud, then elongated triangles of green paper can be cut, which can be glued with tape under the flower head.
- Another option is to cut a long strip of “fringe”, twist the tips a little with your fingers and wrap around the bud.
Stem and leaves:
- For leaves, cut the blanks of the desired shape from corrugated paper or green napkins. The stem itself can be made of wire, bamboo skewers, toothpicks or cocktail straws.
- The stalk needs to be wrapped in a green floral tape (teip tape). Start wrapping from the bottom of the bud. Make several turns to create the desired thickening and cover the tape or thread, and then at an angle wind the ribbon around the stem.
- In the process of wrapping the tape, fasten the leaves in the right places.
- It is very convenient to work with a floristic ribbon, but if it is not there, simply wrap the stem with a narrow strip of green paper, fixing it with glue.
- If the flower is just part of the bouquet, wind the green ribbon to the end.
- If the skewer or toothpick should stick into the foam base, then leave the end clean.
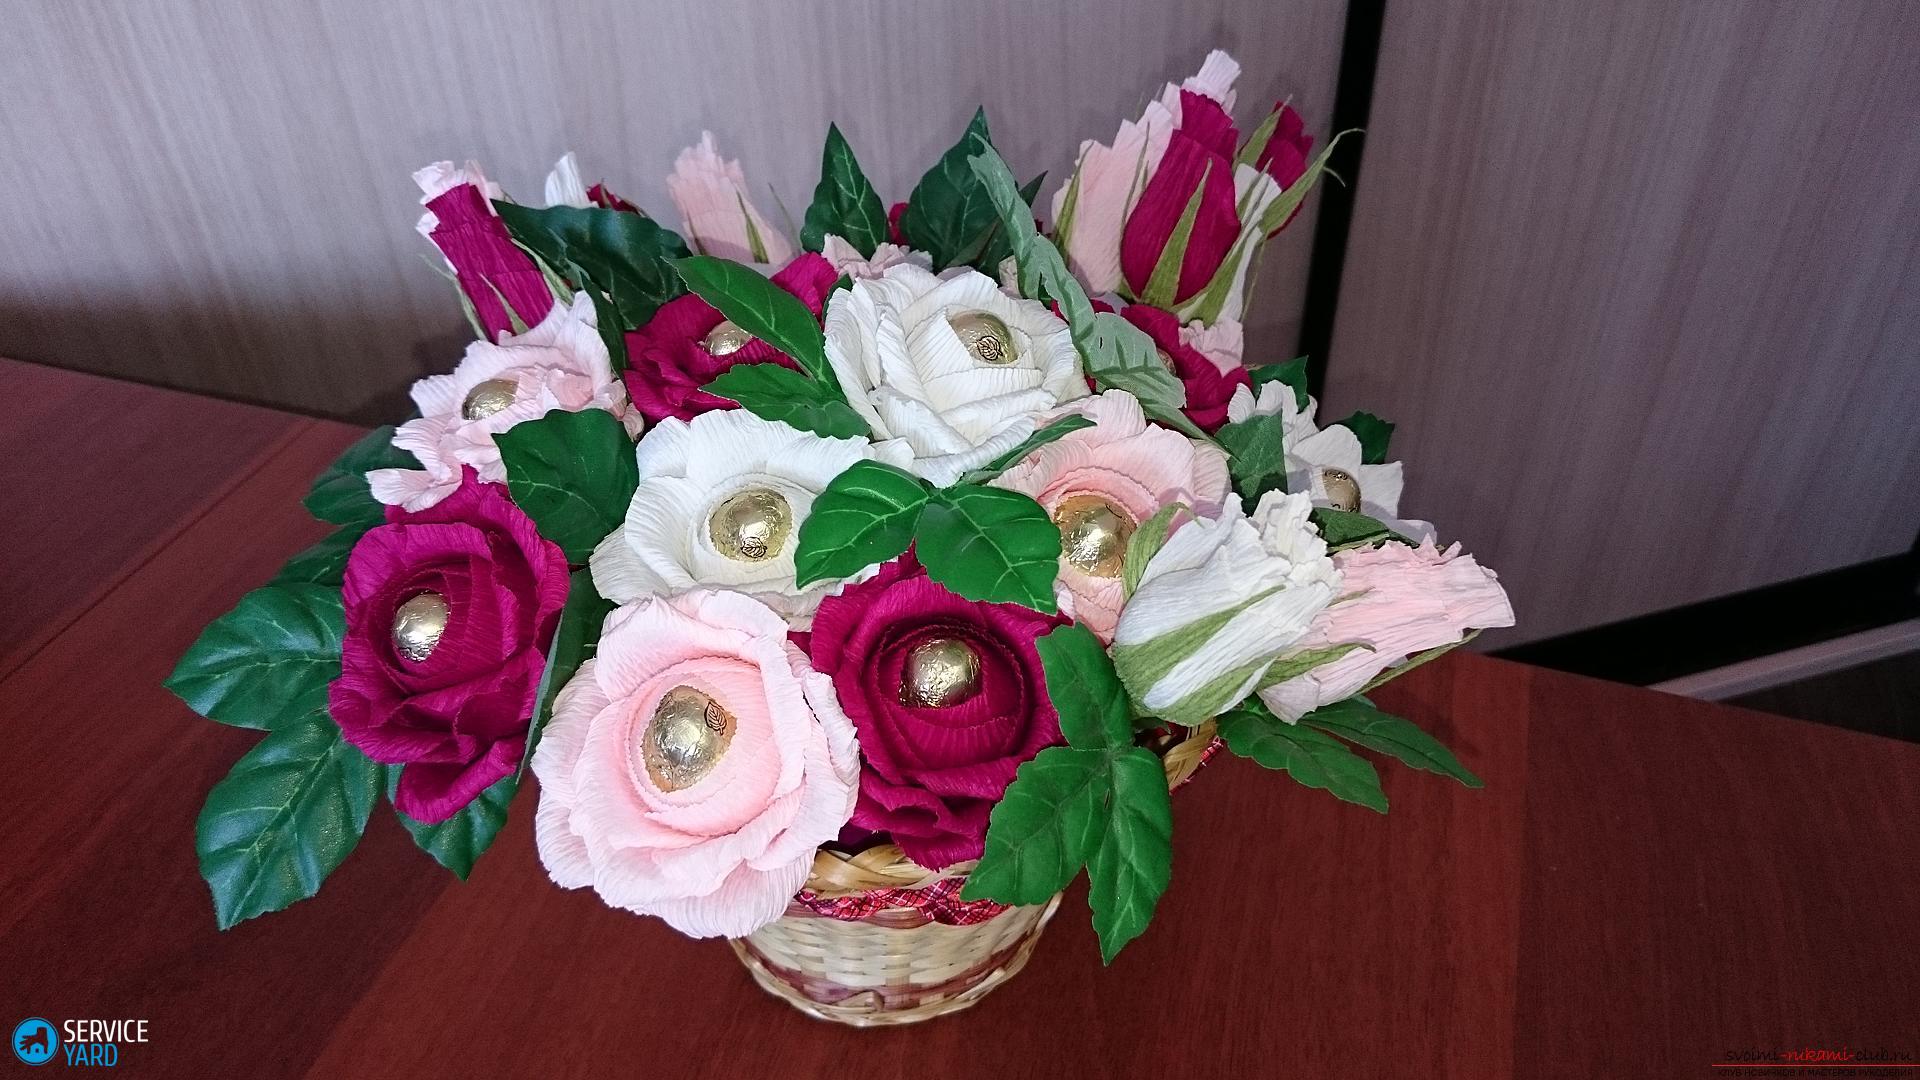
Design composition
When you have repeated all the steps and created the desired number of colors, proceed to design the composition:
- If this is a simple bouquet, then it remains to pack the flowers in wrapping paper and decorate.
- If this is a topiary, then stick the candy flowers on the toothpicks into the prepared foam ball installed in a decorative flowerpot.
- If this is a bouquet in a vase, then you need to take a plastic or tin jar, wrap it with beautiful paper or glue it with colored oracal, put a piece of polystyrene inside to fill the entire space. Now cover the foam with “green grass” from the paper (cut strips and glue it). Stick ready-made flowers on skewers into this base.
- It remains to decorate the composition with decorative branches, satin ribbons and other beauty.
Do-it-yourself flowers from napkins with sweets
Now we give some examples of the creation of such candy bouquets.
Yellow carnations
To create such flowers from do-it-yourself napkins with sweets you will need:
- Yellow paper napkins.
- Green paper or tape.
- Styrofoam.
- Candies.
- Stretch film or cellophane transparent.
- Wire or wooden skewers.
- Toothed and ordinary scissors.
- Narrow tape and thread.
Procedure:
- We take cellophane or stretch, cut 8x8 cm squares.
- We wrap chocolate round candies (in foil) with a film, and twist the ends around the stem (skewer, wire or other), fix it with tape (threads).
- We make such blanks 5 or more.
- For the petals we take yellow napkins (ideally corrugated paper). The thicker, the better the shape of the petals will hold. Napkins are divided into layers and put on top of each other.
Important! One flower needs 3-5 napkins (depending on their thickness).
- Fold in half and with scissors we decorate both long sides.
- Now we fold these stripes with an accordion in increments of 1 cm.
- In the center of this accordion we make a hole and thread the stem.
- Raise to the flower head and fix around the skewer with a stapler.
- Now we raise this accordion and straighten the petals around the candy center.
- We wrap the stalk with a strip of green paper or teip tape, starting from the head.
- Going down 3-4 cm, add a couple of leaves, fix them with a loop of tape, then after a similar distance, attach a couple more leaves.
Important! Leave the tip of the stem open so that it freely enters the foam.
- To the bouquet you can add oblong-shaped sweets (such as “Pineapple”). Pass the skewer into the candy wrapper without damaging the sweets, and fasten it with tape. Dilute the composition with these sweets.
- Drape any jar of suitable size with brown paper or colored napkins, fill it with polystyrene and stick the resulting flowers.
- Wrap the bouquet with crepe paper.
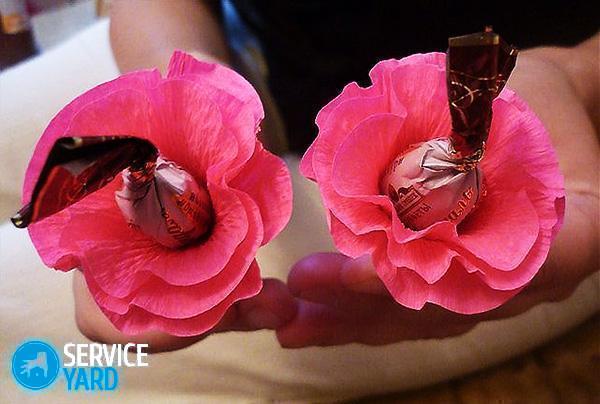
Candy bouquet of roses
In order to create a pink bouquet of sweets and napkins with your own hands, you will need:
- Corrugated paper in yellow, pink and green.
- Small sweets.
- Skewers (tubes).
- Floral green ribbon.
- Glue, tape, thread, scissors.
Procedure:
- Cut a strip of 5-6 cm wide from the pink paper. Divide it into squares.
- Do the same with yellow paper.
- Fold all the squares together and cut out the petals (slightly narrowed down), the edge should be a little wavy.
- At each petal, bend the middle with your finger and stretch a little, twist the edges with a toothpick.
- Glue the candy to the skewer by the tip of the candy wrapper.
- Now, around the candy, fix the petals in the following order: yellow-pink-yellow-yellow-4 pink.
Important! For one rose there are 3 yellow and 5 pink petals (for splendor you can add more pink petals).
- The base of the bud is wound with thread for strength.
- Now we need to make a sepal out of green paper. To do this, take a rectangle and cut “grass” with scissors (as for children's applications).
- Wrap this detail around the bottom of the flower and shape it with your fingers.
- Now decorate the stem with a floral ribbon.
- When all the roses are ready, create a composition and wrap the bouquet in wrapping paper.
Important! The more candy flowers in a bouquet, the more magnificent and interesting it looks.
Tender crocuses
You will need:
- Corrugated paper of green and violet (pink, white, lilac and other shades) colors.
- Wooden skewer (tube for cocktails).
- Scotch tape, scissors, threads.
- Floral ribbon green.
- Round sweets.
- Stretch film.
Procedure:
- From purple (or another color for your taste) paper, you need to cut strips of 3x15 cm. For 1 flower there are 3 petals. Cut yourself as many strips as you have flowers.
- Twist the strip in the center, bend in half.
- Now, with your fingers, make a bulge in this petal.
- Make squares (8x8 cm) from the stretch film, wrap the candies in them, and wrap the corners around the stem. Secure with tape.
- Now around the candy, alternately fasten the petals, slightly facing each other (the curl should be above the candy).
- When the bud is formed, with a floral ribbon, begin to wrap around the bottom of the flower and the stem.
- From green paper, cut strips 2-3 cm wide, but longer than for the petals. Also twist them in the center and bend them in half.
- Fix the leaves on the stem (also twisting up).
- Combine the finished flowers in a bouquet and wrap organza or crepe paper.
to contents ↑Important! If the flowers on the skewers can stick them in a vase with foam.
Stock footage
Do-it-yourself flowers from napkins with sweets are easy and interesting. Thus, you can make an original unique gift to a person dear to you and invest a part of yourself in it. Therefore, such a gift will be especially valuable. Do not be afraid to experiment. Start with the simplest colors, if you like this pastime, then soon you will definitely get more complex compositions. Follow the instructions in the article and start creating right now.
- How to choose a vacuum cleaner taking into account the characteristics of the house and coatings?
- What to look for when choosing a water delivery
- How to quickly create comfort at home - tips for housewives
- How to choose the perfect TV - useful tips
- What to look for when choosing blinds
- What should be running shoes?
- What useful things can you buy in a hardware store
- Iphone 11 pro max review
- Than iPhone is better than Android smartphones
 (No ratings yet)