DIY vases - beautiful and easy
Recently, more and more people are interested in hand-made. Such activities distract from routine, calm nerves and bring undoubted benefit. And the results of your own creativity can be used for decoration, as well as please with original gifts to friends and relatives. If you like flowers, then the question of where to put them sooner or later comes up on the agenda. We offer you some simple and original ways to make vases with your own hands.
to contents ↑Paper vases
The easiest way is to make a vase out of paper with your own hands. Such crafts are popular due to their low cost, as well as the relative ease of execution - the child will be able to cope with such work.
Corrugated paper vase
For it you will need a glass base, for example, a glass, a bottle or a can. The base must first be washed and degreased with alcohol or acetone. For decor, it is best to use corrugated paper, or you can take pages from old magazines.
Important! If you decide to decorate the base with corrugated paper, then select the appropriate colors and cut the paper into strips or into small pieces of any shape. The form is not fundamental, it can be squares or rhombuses.
Creative process:
- Lubricate the walls of your glass base with glue and glue the strips or pieces, alternating colors in the desired sequence.
Important! When gluing, the strips of paper should slightly overlap.
- Thus, glue the entire base.
- When everything dries, cover the product with several layers of varnish.
- Decorate the vase with beads, rhinestones, ribbons, shells, buttons, in general, everything that is dear to your heart or lying around idle, but it is a pity to throw it away.
Newspaper tube vase
Such products look very original and beautiful, and most importantly - no one will immediately understand what it is made of. How to make such a vase out of paper with your own hands?
- First of all, blanks of the tubes themselves are formed. We will make them from old newspapers or magazines. You can form tubes using knitting needles. The thinner the spoke, the thinner the tube will be.
- For the base you will need a cardboard cylinder. If you don’t have it ready, you can make it out of whatman paper.
- Now we glue this base with tubes. The tubes are glued close to each other. Thus, the whole base is glued in a circle.
- Two tubes are horizontally glued on top and bottom. To give them the desired shape, you can pre-wind them on your finger.
- The top is cut with ordinary scissors to give the desired shape.
- When the glue dries, the product is covered with paint, and then with several layers of varnish.
- Now the bottom is done. It can simply be cut out of thick cardboard of the desired diameter and glued to the bottom.
to contents ↑Important! Be sure to cover the bottom with varnish, especially if you intend to use the vase for its intended purpose.
Cardboard vases
If you do not trust paper in such a matter, then you can make a flower vase with your own hands from a more dense material - from cardboard.
Hexagonal Vase:
- Form a hexagon from cardboard so that it has the shape of a vase.
Important! You can make out some box for this purpose. The edges must be carefully adjusted to each other and fastened with a large stapler.
- Cut the corrugated cardboard into pieces and stick it on the blank in any order, leaving small, even equal gaps between the pieces.
- Now putty these gaps and dry. Try to do this carefully so that your vase looks good.
- When everything dries up, paint over the putty places.
- Place a glass jar of water inside.
Do-it-yourself vases made of bottles will look original. For such a craft, any plastic, glass or plastic bottle is suitable. It can be of any texture, shape and whatever color you want. Maybe you have some interesting colored glass bottles that, without decoration, can serve as a wonderful vase. They can also be glued with yarn, ribbons, twine, various beads and buttons, pieces of material. What can come of it - the following master classes will tell.
Roll Vase
To do this, you need a cardboard tube of medium diameter - it can be found in any hardware store:
- Cut the desired piece of cardboard pipe. Attach it to a piece of cardboard and circle. Cut the bottom and glue it to the pipe with glue.
- Cut strips from old magazines. Fold them in half and then roll them up. You will have to make a lot of such rolls, depending on your workpiece. You can attract children to work - they will be happy to help you in this matter.
- Glue these rolls to the workpiece close to each other, thus gluing the entire pipe.
- Glue the top of the pipe with such snails.
- Fill the gaps between the rolls with any material - beads, buttons, beans, other cereals or decorations.
- Paint the entire product with some bright paint to your taste, for example, red. Wait for it to dry completely.
Top can be shaded with a darker color, as well as a translucent layer of gold or silver paint. At the end, fix everything with several layers of varnish.
to contents ↑Important! If you plan to use your craft for its intended purpose, then before painting it is advisable to coat it with a primer.
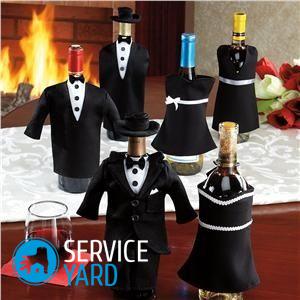
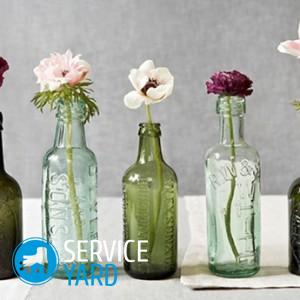
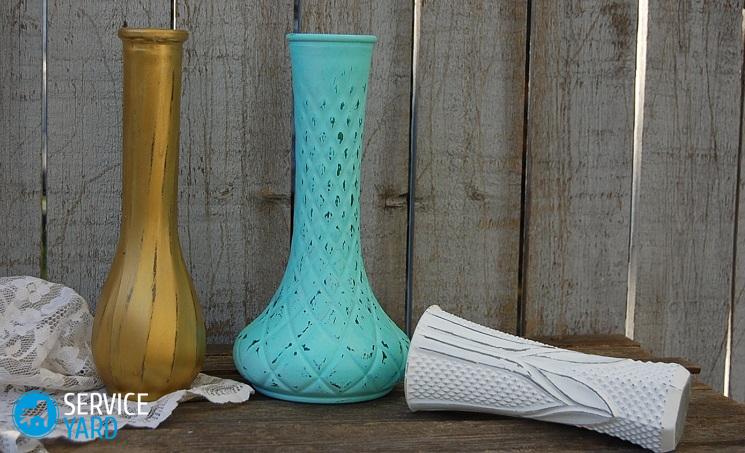
Bottle vases
Do-it-yourself vases from a bottle are very popular. They are easy to decorate - you just need to create a base by cutting off the neck so that a bouquet can then fit into it. You can, of course, leave it this way if you have a decorative vase and you do not plan to plant flowers there.
How to safely remove the neck?
- Make a line on the bottle to which you need to cut off the neck.
- Take a dense wool thread, half a meter long and soak it with solvent.
- Thread the bottle 3 times in a line.
- Set the thread on fire while holding the bottle horizontally.
- After the thread burns, quickly lower the bottle into cold water.
From a sharp change in temperature, the glass in the place of heating will burst. You just have to process the cleaved places with a sandpaper or a file.
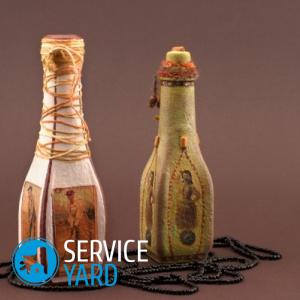
Decoupage vase
Recently, decorating various objects using the decoupage technique has become more and more fashionable. Its essence is that any pattern is glued onto the surface and fixed with varnish. And glass bottles were no exception.
By decoupage, very beautiful flower vases are made with your own hands. What does the process look like?
- Prepare the drawing. There are special napkins for sale. But you can use the usual.
Important! If the napkin is three-layer, you need to separate the bottom layer with a picture. You can glue a full napkin, or you can separate its fragment.
- To start, degrease the base itself, in our case it is a bottle. This can be done with alcohol or acetone.
- Then cover the bottle with white acrylic paint. Instead of white, you can choose a different color that suits the picture.
- When the paint dries, apply PVA glue and apply the prepared drawing. Smooth it so that there are no bends, cracks. Contours can be masked with paint of a suitable color.
- When the craft dries, coat it with varnish in several layers, allowing each layer to dry properly.
Snow vase
From a simple bottle and coarse salt you can make a real snowy beauty:
- Apply a spray primer to the bottle.
Important! This is best done outdoors or in a well-ventilated area, away from children and allergies.
- Lay a newspaper or cloth, sprinkle coarse salt on it.
- Spray a sticky spray onto the bottle.
- Put the bottle in sprinkled salt and roll until the entire surface is evenly covered with white salty “snow”.
Thus, you can make several vases, put them on a tray, pour salt that simulates snow. It will turn out a beautiful Christmas composition, which can be supplemented with candles, spruce branches and other attributes of the upcoming new year.
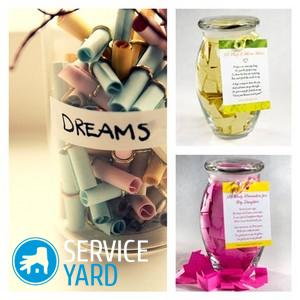
to contents ↑Jar vase
A regular glass vase can also make a beautiful vase with your own hands. All you need to do is get a ribbon with sequins sewn onto it:
- Apply glue to the jar and start sticking the sequin ribbon.
Important! Note that the glue dries quickly, so treat small areas. It’s best to start from below.
- Ribbon layers should lightly touch each other.
- The neck of the can can be tied with a beautiful ribbon.
- Paint the upper part of the jar, which remains uncovered with braid.
to contents ↑Important! You can glue the jar with colorful pieces of electrical tape. It turns out very interesting and original.
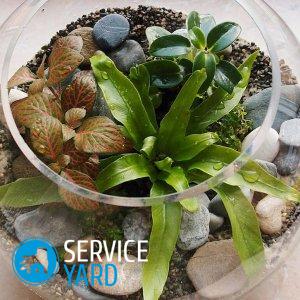
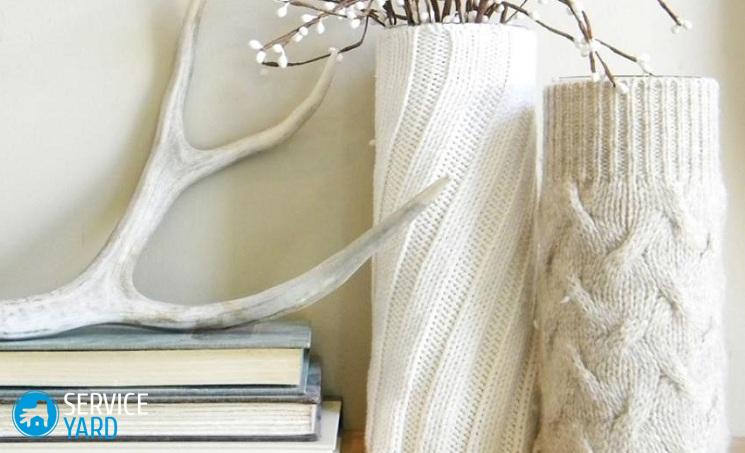
Vase made of natural materials
Beautiful vases with their own hands are obtained from natural materials:
- Cut the bark from the birch, wrap it around the base, for example, around a jar, and you will get an original vase.
- You can collect twigs of the same length and paste them over a jar or other suitable container.
- Beautiful products are obtained by pasting the base with acorns, small bumps or other gifts of the forest.
Stock footage
Now you can choose a suitable vase design to your taste and turn it into a wonderful decorative product with your own hands, because we offered you a lot of ideas in the article, and they are all simple to implement!
- Paper flowers on the wall
- How to make a box of paper with your own hands with a lid in stages?
- DIY wall paper decorations
- DIY cardboard shelving
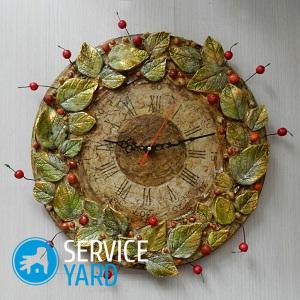
- How to make a clock out of cardboard?
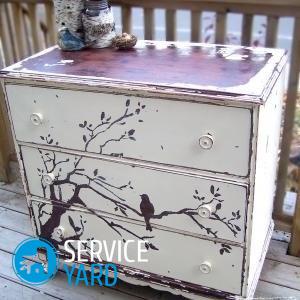
- DIY cardboard chest
- Putty Bottle Decor
- DIY decoupage bottles with napkins
- How to make space in a bank?
- Do-it-yourself fresh flowers in glass
- DIY jar with wishes
 (No ratings yet)