DIY rope ladder
DIY rope ladder is a practical and universal thing. It can come in handy in many situations, ranging from use in a children's room and ending with wells and attics. The versatility and flexibility of this type of staircase determines its widespread use in everyday life. Let's figure out how it can be made independently.
to contents ↑The advantages of rope ladders over ordinary
The rope ladder has a number of obvious advantages over other types of stairs:
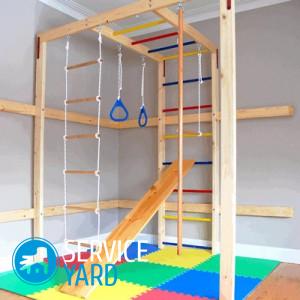
- Due to its versatility, the rope ladder can be adapted both as a children's gymnastic equipment and for household needs.
- Its huge advantage is the convenience of storage, as it is easily rolled up and does not need a lot of space.
- Availability of materials and ease of manufacture. By the way, such a product will not take a lot of material. You will need only wooden bars and a rope or rope stronger.
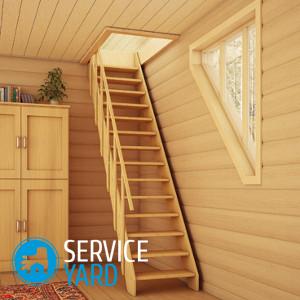
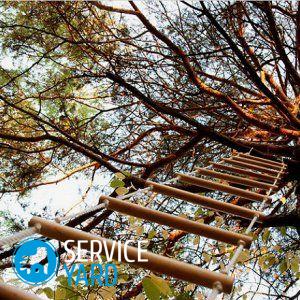
- Compactness and mobility make the rope ladder indispensable in some cases. Sometimes there are situations in which the use of another type of stairs is excluded, for example, when climbing to the roof of a building or descending into a well.
- The ability to select the length of the product.
Having made a rope ladder with your own hands, you will get a thing that will be useful to you again and again. And how much joy she can bring to your children - this is a great addition to the Swedish wall, the rope ladder will become their favorite gymnastic apparatus. Perfectly forming the necessary muscle groups, as well as training the vestibular apparatus, classes on such a ladder have a beneficial effect on the development of the child in the physical plane.
to contents ↑Important! A gymnastic apparatus designed for children should easily support a weight that is significantly greater than the one you are counting on. Do not forget to periodically check the product for strength, paying particular attention to the strength of the nodes and the reliability of the fasteners.
Tools and materials
To make a rope ladder with your own hands, you will need a minimum number of tools:
- Hacksaw in order to cut the bars of the same length.
- Drill in order to drill holes in the rungs-steps.
- Sandpaper for surface treatment.
Step selection
Also for the manufacture you need to stock up on material. For rungs the following resources will fit:
- Workpieces made of strong but light metal alloys.
- Plastic tubes.
- Wooden bars.
Important! The optimal thickness of the beam should be more than 4 cm, the length should be approximately 35 cm. But do not rush to buy ready-made bars. Taking a walk in a grove or forest, you can collect a sufficient number of dry and strong branches.
Rope selection
To independently make a rope ladder, depending on the application, the following modifications of ropes are suitable:
- Durable cotton rope is optimal for children's gymnastic apparatus, if the child's weight does not exceed 30 kg. Such a rope captivates with its environmental friendliness and naturalness.
- Ropes made of artificial fibers, such as nylon, lavsan, kapron, can be matched to the color of the interior of the children's room.Synthetic ropes are perfect for outdoor use and household purposes, since they practically do not absorb moisture, do not stretch when wet.
- Flax tows, as well as hemp tows, are very durable and have a textured, decorative look. They are perfect for use in interiors with a ship installation for children 6-7 years old.
to contents ↑Important! For the game room, it is advisable to choose natural materials. In this case, the rope thickness should be more than one centimeter in diameter.
DIY rope ladder assembly
The process of making a rope ladder with your own hands is as follows:
- Pick up the bars for the steps of the rungs of the stairs along the length. All must be the same.
- Using sandpaper, process the prepared material for the crossbars so that it becomes completely smooth, without any burrs.
- On both sides of each workpiece, set aside an equal distance (3-4 cm).
- Using a drill at the marks, drill holes that will be proportional to the thickness of the rope.
- Sand the edges of each hole thoroughly with sandpaper to eliminate any unevenness resulting from drilling.
- If you use wooden blanks, then be sure to treat them with an antiseptic agent for wood to prevent the fungus from developing.
- After the antiseptic is completely dry, proceed to stain the crossbars.
- Cut the rope into two identical parts.
- Pass the rope into the holes drilled for it and tightly fix it at the exit with the help of a knot. So that the product does not warp, try to work on both sides of the bar.
- String all the other steps in the same way, visually checking their parallelism. The most optimal distance between the fixing nodes is 30 cm. And the number of steps and the length of the stairs are arbitrary values.
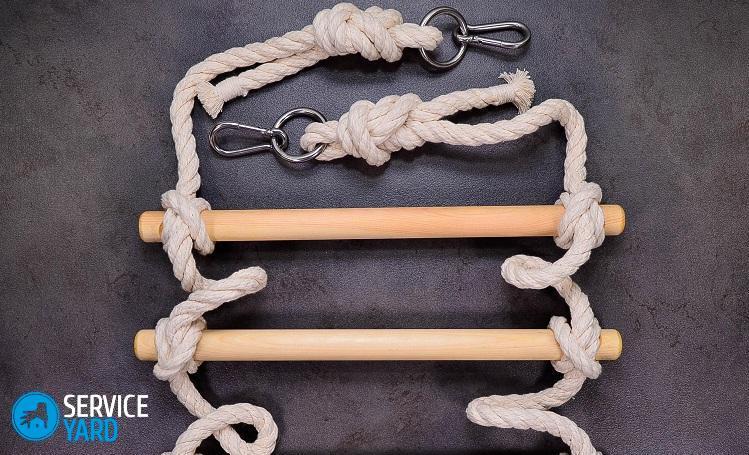
- Having strung all the crossbars, lower the upper ends of the rope for further ease of fixation by tying them into a knot.
- Hang the finished ladder to a special hook that is securely fixed to the ceiling or the crossbar of the Swedish wall with a carabiner.
to contents ↑Important! Pay attention that the tensile strength of the fasteners is large enough so that it can withstand even the weight of an adult.
Stock footage
So the do-it-yourself rope ladder - This is a very useful item in the household and a wonderful gymnastic apparatus for your child. As follows from our article, the manufacture of such an object is a fairly simple task, and anyone will cope with it.
 (No ratings yet)