

Do-it-yourself sandblasting: drawings, step-by-step manufacturing of the apparatus
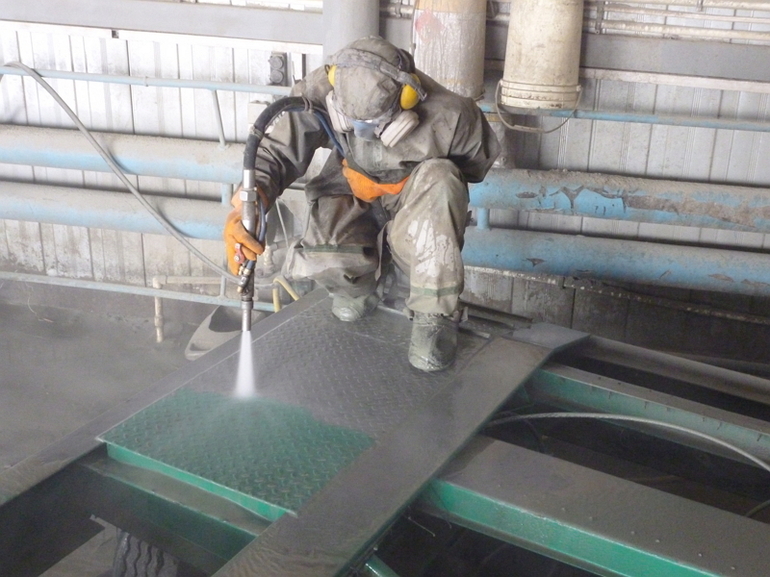
To clean parts from rust, paint or dirt, very often you have to seek help from specialists whose services are not cheap. Actually, that's why many are trying to do sandblasting with their own hands. It is not difficult to make such a convenient fixture yourself if you prepare drawings, diagrams, and the right material. Also, step-by-step assembly instructions will help to cope with the task.
Types of devices
In fact, each device has its own field of application. But basically there are three main types, namely:
- A pneumatic sandblasting device is used to clean a large area. These devices are characterized by high power and pressure. But it is not recommended to do it at home, as improper assembly during operation can be dangerous to health and life.
- Vacuum construction is very popular due to the fact that the same sand can be used repeatedly. The fact is that during processing it is thrown out and then comes back.
- The suction apparatus is suitable for cleaning a small area, for example, removing rust or removing small oxidation. Airflow performs several functions. First, he feeds the abrasive into the nozzle, and then takes the sand from the tank. This home-made sandblast is the easiest to do.
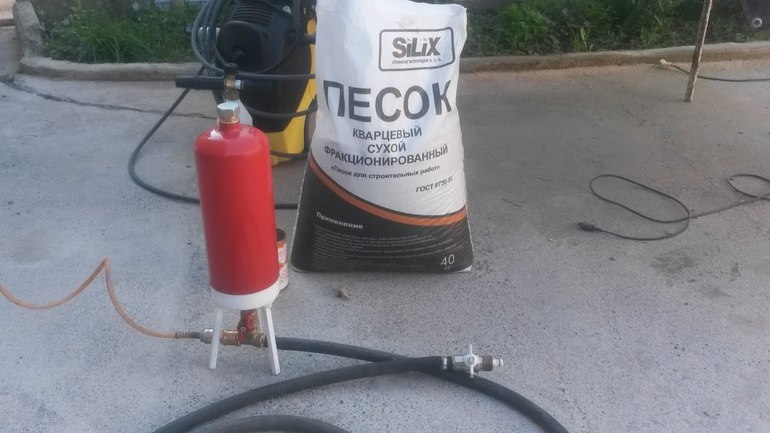
As for the refueling material, it is best to work with quartz sand, it will perfectly cope with rust on the wing or the hood of the vehicle.
Fine fractions are ideal for polishing surfaces. But to remove the old paint, for example, from the fence, it is worth giving preference to intact sand.
It is also important to choose the right fraction according to the field of application, namely:
- 0.1-0.3 mm - for a glass surface;
- 0.3 mm - for polishing copper and aluminum products;
- 0.3-0.6 mm - for coatings;
- 0.6−0.16 - to remove deeply ingrained rust.
For all other cases, hard and large abrasives are used. These are the basic rules for using manual sandblasting.
The main components of the device
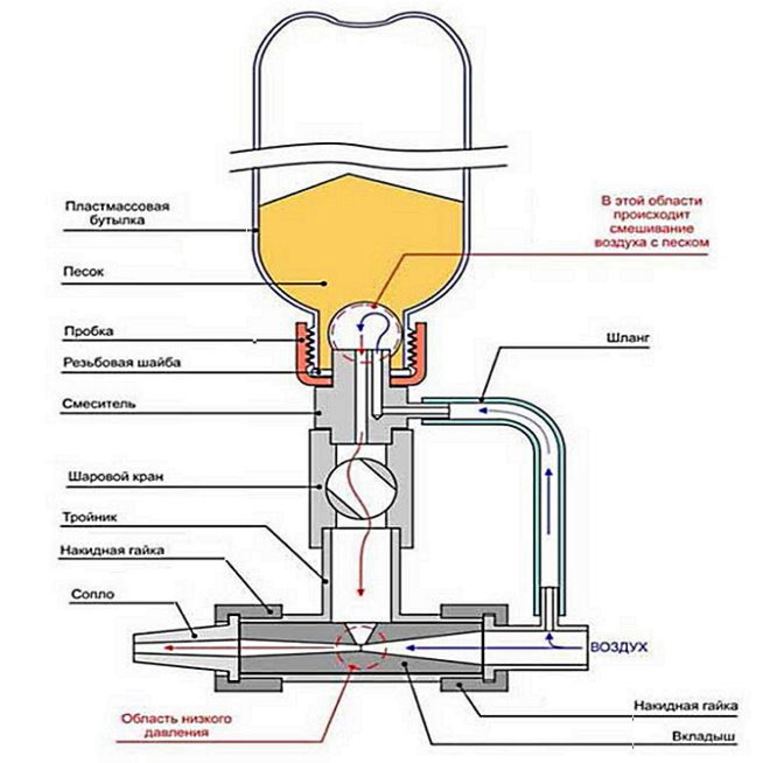
All home-made devices are assembled on the basis of a typical scheme and differ only in the option of feeding sand to the contaminated element. Each model may have its own design features, but the nodes, as a rule, are the same for all.
Traditionally, a machine consists of the following parts:
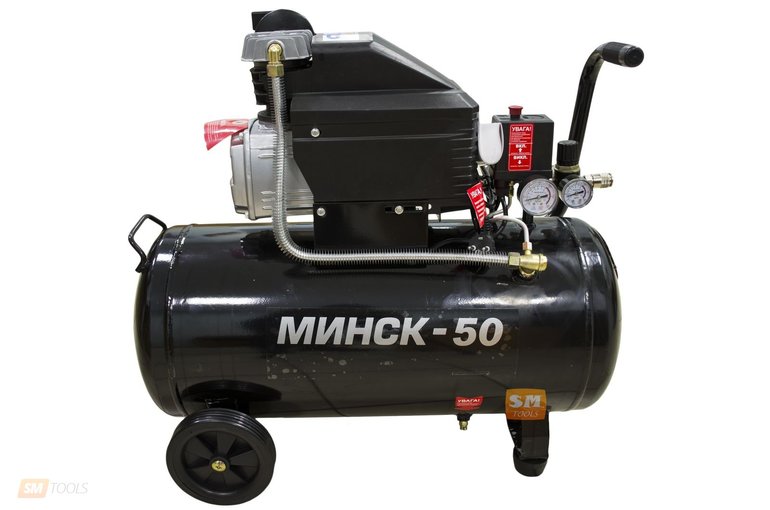
- compressor - a mechanism by which air flow is forced;
- receiver, which is required in order to accumulate the necessary supply of air;
- capacity for abrasive;
- gun - the main part through which sand is supplied to the contaminated surface;
- hoses.
To increase the duration of the cleaning process and maintain pressure, the apparatus is additionally equipped with a water separator. If a plunger compressor is used, an oil filter system is installed on the air inlet. As a result, the installation, regardless of the scheme in which it was assembled, begins to form a joint flow of air and sand.
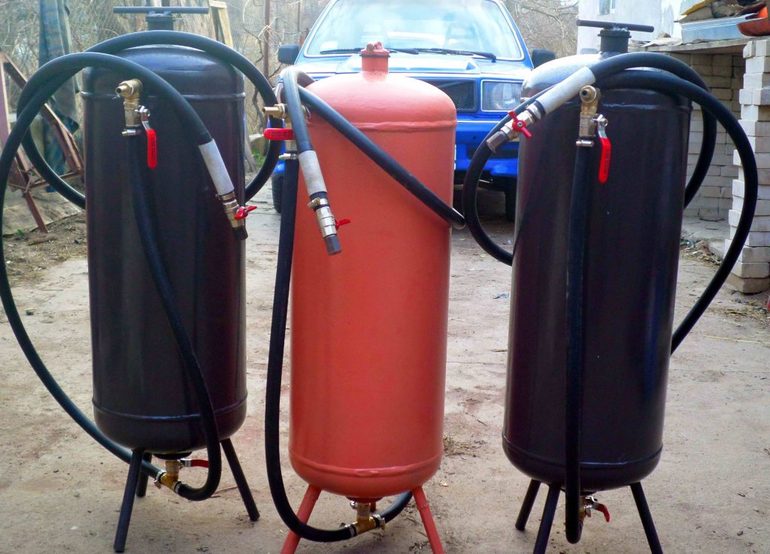
Alteration of a gas cylinder
Most often, an old gas cylinder is used to make a pressure-type shot blast. To build such a home-made device, you must prepare:
- 2 ball valves;
- pipe section;
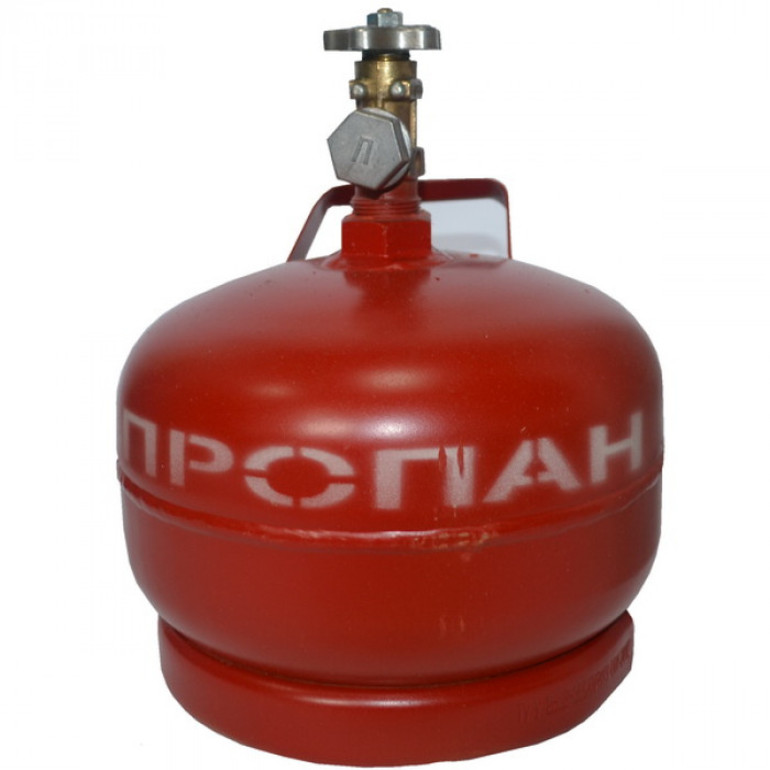
- one gas cylinder;
- 2 tees;
- sleeves with a passage of 10 mm and 14 mm;
- clamps;
- fum tape.
If everything is prepared, then you can proceed to the main work. To assemble the structure, you must perform the following steps:
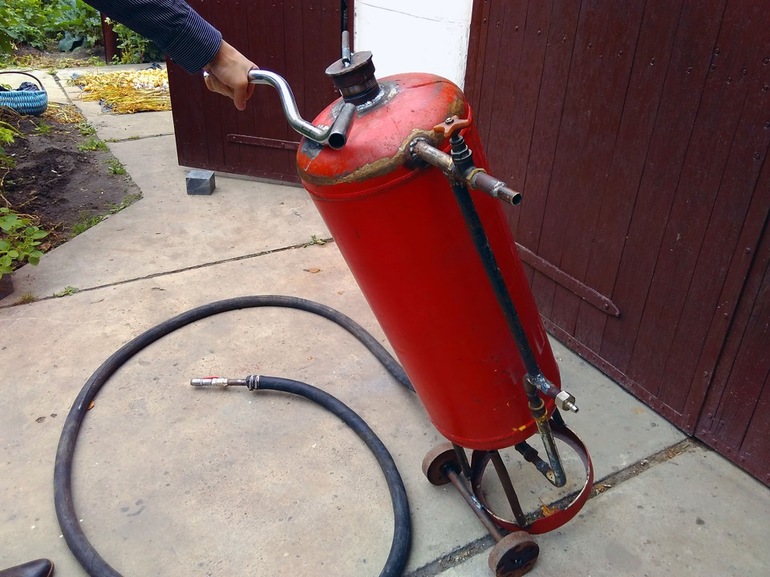
- To begin with, it is worth preparing the tank, for this you need to pour out the contents of the container, thoroughly clean it. This is best done with non-abrasive detergents. After that, rinse thoroughly with water pressure and dry the container.
- The next step is to make holes in the tank. In the upper part, sand will fall through it, so its diameter should correspond to the diameter of the pipe. And in the lower part the crane will be connected.
- Next, you need to install a crane. It can be welded with a welding machine, or you can simply wind it with an adapter pipe. A tee should be placed behind the tap, and the mixing unit should be secured. After that, it is necessary to seal the threaded connection, this can be done with a fum tape. Now it remains to screw the valve onto the tap, and after it connect the second tee.
- The last thing you can do is ensure the mobility of the installation. You can equip it with wheels or make a handle for moving. To give the device stability, it is necessary to weld the corners. They can not be bought, but made of reinforcement or metal tubes.
- After this, you need to connect the elements to begin the process of feeding and ejecting sand. To do this, put the fittings on the lower tee and the valve on the cylinder. Next, you need to place a sleeve (14 mm) between the mixing block and the tee, this is done for the inflow of air mass.
Now it remains to connect the discharge unit to the tee with fitting, and to connect the second sleeve for the finished abrasive to the lower unoccupied tee. To ensure high-quality tightness, it is necessary to screw on the sand feed pipe a screw cap. On this work is completed, you can start sandblasting rusty parts. The gas cylinder can be replaced with freon, the rest of the assembly is carried out according to the same technology. This device is quite powerful, so it can be used for any kind of work.
Spray gun application
Another option for the manufacture of sandblasting devices. To assemble it, you will need the following components:
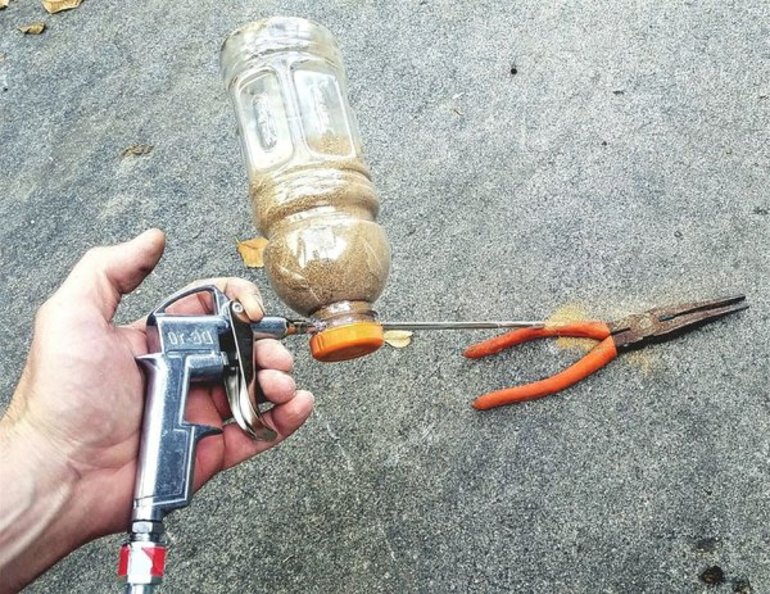
- gun, he will play the role of a mixing valve;
- plastic bottle, it will serve as a container for abrasive;
- handle with air flow device;
- ball valve, with it you can control the flow of sand mass;
- tee.
If you want to make a more powerful device, you can replace the airbrush with an airbrush, since the last device has a much smaller output channel.
A step-by-step instruction for assembling the structure is as follows:
- First of all, you need to bore the gun. This is done so that the diameter of the outlet nozzle increases. After this, you need to connect the tee to the gun.
- The next step is to install and fix the supply and circulation hoses. Make sure they sat down well.
- Actually, now you can check the health of the device. To do this, pull the trigger, and after three seconds the abrasive should release. As a rule, one plastic eggplant is enough for 30 minutes of continuous operation.
As for the gun, it can also be done with your own hands. To do this, you need a nozzle for a ball valve, which is located at the end of the sleeve to release air-sand mass. A nozzle is a kind of nut that will clamp the outlet nozzle for sand. Nozzle can be purchased at the store.
Very often people are faced with the problem of rapid sand consumption, since most of it is spent inefficiently. This situation can be easily corrected. For hydro-sandblasting, they make a special camera that looks like a metal box.
Use of a fire extinguisher
The device, created on the basis of a fire extinguisher, is designed in the same way as previous devices. Manufacturing technology is not very different.The only thing that needs to be done is to seal the top of the container. To do this, make a special plug on the lathe. A rubber ring is additionally mounted on this element, and then it is put on the upper neck. Sand is poured into the remaining hole.
After that, two holes should be made on the body of the fire fighting device. One should be located at the top and the other at the bottom. It is also worth pre-cleaning the surface of paint, this can be done with sandpaper. Then you need to weld the holes on the side.
At this stage, it is necessary to attach legs from reinforcing rods. In order for the plug to easily twist and unscrew, you need to weld a special knob. After you assembled the equipment, installed fittings on it, you can begin to test it. If all technological subtleties are observed, then the sandblast will continue to work for a long time.
Assembling a home-made device will help save money, since you do not have to purchase expensive factory equipment. The principle of operation is the same for them, and the pressure force is not particularly inferior.
- How to choose a vacuum cleaner taking into account the characteristics of the house and coatings?
- What to look for when choosing a water delivery
- How to quickly create comfort at home - tips for housewives
- How to choose the perfect TV - useful tips
- What to look for when choosing blinds
- What should be running shoes?
- What useful things can you buy in a hardware store
- Iphone 11 pro max review
- Than iPhone is better than Android smartphones
 (No ratings yet)