

Acrylic paint for walls

Acrylic paint has proved to be the best for many years. This is because, due to its properties, it is multifunctional. The scope of acrylic dye is so great that it can even cover glass and metal surfaces. By mixing different shades on the walls, you can create real masterpieces - paintings, paintings, abstractions or single images. In a word, acrylic paint for walls is an ideal solution for updating the interior, experimenting with furniture decoration in different styles. Today we will familiarize ourselves with this type of dye in detail, with its features, strengths and weaknesses, and we will conduct a useful master class for you.
to contents ↑Advantages and scope
Before you paint the walls of the apartment with your own hands with acrylic paint, it will not hurt you to get acquainted with the main advantages of the dye, namely:
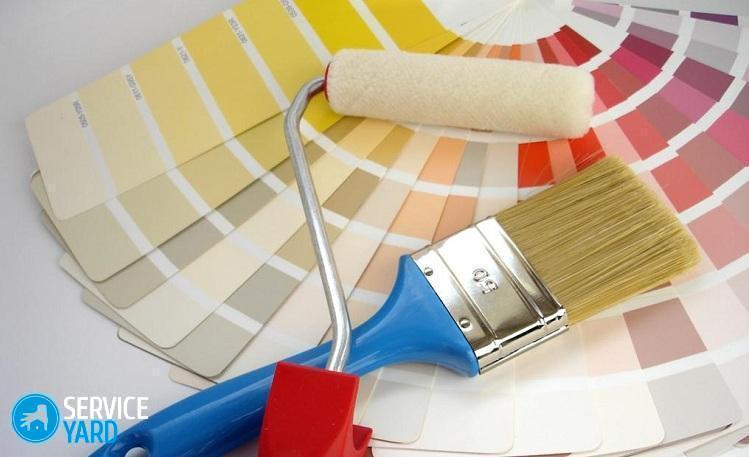
- Large selection of colors and shades in the catalog for tinting.
- Affordable pricing.
- Low toxicity.
- Lack of a sharp, unpleasant smell.
- High drying rate.
- Increased moisture resistance.
- The material fits perfectly on any surface.
- Over time, the coating does not crumble and does not crack.
- Acrylic for walls can be either glossy or matte.
- An economical option compared to other dyes.
- The coating can be periodically cleaned and washed (without cleaning agents).
- The ability to create any shades of paint by mixing several pigments.
- The ability to create not only smooth, but also textured (structural) coverage.
- After application, a transparent protective film forms on the painted surface.
- The painted surface is not afraid of ultraviolet exposure.
- The coloring composition several times increases the mechanical resistance of painted walls, ceilings, furniture.
to contents ↑Important! To paint places near heating appliances, in the bathroom, we recommend using acrylic paint with high resistance to temperature extremes, which is not afraid of moisture. You can find all these data in the product instructions, or you can ask for the appointment of a particular composition from the sales assistant of a construction store.
Application
Earlier we talked about a wide range of acrylic paint applications. It's time to familiarize yourself with the types of surfaces with which it goes well:
- Walls.
- The ceilings.
- Furniture.
- Facades.
Important! It is undesirable to apply pigment to places where water can get (shower, edges of the sink). On such areas it is better to put tiles.
Types of acrylic finishes:
- Wooden.
- Concrete.
- Brick.
- Tissue.
- Glass.
- Metal.
Kinds
Painting walls with acrylic paint is not a complicated process, but requires certain knowledge of the varieties of this type of dye. You need to understand that they are all different, and the properties and purpose are also different.
Acrylic paints are divided into the following main types according to the nature and external finish of the created surface:
- Glossy. Gives the surface an attractive shade and shine. We want to note that to use such a variety you need a perfectly flat surface, since all defects will be clearly visible on the glossy layer.
- Matt A universal option for long-lasting wall decoration.The matte surface will retain its original appearance for a long time.
- Mother of pearl. This paint belongs to a special acrylic group, which contains a small inorganic ingredient. Thanks to pearl acrylic, there is the possibility of creating the effect of a relief surface.
- Water emulsion. It occupies the common name of all acrylic dyes, including for walls. It stands for water based paints. But non-aqueous acrylic pigments are used exclusively for exterior decoration, requiring the creation of durable coatings.
- Washing. A surface with a similar coating can be washed periodically - this allows the applied composition. Most often used in the kitchen and in the bathroom. It has high resistance to abrasion and moisture.
to contents ↑Important! Before applying, any acrylic paint must be diluted with a special composition that supports a certain surface structure. The emulsion can be diluted independently with ordinary water, by adding it to the pigment, but not more than 10%. Water improves the flowability of acrylic and ensures the application of a thin and uniform layer.
DIY wall painting with acrylic paint
Now we will consider a step-by-step master class on applying acrylic to the ceiling. The whole process consists of stages, which we will talk about later.
Tools and materials:
- Acrylic paint to choose from.
- Construction mixer.
- A set of brushes.
- Handle for the roller.
- Replaceable rollers of different types.
- Paint bucket for expressing pigment.
- Masking tape.
- Plastic film (you can take a newspaper).
- Tray.
- Sandpaper.
- Stairs.
Preparatory work:
- We cover the surface with putty.
- We polish it.
- Get rid of dust.
- Apply a primer. By applying a primer layer that penetrates deeply into all cracks, it is possible to reduce the amount of paint used and to improve the adhesion between the surface and the pigment.
- After the primer dries, we treat the surface with large sandpaper, and then fine grain.
All the preparatory work described above needs to be done as efficiently as possible. The strength and durability of the applied acrylic depends on the correctness of your actions at the first stage.
Important! A mirror surface can be obtained by using satengips - a substitute for finishing putty. Ensure that all cracks and bumps are well sealed.
Wall painting with acrylic paint - technology:
- Pour pre-diluted paint from the can into the construction bath (you can use any container).
- We roll in the pigment roller.
- We begin to paint the ceiling. We make sure that during the painting no streaks and layering of the dye are formed.
- We paint the baguettes with thin brushes with natural pile, and the area around the corner sections of the wall with a small roller.
- We paint the rest of the ceiling, starting painting first in one direction and then in the other. Do not forget that each “fresh” layer of acrylic must completely dry before applying the next.
to contents ↑Important! To avoid smudges, do not press on the tool. Apply no more than 3 layers of acrylic paint to the ceiling to prevent too thick a coating, which may adversely affect its useful life.
Stock footage
We told you how to paint walls with acrylic paint. As you can see, there are a lot of ways to stain - with a roller, brush, painting or stencil. You only need to turn on your imagination, and you can safely begin to perform simple work. We wish easy repair and a durable coating!
- How to choose a vacuum cleaner taking into account the characteristics of the house and coatings?
- What to look for when choosing a water delivery
- How to quickly create comfort at home - tips for housewives
- How to choose the perfect TV - useful tips
- What to look for when choosing blinds
- What should be running shoes?
- What useful things can you buy in a hardware store
- Iphone 11 pro max review
- Than iPhone is better than Android smartphones
 (No ratings yet)