

How to glue non-woven vinyl wallpaper?
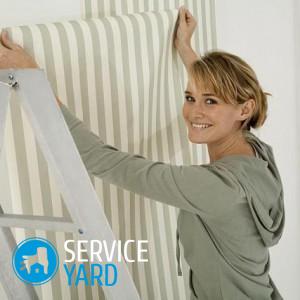
Vinyl wallpapers on a non-woven basis appeared relatively recently - much later than, say, paper or textile. However, now they are the most popular finishing material. There are many reasons for this, but the main one is that it is extremely convenient to work with them. How to glue non-woven vinyl wallpaper? The process has some specifics, which we will discuss in the article.
to contents ↑What are they made of?
Non-woven fabric is a non-woven material made using special technology from cellulose. It is used to strengthen a wide variety of surfaces. It is used in the manufacture of clothing, so that the most problematic parts hold their shape better. He also found his place among manufacturers of finishing materials for repair - non-woven wallpaper is much more interesting than paper. With what?
They have many advantages:
- high density;
- strength - tearing them harder than paper, if at all possible;
- resistance to light - such wallpapers burn out very little and last a remarkably long time;
- moisture resistance - almost everything can be wiped with a damp sponge, and some can be washed;
- environmental friendliness - wallpapers do not react with the environment in any way, respectively - do not emit harmful substances;
- pretty decent range, so you can always pick up something suitable for your interior.
Important! Durability is due to the fact that the vinyl coating is done using baking. The canvas is very resistant to mechanical stress. Try to break such a wallpaper - most likely, you will not succeed at all. Such wallpapers keep their shape perfectly, do not stretch and do not sit after drying. In addition, they hide the roughness of the wall quite well.
However, advantages are advantages, but in order to answer the question of how to glue wallpaper on a non-woven basis, it is important to know about the disadvantages, or rather, about the features:
- non-woven vinyl wallpapers are considered heavy;
- it is necessary to strictly observe the technology for the preparation of glue;
- they stick fast enough, so you need to work quickly.
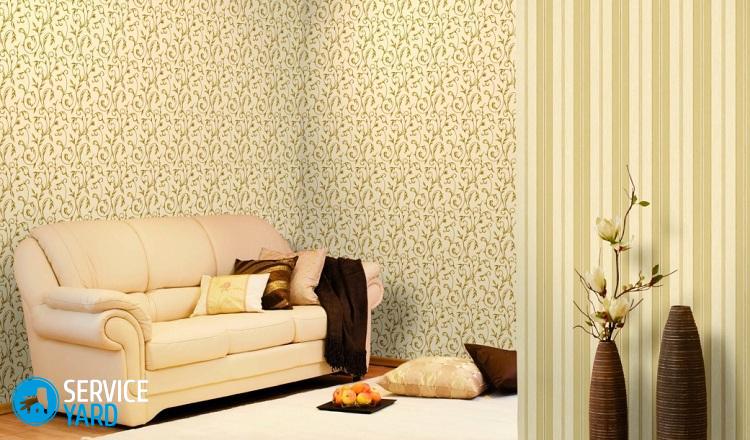
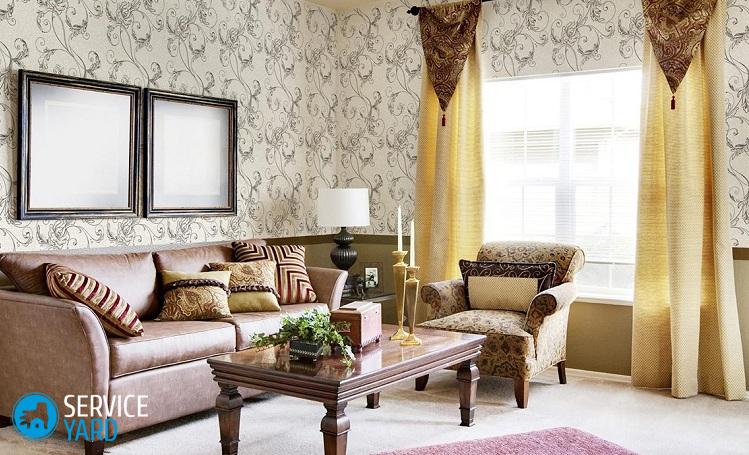
Where to glue them?
In principle, non-woven vinyl-coated wallpapers are suitable for any room. They tolerate high humidity without much damage. They can be issued:
- living room;
- a bedroom;
- hallway;
- the kitchen;
- nursery;
- even the bathroom.
to contents ↑Important! The only thing to remember is that for different rooms different collections of vinyl wallpapers on a non-woven basis have been developed, so look in the catalog for what the material you like is intended.
Cooking Tools
Before you glue the wallpaper on a non-woven basis, you need to take care of the necessary tools. The set is the simplest, but it is better to buy it at the same time as the wallpaper, then exactly everything you need will be at hand.
You will find it useful:
- roulette;
- level;
- roller;
- putty knife;
- brush;
- pencil;
- buckets.
You probably already have some of the above. But it should be noted that it is better to take a roulette more authentic - at least 4 m in any way. As for the level, laser is the best option. Of course, it costs pretty well, but you will need it more than once, and not only for finishing work.If it is not, markup can be done plumb. Glue on the wallpaper is applied with a roller, and the canvas, so that there are no bubbles, is smoothed with a brush or spatula.
It is convenient to work with vinyl wallpaper on a non-woven basis, they are practically not going to fold, but air can get between the wall and the canvas, and you need to get rid of it.
to contents ↑Important! To smooth the wallpaper, a special plastic spatula is used.
Count the number
Non-woven vinyl wallpapers are available in rolls of different widths. The length of the canvas can also be different. And before you run to the store, you need to calculate how much material you need. To do this is quite simple:
- Measure the perimeter of the room.
- Measure the height.
- Multiply the results - you get the area of the walls.
- Calculate the area of the canvas in one roll by multiplying the width by the length.
- Divide the area of the walls by the area of the canvas - you will get the number of rolls.
- Subtract the area of windows and doors from the result.
- Add another ten percent to the result just in case.
to contents ↑Important! If you are going to paste over a niche or ledge, the area of their walls is added to the total.
Wall preparation
So, are we already gluing non-woven wallpaper? Do not hurry. Of course, the wallpaper is thick and dense, they will hide some defects of the walls (or the ceiling - they also paste over it), but not all. So for starters, let's prepare the wall.
In principle, non-woven fabric adheres well to a wide variety of materials:
- a tree;
- concrete;
- drywall;
- brick;
- stucco;
- Chipboard.
In general, the material is universal, but the surface should still be minimally flat. Non-woven wallpaper should not be glued to a brightly painted surface - it is better to remove the paint altogether. But through those with a vinyl layer, even the brightest paint will not shine through.
Now we do the following:
- We remove the old coating - it can be wallpaper, paint or tile.
- We close up overly noticeable cracks and chips with putty.
- We wait until the putty dries.
- We process the surface with a large emery cloth - we remove the largest bulges or the remnants of paper wallpaper if they could not be peeled off in the usual way.
- We clean the wall with a sandpaper with a smaller fraction - it is not worth achieving perfect smoothness, but there should not be noticeable flaws.
- We cover the wall with a primer.
In principle, the preparation of walls or ceilings for vinyl wallpaper on a non-woven basis is not much different from that which is carried out for any other type of decoration materials. As a soil, it is better to use a deep penetration composition.
to contents ↑Important! If you are repairing a kitchen or bathroom, antifungal components will be very useful - they will prevent the formation of mold.
Cooking glue
In any hardware store you will be offered several dozen types of wallpaper glue. Choose the one recommended for gluing non-woven vinyl wallpapers. Do not forget to immediately read the instructions, paying special attention to what needs to be lubricated:
- wallpaper;
- a wall;
- both.
Important! Different manufacturers offer different technologies, so for the success of your enterprise it is very important to lubricate the surface that you need. If you spread wallpaper instead of a wall, they will certainly stick, but not as beautiful and even as you need. As a rule, when pasting non-woven wallpaper, a wall is smeared, not a panel, but sometimes it is necessary to apply glue to both surfaces.
Some adhesives for non-woven wallpaper already contain antifungal additives, so you can use a different primer. Adhesives suitable for you:
- Metylan;
- Quelyd;
- Kleo Extra.
There are, of course, other compounds on sale, but these have everything to do your job efficiently and without any special problems.
Important! Spread with glue both the wall and the canvas should be when the room is hot and the composition hardens instantly.
We breed powder
An instruction is something to be strictly followed. And most importantly, read how much glue should swell. In some cases, a few minutes are enough, in others, the composition must last for at least a day. In many situations, they prepare it like this:
- Pour the estimated amount of clean, cold water into the bucket.
- Gradually fill in the powder.
- Mix it all up with a construction mixer.
- Let it brew as long as required by the instructions.
- Stir again.
As a result, you should get a homogeneous mass, without any clots. It is viscous and has no color.
to contents ↑Important! If the glue is not infused for long, do it in the amount that you can use in one day - such compositions lose their properties over time.
Talk is not an assistant
Everything seems to be at hand, and the wall after the primer has become as good as new, but we still do not glue non-woven vinyl wallpapers. We are still thinking about security. And for this you need to do a few things:
- Turn off the electricity in the house - yes, it is better to do repairs in the afternoon, it is much safer.
- We remove the switches and sockets along with the boxes - when cutting the panels, it will be necessary to take into account where these elements will be, make cross-shaped incisions and bend the corners to the wrong side.
to contents ↑Important! Install sockets and switches only after the wallpaper is completely dry.
Start to glue
Well, now the fun begins - gluing vinyl wallpaper on a non-woven basis. And immediately the question arises: how exactly to glue? Paper canvases are glued both butt and lap - it all depends on the quality of the edge. But vinyl-non-woven ones are better to be fixed end-to-end, because their edges are almost perfect, you do not need to trim them.
This method has a couple of undoubted advantages:
- seams are almost imperceptible:
- no waste is generated.
Important! Non-woven wallpaper is made wide enough so that the wall looks as if it has a single canvas, without any glues.
Mark the walls
Sticking vinyl wallpaper on a non-woven basis will be a simple and enjoyable affair, if there are landmarks. These are the most common vertical or horizontal lines drawn along a level. Most often, the wallpaper is glued vertically.
Important! Where to start from is basically the same, but the professionals first of all paste over the most noticeable corner. This is not always advisable - it may turn out to be crooked, and then defects are very difficult to avoid. It is best to draw vertical lines across the width of the canvas.
Operating procedure:
- Close doors and windows - drafts should be avoided.
- Cut the fabric of the desired length, plus an allowance of 4-5 cm, which will be located at the bottom. At the same time, the edge that will adjoin the ceiling should be very flat (unless, of course, it is supposed to cover it with a ceiling plinth).
- Apply glue to the area between the two lines, and if the instructions require it, then the canvas.
- Spread the glue evenly, without gaps or clots.
- In the corners and at the joints, distribute it also with a brush.
- Press the top edge of the strip against the wall.
- Stretch the canvas aligning the edge with the line.
- Press the wallpaper with a roller or cloth.
- Smooth from the middle to the edges and corners.
- Stick the next strip.
- Make sure that the edges do not diverge at the junction.
How to remove vinyl non-woven wallpaper?
If you already had non-woven wallpaper and you need to remove them, do the following:
- Cut the canvas in different directions to the maximum depth - best to the wall.
- Wet them with water properly - it should be warm.
- Wait until the blade dries well.
- Pry the edge with something sharp and pull - the wallpaper is shot perfectly.
Stock footage
It’s not so difficult to figure out how to glue non-woven wallpaper. But in this story it is important to choose good materials and use them correctly, then your room will take on a very spectacular look.
- How to choose a vacuum cleaner taking into account the characteristics of the house and coatings?
- What to look for when choosing a water delivery
- How to quickly create comfort at home - tips for housewives
- How to choose the perfect TV - useful tips
- What to look for when choosing blinds
- What should be running shoes?
- What useful things can you buy in a hardware store
- Iphone 11 pro max review
- Than iPhone is better than Android smartphones
 (No ratings yet)