

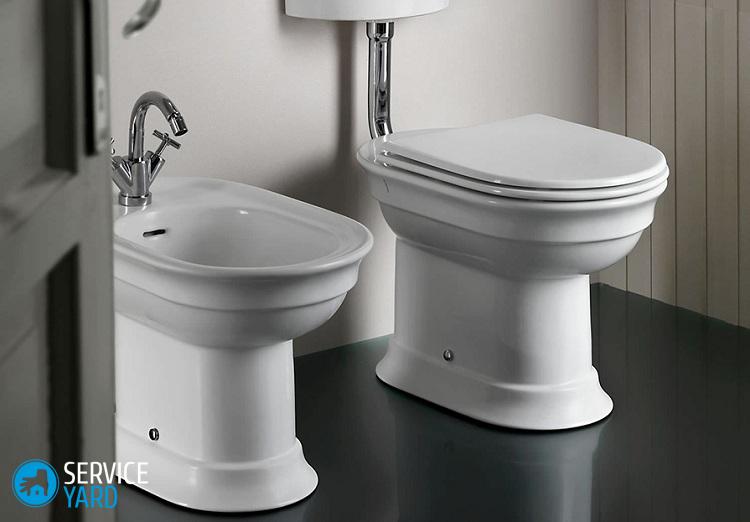
Fasteners for the toilet to the floor
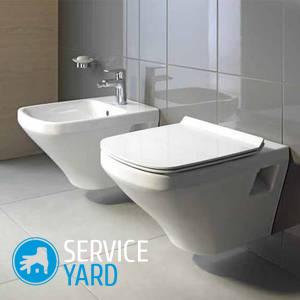
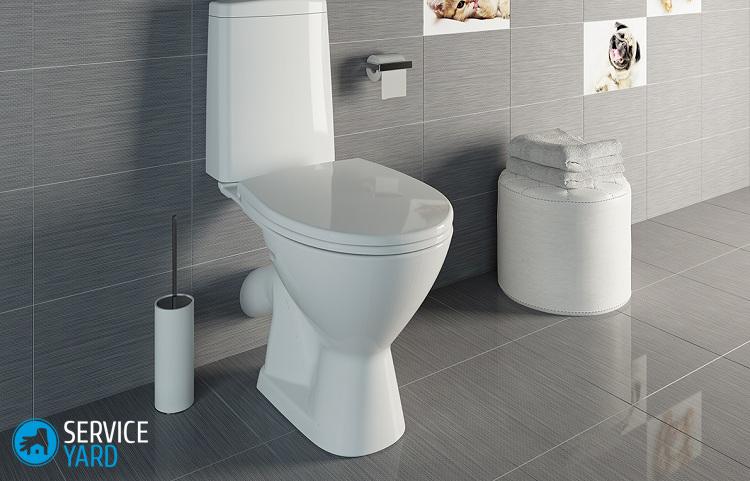
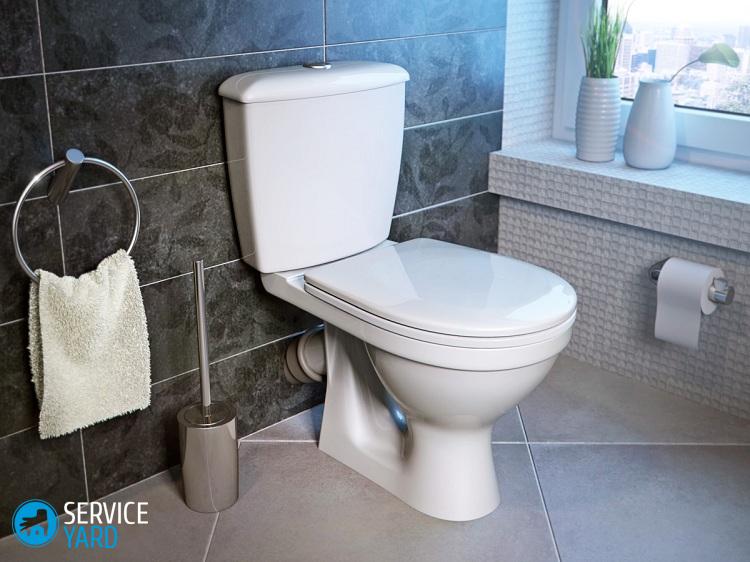
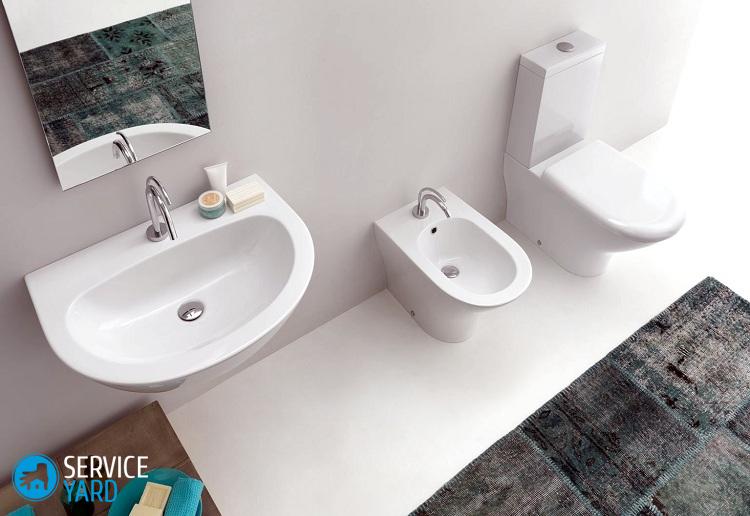
The toilet is an essential part of any bathroom in a private house or apartment. Installation of this plumbing is not a difficult process, the main thing is to show maximum accuracy in the work, because any mistake or carelessness can lead to leaks or other unpleasant problems. Understanding the mechanism of the device is only half or even a third of the matter. In addition to this and connecting to utilities, plumbing must be securely fixed. We offer to find out what fasteners for the toilet can be to the floor, which method is considered the most optimal.
to contents ↑Work sequence
Installation of plumbing equipment is carried out only in accordance with construction rules and regulations. Home craftsmen are often afraid of such a responsible job. This is used by service companies that request very decent money for performing fairly simple operations. Meanwhile, fixing the toilet to the floor is an activity quite affordable for independent work.
There are three main ways to properly screw the toilet to the floor. Consider them in order, but whichever you choose, you should remember:
- installation work begins after the assembly of the main parts of the structure and verification of the availability of all components;
- Before installation, all communications must be ready for water supply and for its discharge.
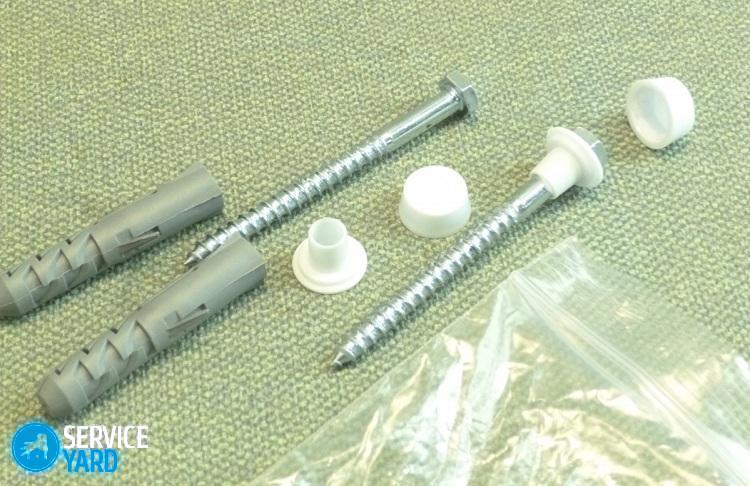
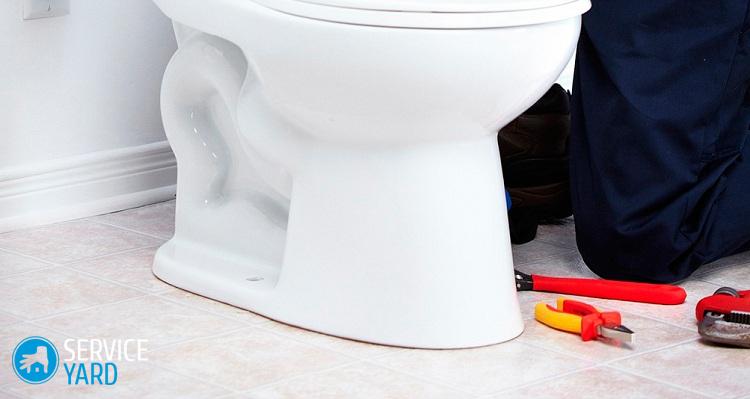
Fasteners on dowels
What to fix the toilet to the floor? The easiest option is the side mount on the clips. This option will require certain conditions to be met:
- It is optimally suitable only for a perfectly flat surface, otherwise - there will be problems with water disposal - the drain will work poorly.
- It is best to install lightweight structures this way, otherwise the fasteners may not support the weight of the toilet.
- Many masters recommend making a substrate for the toilet - for this you can use either a special device or old linoleum or rubber.
Important! Many craftsmen, to prevent the appearance of rust, put gaskets under the heads of fasteners. They are made of thin, soft, rubberized materials.
Tools for work
Complete with plumbing, many manufacturers have long been offering special fasteners designed to install a toilet. You will also need:
- Roulette - for measurements;
- pencil - for marking;
- drill with a drill for glass and concrete for drilling holes for fasteners.
Installation procedure
Further actions are performed according to the instructions:
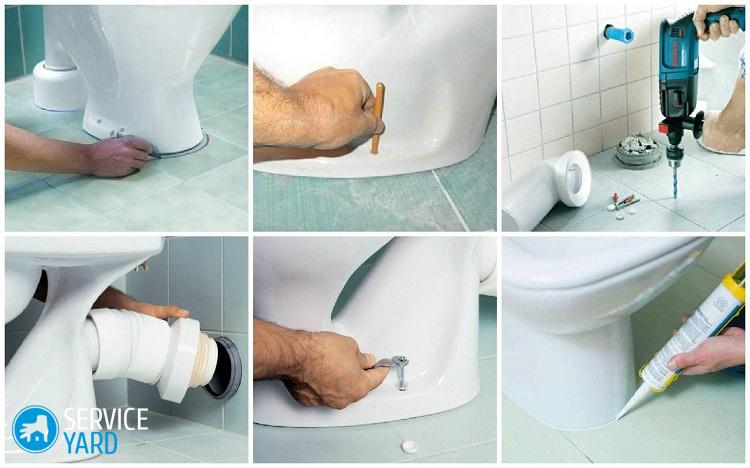
- For marking, put the toilet in its place, circle its contours with a pencil and apply marks under the dowels.
Important! When marking, keep the pencil strictly upright. Otherwise, marks may shift and the holes will not coincide with the attachment points.
- For now, we push the plumbing aside and scratch the glaze of the tile with a core - in this case, the drill will not slip on its surface.
Important! To make neat holes in ceramic tiles, first use a glass drill to work, and only after breaking the top layer of the tile, change it to a concrete drill. It is better to use drills of a slightly larger diameter, then the installation will be easier.
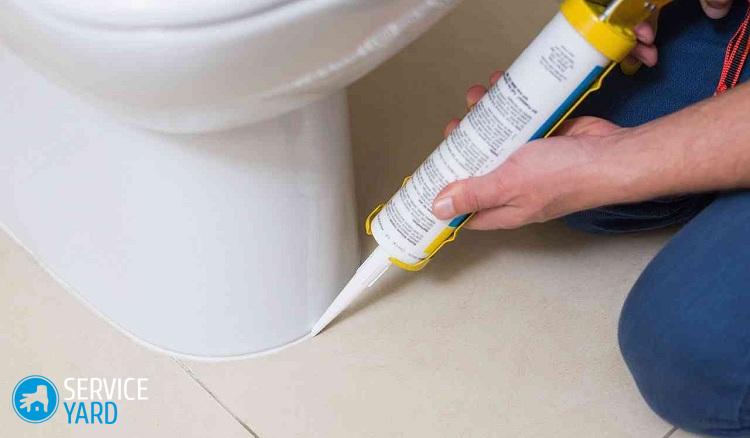
- Then glue the gasket with sealant. If it is not provided, then it is necessary to apply silicone along the contour of the toilet.This will serve as a kind of waterproofing and prevent moisture from getting under the plumbing.
- With lateral mounting of the toilet to the floor, we fill the sealant in the holes so that the fixation is more reliable.
- Now we install the plumbing in place, tighten the toilet bolts to the floor.
- Under the weight of the toilet, silicone is likely to come to the surface. We remove it immediately, preventing the composition from drying out.
Sometimes you need to not only fasten the toilet to the floor, but also slightly raise the plumbing - 3-4 cm above the floor. In this case, proceed as follows:
- As a stand, we use a small segment of the board - from it we cut the outline of the base of the toilet bowl.
- We lay it on the floor, and on top we put a substrate of rubber or linoleum.
- We fix all parts with each other using sealant.
- Drill holes for toilet bolts to the floor through the gasket.
Important! If there were no special fasteners complete with your fixtures, then they can be successfully replaced with ordinary dowels. The quality of fixing is approximately the same, only when tightening the fasteners you need to be more careful, since faience and ceramics are fragile materials, and if you overdo it, they can crack.
Adhesive Fasteners
Another equally popular way of fixing the toilet to the floor is with glue.
Pros and cons
It is indispensable when it is necessary to install plumbing on a surface under which a floor heating system is already mounted. He also has other advantages:
- to install plumbing on the adhesive does not require drilling holes - the work takes less time;
- since there will be practically no dust and dirt, thorough cleaning at the end of work is not necessary;
- the risk of damaging the faience of which the plumbing is made, or the tiles on which it is installed, is minimal;
- special construction skills are also not required - just know how to handle a glue gun.
Important! Only one point can be attributed to the minuses: the adhesive composition takes up to 20 hours to gain strength. All this time, plumbing can not be used.
Tools for work
The tools for implementing this method will require the following:
- tape measure and pencil for marking;
- narrow spatula;
- spray bottle with soapy water;
- sandpaper - to grout the surface;
- solvent or acetone;
- glue gun;
- adhesive composition.
Which glue to take?
The compositions with which the fixation takes place can be very different:
- "liquid Nails";
- silicone glue;
- epoxy resin with hardener.
Professional finishers choose the last option quite often, because a durable adhesive can be prepared independently:
- Resin is taken - 100 parts (for example, 100 grams) and heated to 54 degrees.
- Then the solvent is poured into it in an amount of 20 parts.
- After - 35 parts of hardener are added to the mixture.
- And last but not least, constantly stirring the solution, cement is added in an amount of 200 parts.
Now the resin should settle and cool for one and a half hours, only then it can be used.
Installation procedure
Here the sequence of actions is the same as with the use of other adhesive compositions:
- First of all, in the place of the future installation of plumbing, we mark up.
- Next - with the help of sandpaper we clean the surface of the tile and the base of the toilet bowl, thereby increasing the adhesion of materials.
- To permanently remove all dust, dirt and grease from the surface, wipe the joints with a solvent or acetone.
- Then we apply the adhesive composition - its thickness should be at least 4 mm. We make sure that the mixture is distributed evenly and do not allow the formation of air cushions.
- When installing the toilet in place, we pay attention to whether the socket of the sewer coincides with the outlet.
- We press on the plumbing from above to firmly fix it on the surface.
Important! In the next 12 hours after the completion of work, the toilet should not be touched at all. Wait for the composition to dry.There is no need to apply additional weight; too strong an impact will squeeze out all the glue to the surface.
Outdated Mounting Methods
Let us dwell on other ways of fixing the toilet to the floor. Many masters no longer apply them in their work, but they may still be needed for certain cases.
Taffeta fasteners
Taffeta is a gasket made of durable wood, which is used as a substrate for the toilet. Its thickness is no more than 3 centimeters:
- In order to fix the taffeta on the floor, use anchors or nails. They are driven into the substrate in a checkerboard pattern, but not completely. They should rise above the surface by 2 centimeters.
- To install the toilet, prepare a recess in the floor.
- This recess is filled with concrete mixture, taffeta is installed there so that the nails are from below, and the substrate itself is flush with the floor.
Now you need to wait at least 12 hours for the composition to gain strength. Only after continue work:
- Plumbing is fixed at the installation site with screws.
- Fasteners are greased with grease or graphite, so that later they can be easily removed.
- Special rubber washers must be laid under the screws so as not to damage the toilet bowl when fixing.
As we already said, many craftsmen refuse this method, because wood is a very capricious material. It does not tolerate humidity, and in the room where plumbing is installed, its level is very high. Therefore, such a substrate for the toilet is the most short-lived.
Important! If you still have to install plumbing with taffeta, then before working, be sure to treat the wooden substrate with linseed oil or other compounds that will protect the wood from moisture absorption.
Concrete fasteners
Previously, no special fasteners or adhesives were used to fix the toilet to the floor. Plumbing was simply walled up in the base using concrete. They made a recess in the floor, put a toilet bowl in it, and covered its lower part with cement.
The method is quite easy, but it is very reliable.
In old high-rise buildings where capital repairs have not been carried out for a long time, you can still find such a design. But when working in modern apartments, this method is not even considered, because it has two serious drawbacks:
- There is no need to talk about the aesthetics of such a design in the bathroom. The unattractive appearance of the junction of the toilet and the floor will spoil any interior of the bathroom.
- The fixture of the toilet to the floor in this case is so strong that it is simply impossible to dismantle the plumbing. To remove the toilet, it will have to be completely broken.
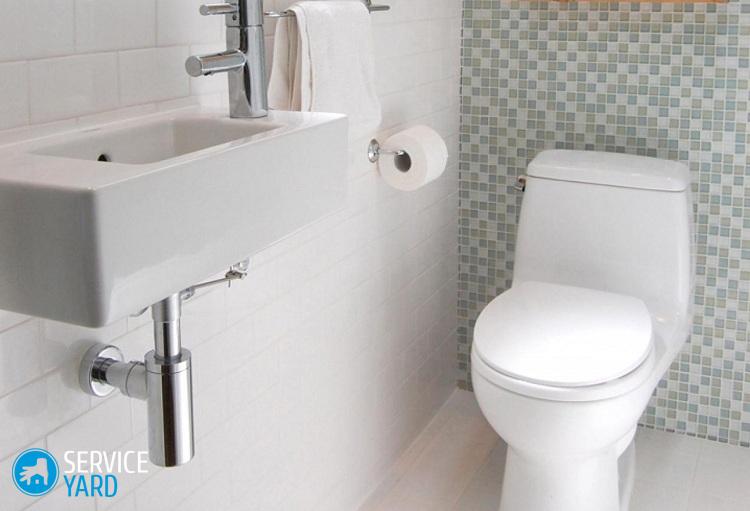
Plumbing connection
After you properly screw the toilet to the floor, you should connect all the necessary communications to it so that you can fully use the plumbing. For these purposes, first of all, you need a plastic pipe, best of all - corrugated:
- corrugation allows you to change the distance from the toilet itself to the entrance to the sewer;
- change the angle of inclination, depending on the location of the riser - in the wall or on the floor.
Important! Use glue at this stage is not necessary. A specialized pipe for plumbing inside is equipped with a rubber membrane, on which there is a special rim. With its help, there is a tight connection with the release. This helps to prevent leaks and odors in the bathroom.
Further action plan:
- After connecting to the sewer, the drain tank is assembled.
- When using metal bolts at this stage, plastic or silicone washers are used so that the metal does not come into contact with the faience and rust and mold do not form under the caps.
- In all apartments - both new and old, so-called water outlets are mounted to supply the communal good to the tank. A special faucet is installed on such an outlet, which will allow repairs to be carried out without turning off the water in the entire apartment.
- The tank is connected to an installed tap.The eyeliner can be either from steel pipes or from plastic ones.
- The thread is sealed with a special sanitary tape, and the wiring is fixed with a nut on top.
- One of the ends of the plastic or metal eyeliner is installed in the nozzle of the drain tank. The joint is further strengthened by a rubber gasket. This will help to avoid leaks during operation.
Now the installation process is considered fully completed. And plumbing can be used for its intended purpose.
to contents ↑Stock footage
As we have figured out, today there are two ways to fix the toilet to the floor: one is possible using special fasteners, the other is simpler, it does not even require drilling holes. But you can use plumbing fixed to glue no earlier than in a day. The remaining methods can be considered only as a last resort, since they differ either in an ugly appearance or in a short service life. Which option to give preference - now decide for yourself, based on the specific conditions of the arrangement of your bathroom.
- How to choose a vacuum cleaner taking into account the characteristics of the house and coatings?
- What to look for when choosing a water delivery
- How to quickly create comfort at home - tips for housewives
- How to choose the perfect TV - useful tips
- What to look for when choosing blinds
- What should be running shoes?
- What useful things can you buy in a hardware store
- Iphone 11 pro max review
- Than iPhone is better than Android smartphones
 (No ratings yet)